

Booking forms let you collect the information you need from the person who booked, at the moment it matters. A typical example is a company car: when the trip ends, the driver reports the odometer reading and the fuel level, so the next driver gets a car that’s ready to go.
This guide walks through that example from start to finish. It takes about five minutes.
You need: an admin role with access to Forms and Booking Rules in the Admin Portal.
Step 1: Create a form
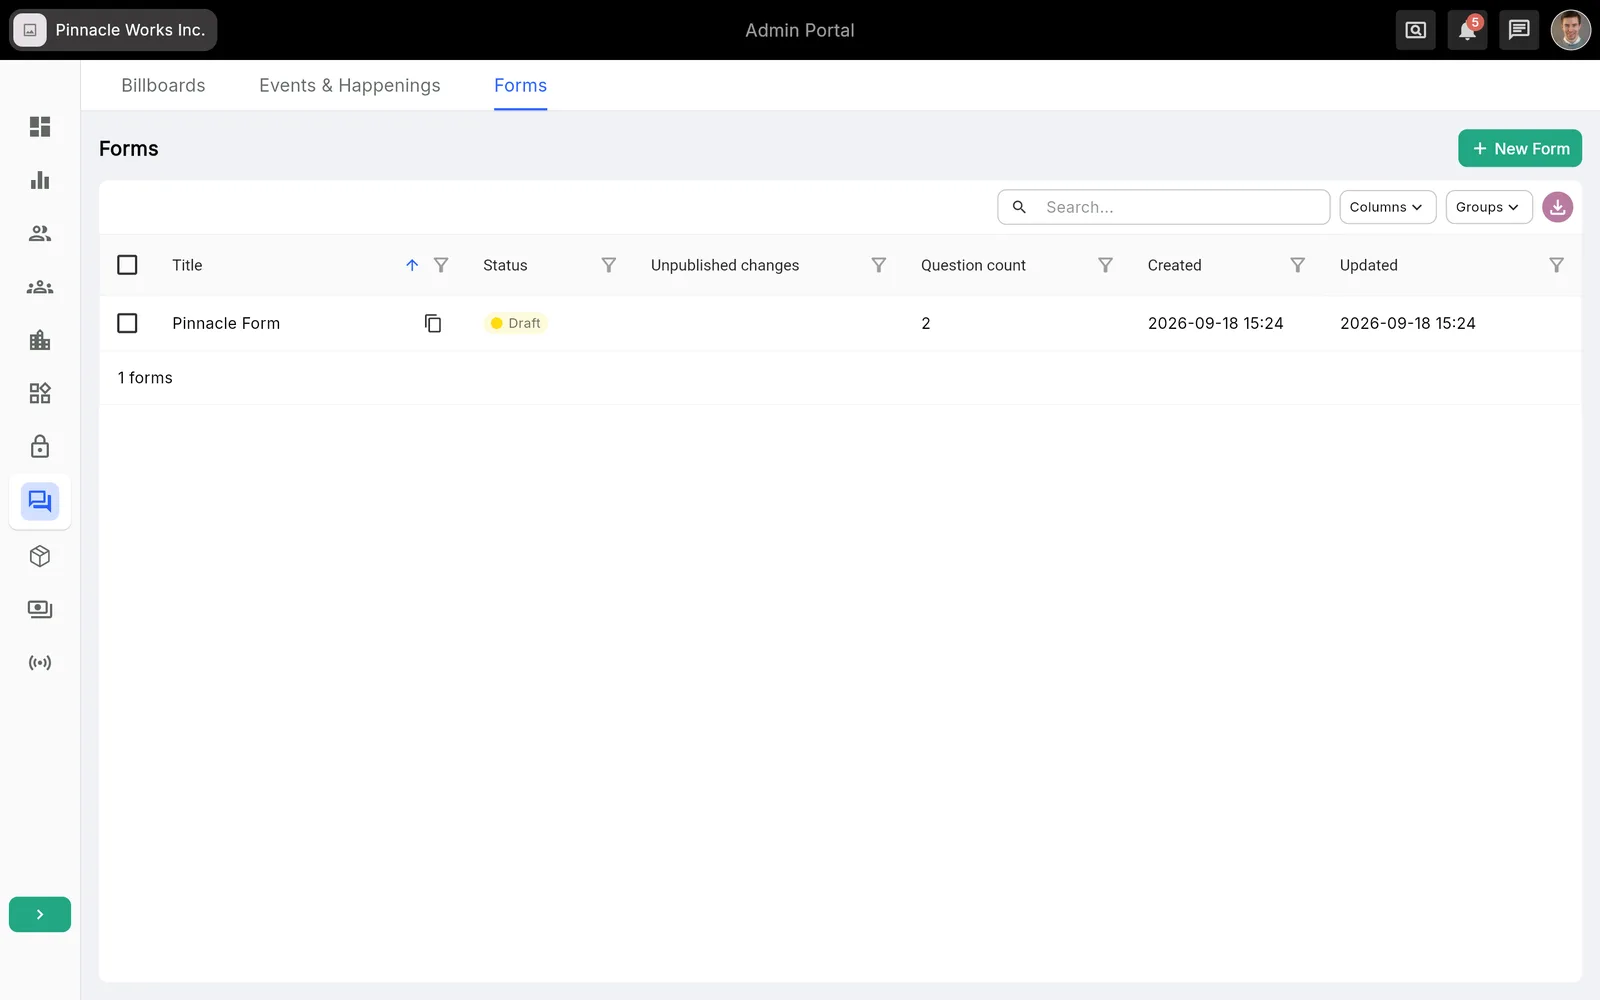
- In the Admin Portal, open Communication in the left menu and select the Forms tab.
- Click New Form.
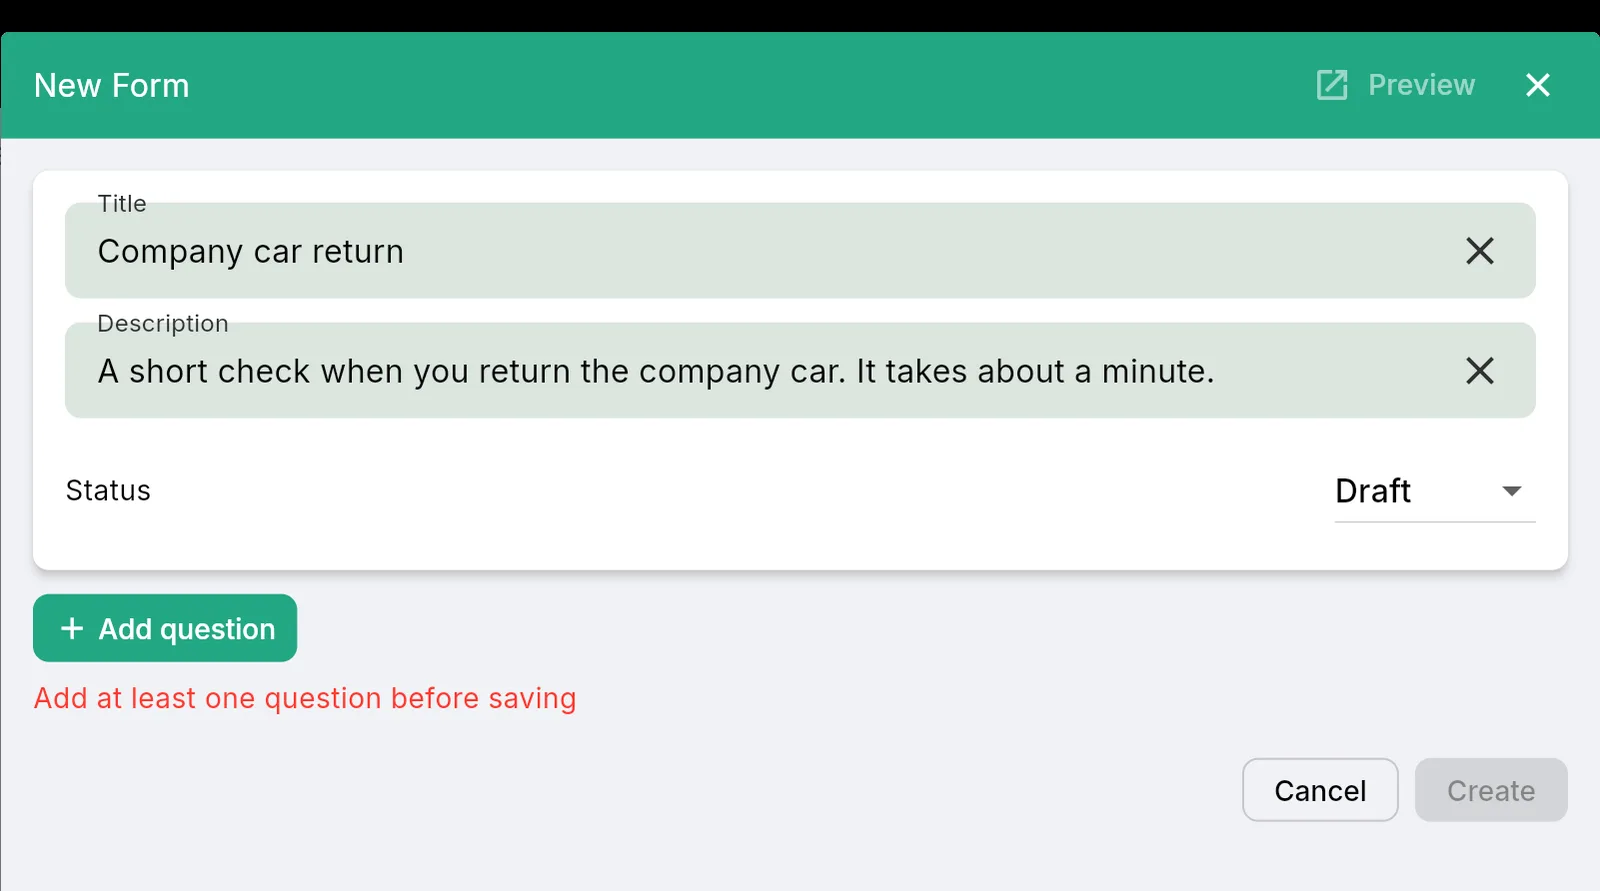
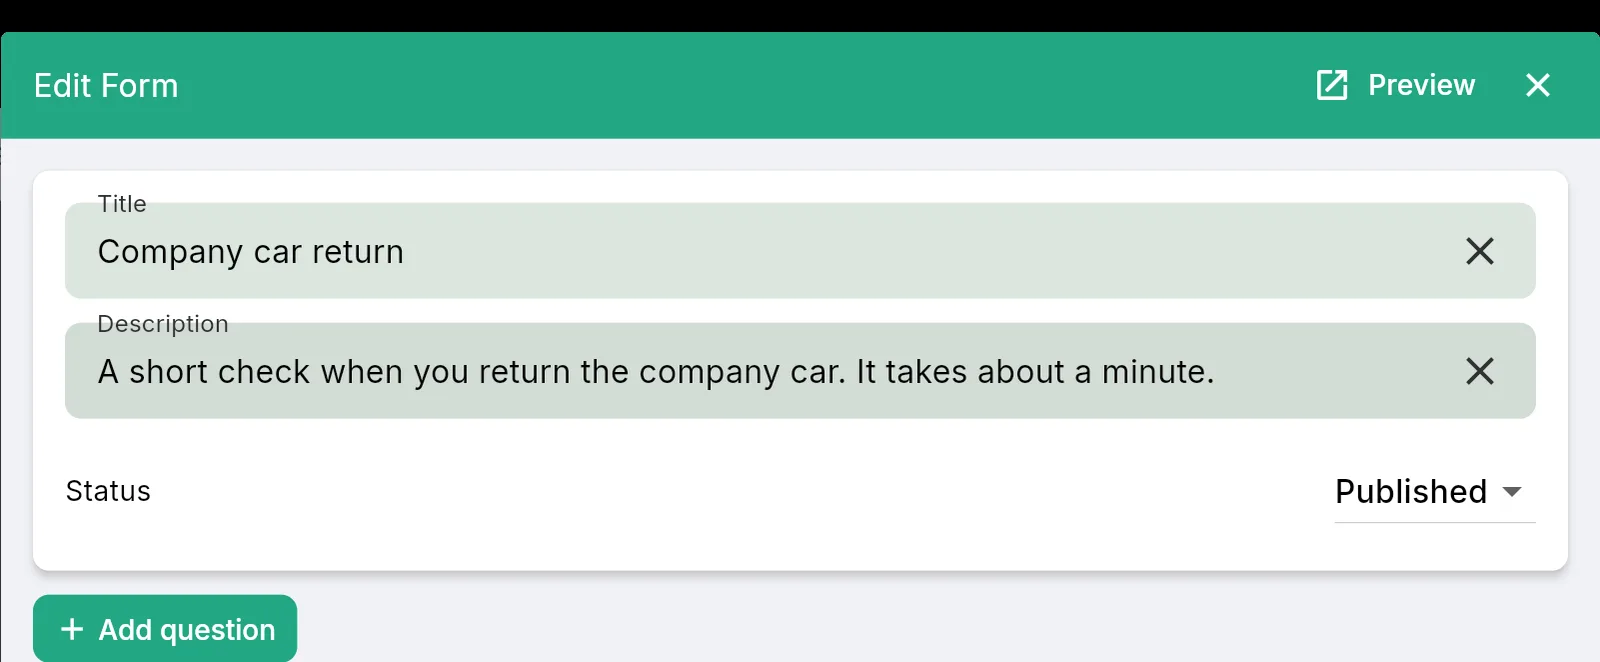
- Enter a Title and a short Description. Users see both at the top of the form.
- Leave Status as Draft for now. A draft form is never shown to users.
Step 2: Add questions
- Click Add question.
- Type the question and choose an answer type, for example Number for the odometer reading or Multiple choice for the fuel level.
- Turn on Required for questions that must be answered.
- Repeat for each question. Drag the handle on the left of a question to change the order.
- Click Create.
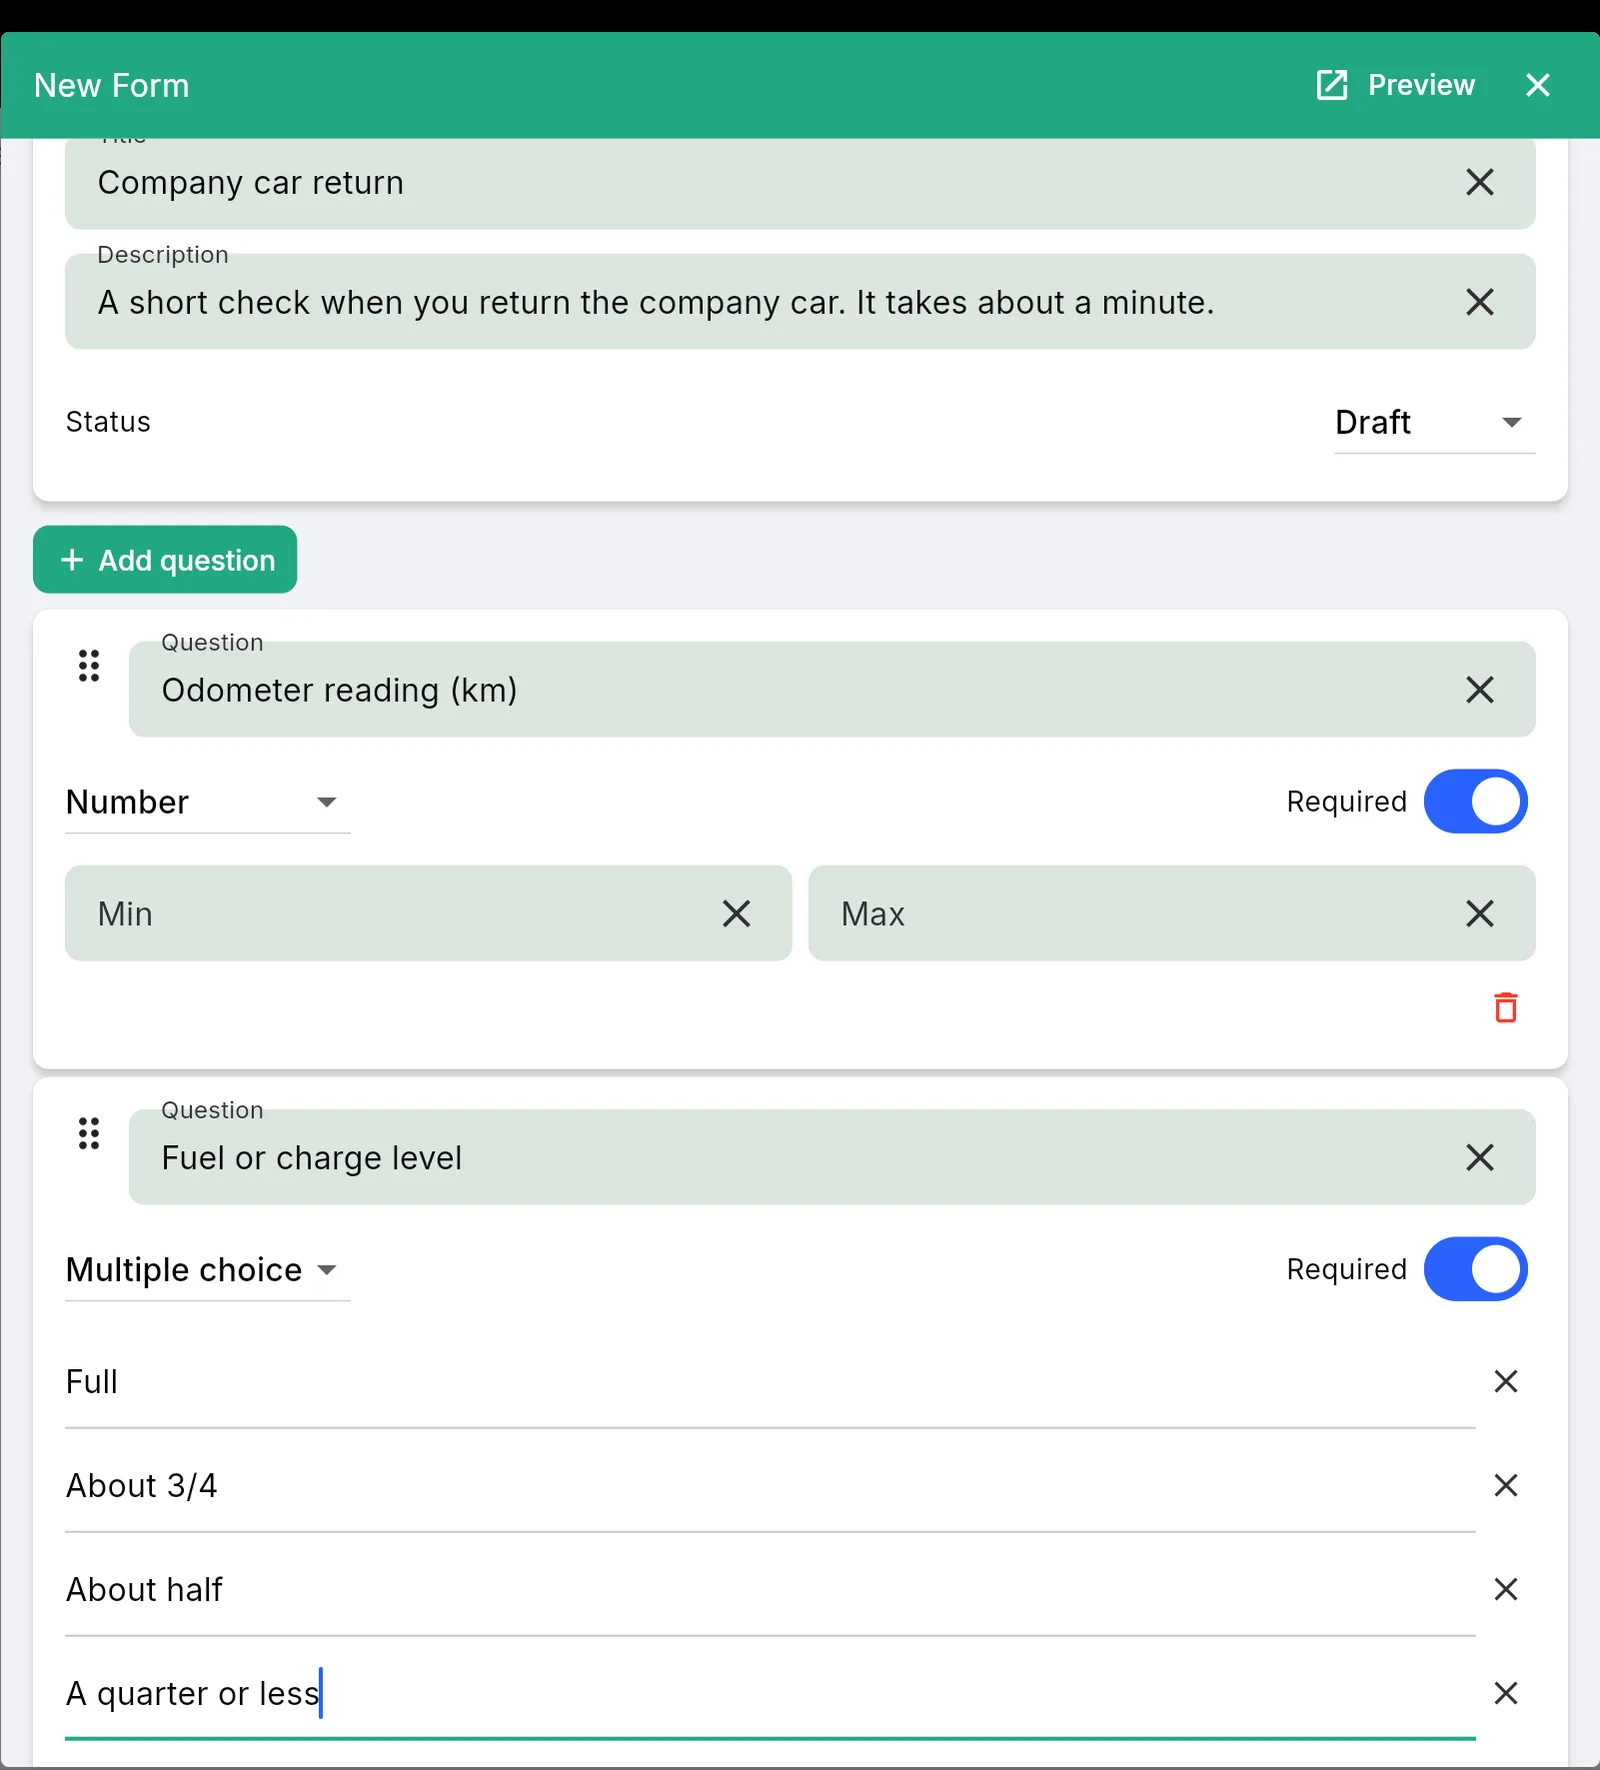
The answer types are Short answer, Paragraph, Multiple choice, Checkboxes, Dropdown, Rating, Linear scale, Date, Time and Number.
Step 3: Preview the form
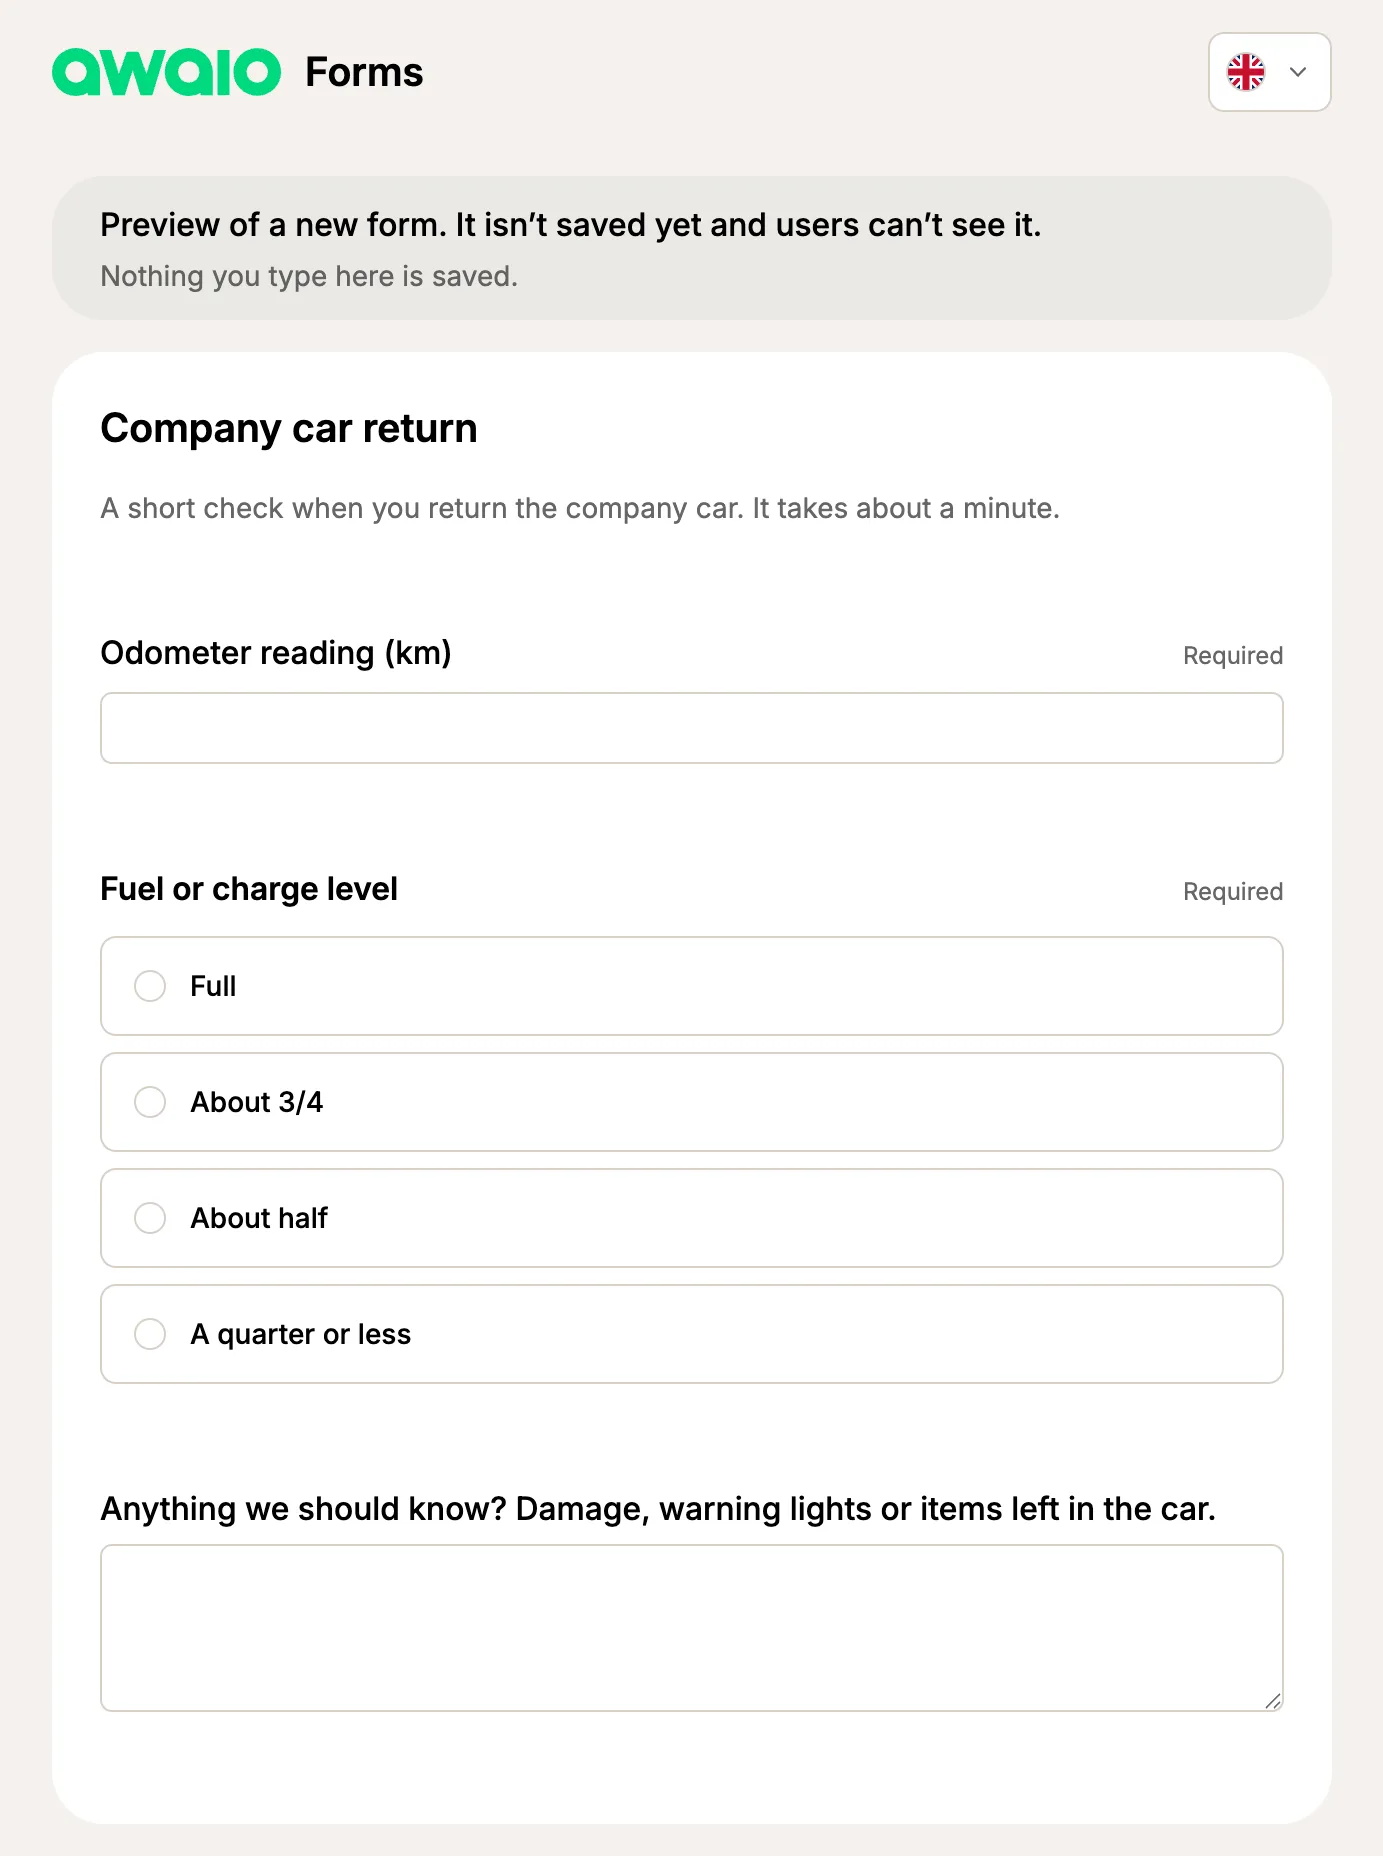
Click Preview at the top of the form. A new tab shows the form exactly as users will see it. Nothing you type in the preview is saved.
Step 4: Publish the form
Users only see published forms.
- In the Forms list, click the form and then Edit.
- Set Status to Published.
- Click Save.
Step 5: Add the form to a booking rule
A form reaches users through a booking rule. Every resource that uses the rule gets the form.
- Open Space Management in the left menu and select the Booking Rules tab.
- Open the rule your resources use, for example the rule for your company cars.
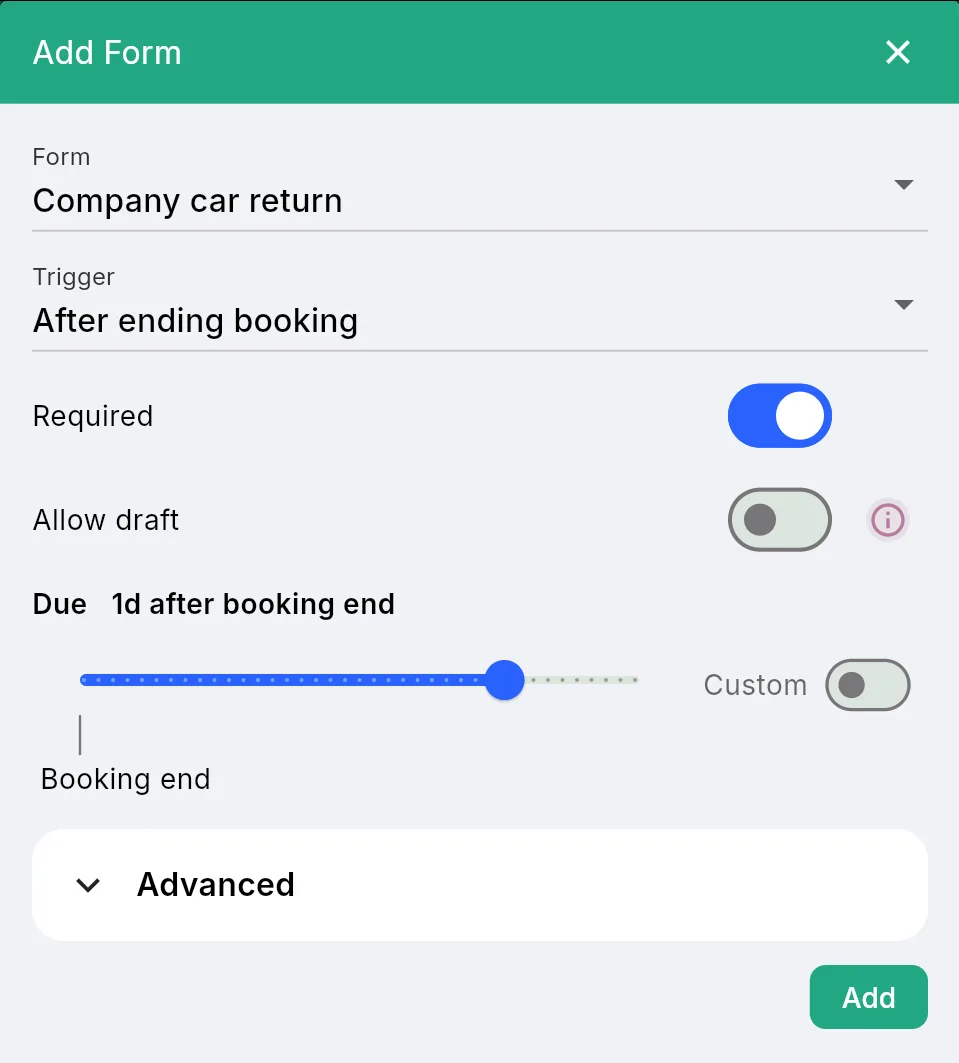
- Scroll down to Forms and click Add new.
- Choose the Form and the Trigger (when the user is asked to fill it in).
- Turn on Required if the form must be answered, and set when it’s Due.
- Click Add, then Save the booking rule.
| Trigger | When the user is asked |
|---|---|
| After creating booking | Right after the booking is made |
| When booking starts | At the start time of the booking |
| After ending booking | When the booking ends, or when the user ends it early |
Users answer in the Awaio app, or through the link in the email they receive at that point. The link works without signing in.
When a form is required, Awaio emails reminders until it’s answered: about 5 hours before the deadline, at the deadline, then daily for 7 days and weekly after that. Reminders stop 30 days after the deadline.
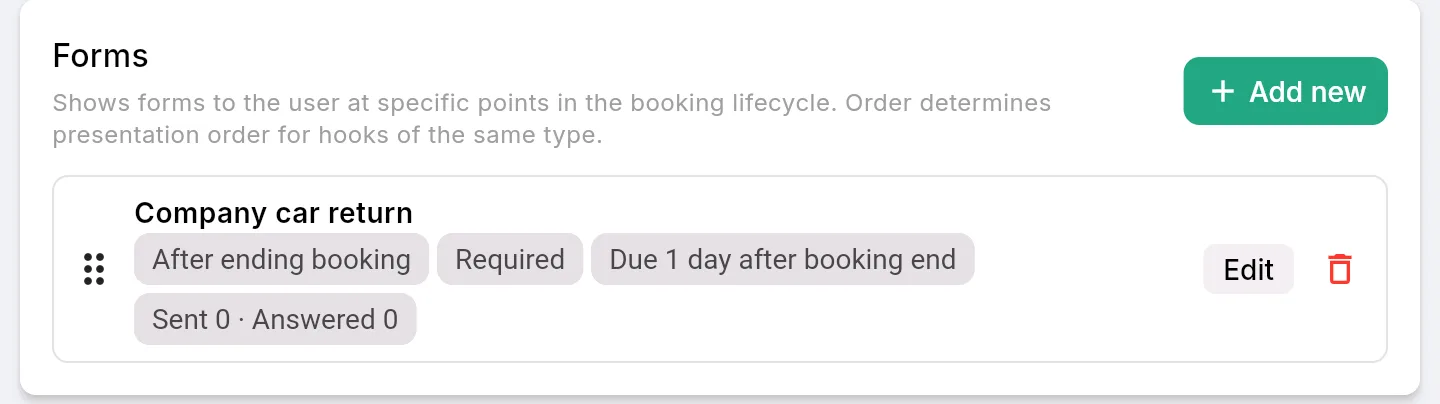
The booking rule now lists the form with its settings. Sent and Answered show how many users have been asked and how many have replied.
Step 6: Read the answers
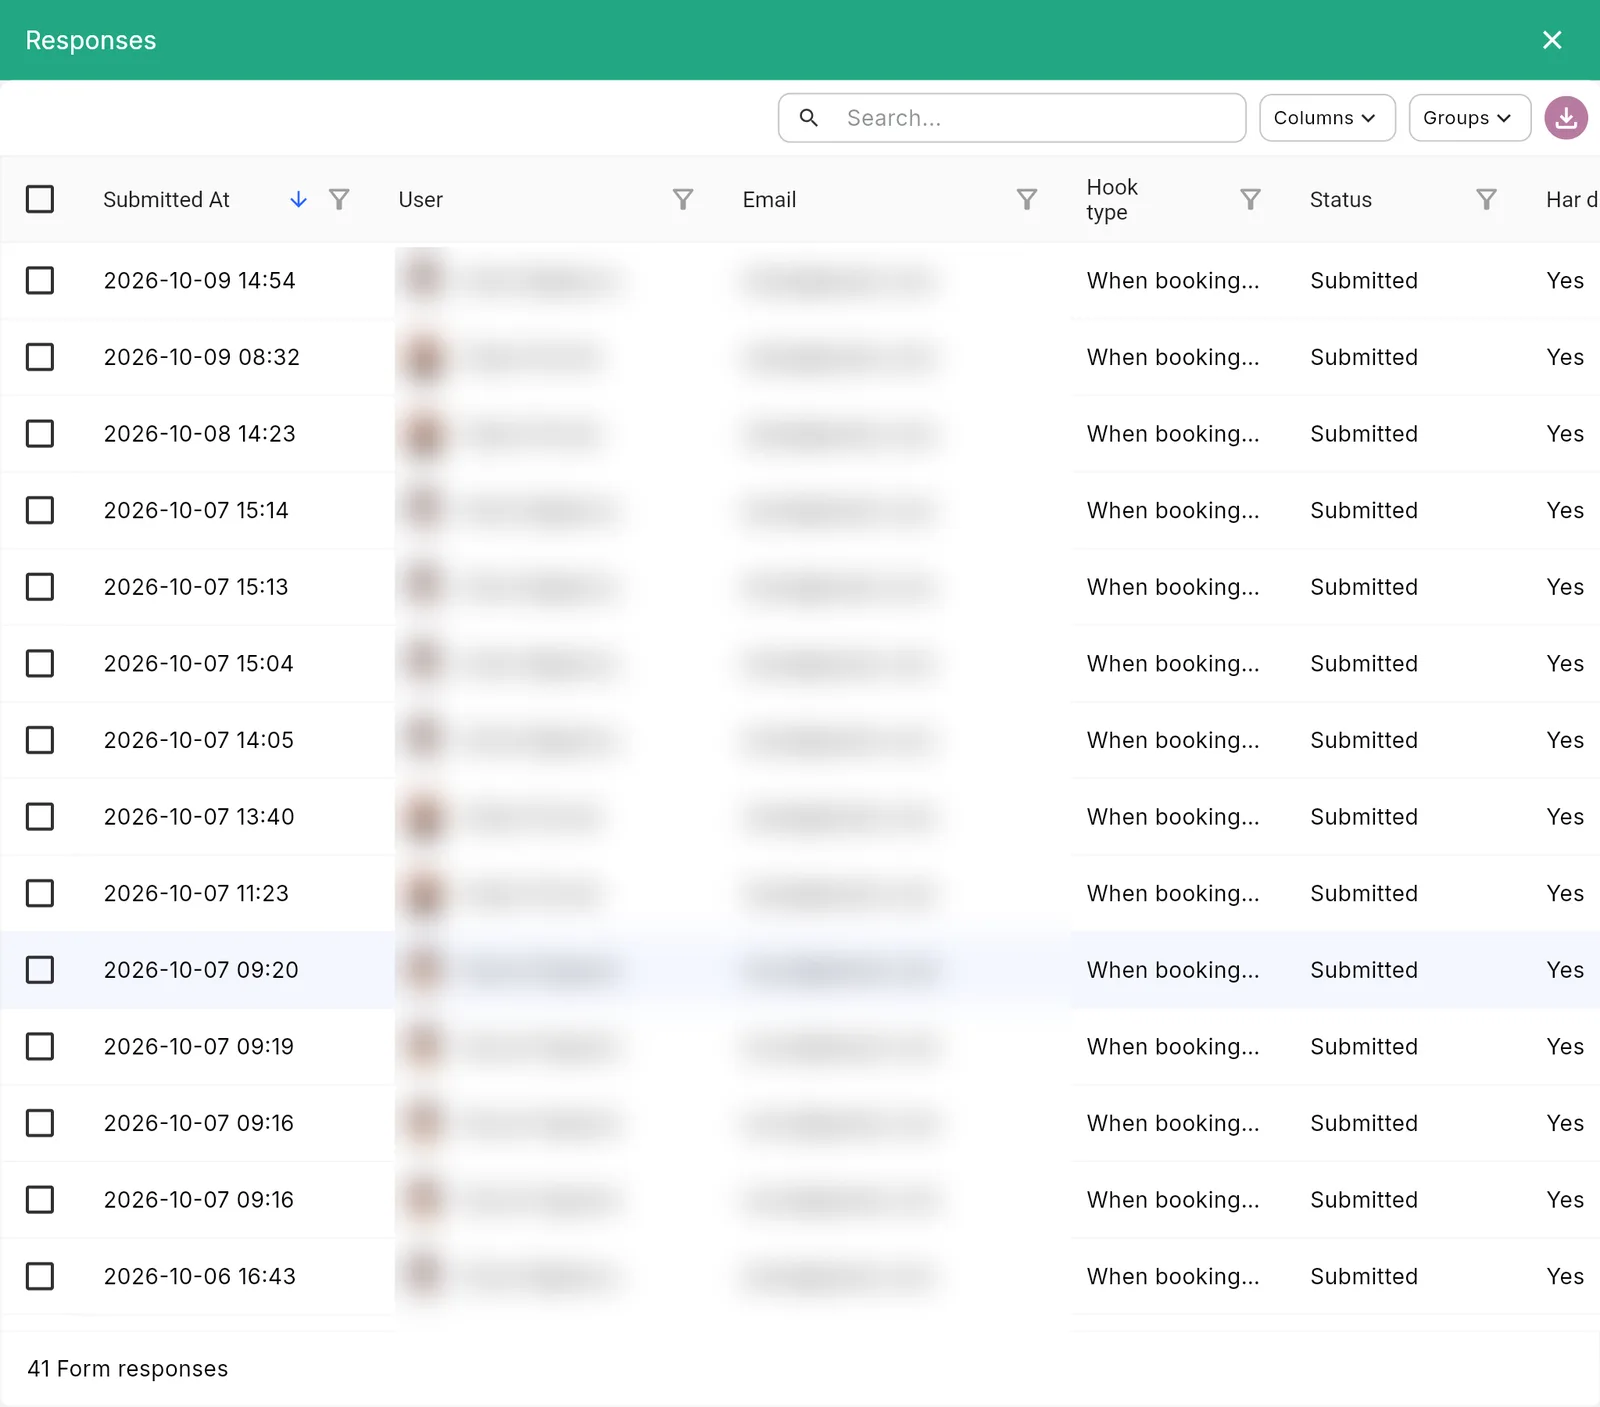
- Go to Communication → Forms and click the form.
- Click View responses.
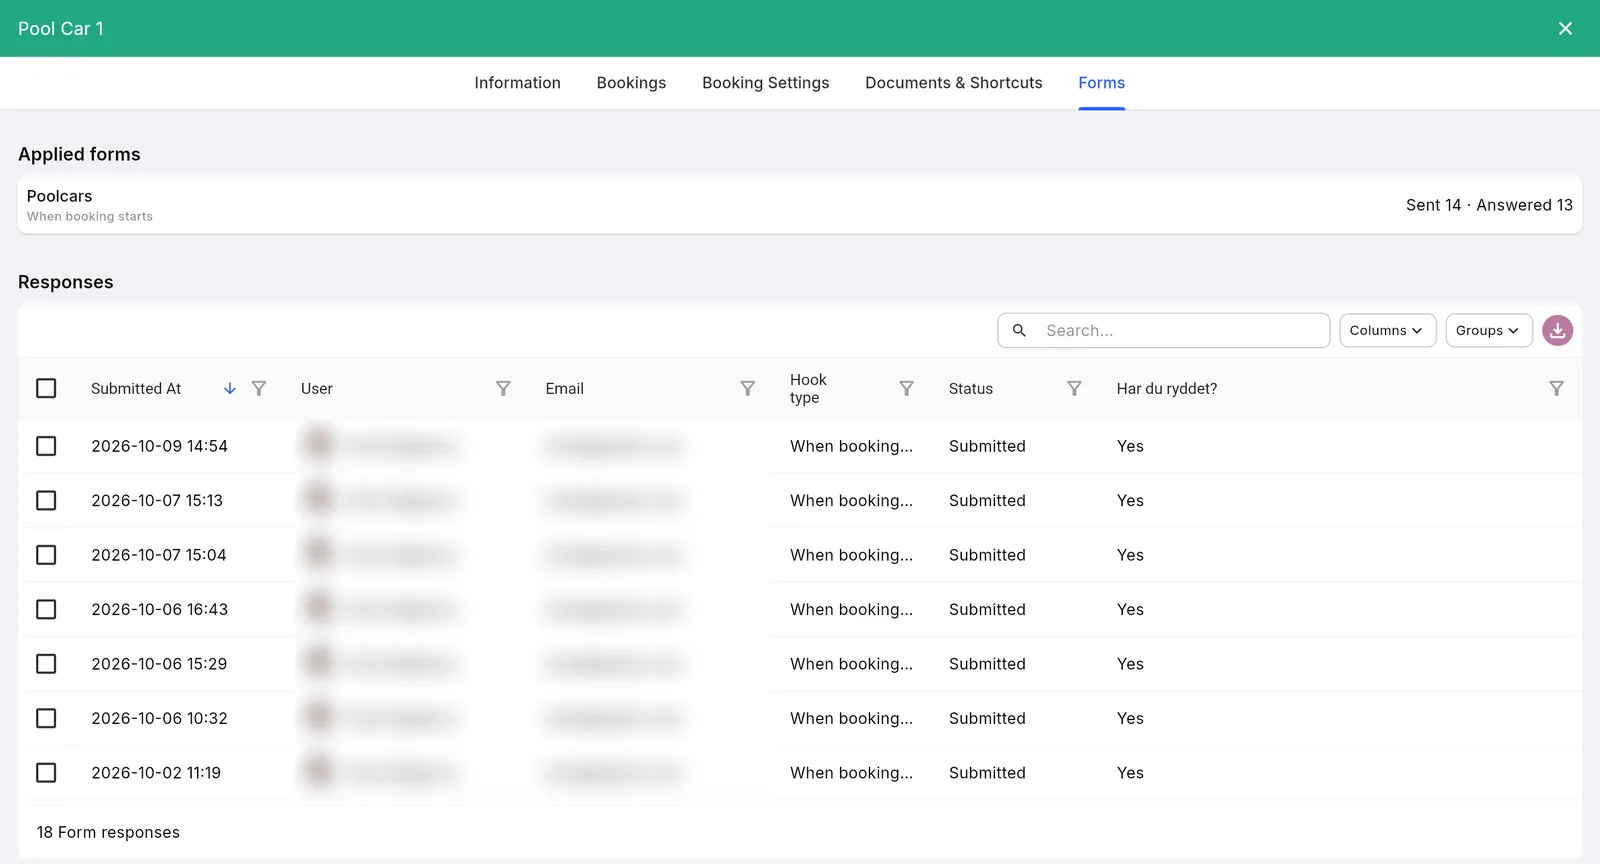
You see one row per answer, with who answered, when, and a column for each question. Use the download button to export the list.
Step 7: Check forms on a resource or a booking
You can also see forms where you already work with resources and bookings.
On a resource
- Go to Space Management → Resources and click the resource, for example a car.
- In the panel on the right, the booking rule section shows how many forms the resource has, and how many were sent and answered.
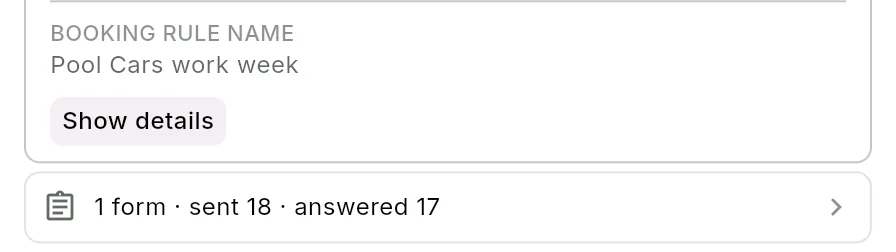
- Click that row to open the resource’s Forms tab. It lists the forms that apply to the resource and every answer given for it.
On a booking
- Go to Space Management → Bookings and click a booking.
- Scroll down to Forms. Each form shows its trigger and status: Submitted, Draft (started but not sent), or Not answered.
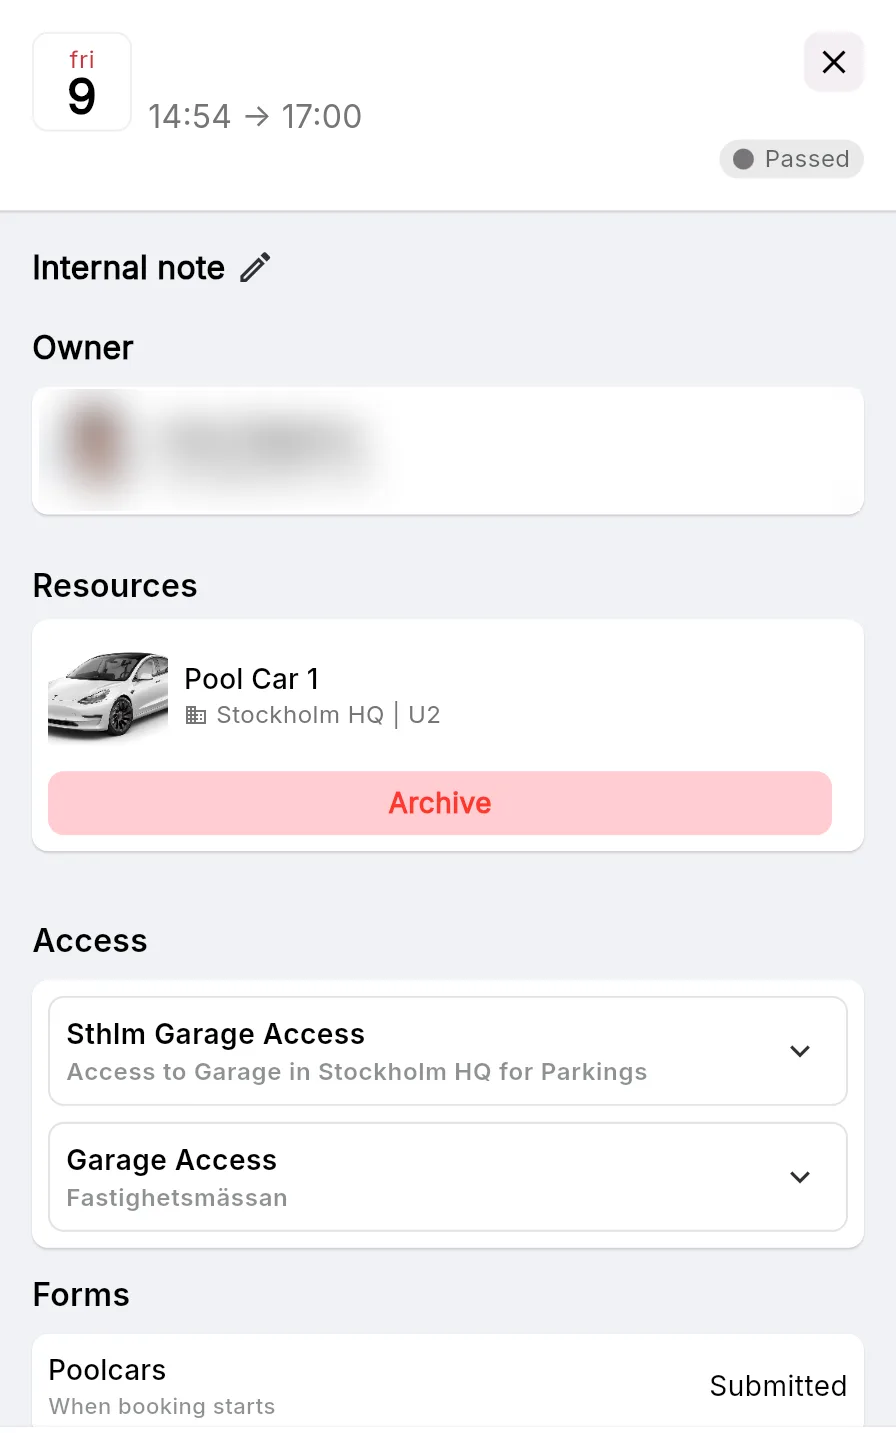
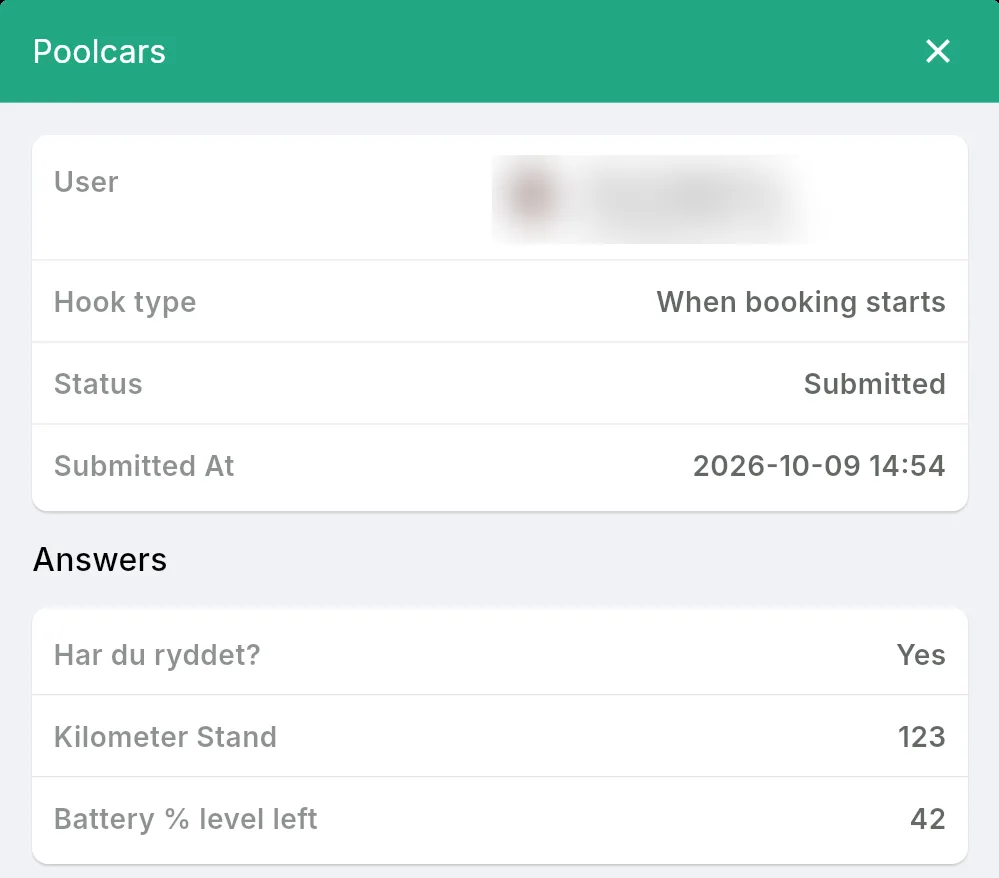
- Click a submitted form to see the answers.
Good to know
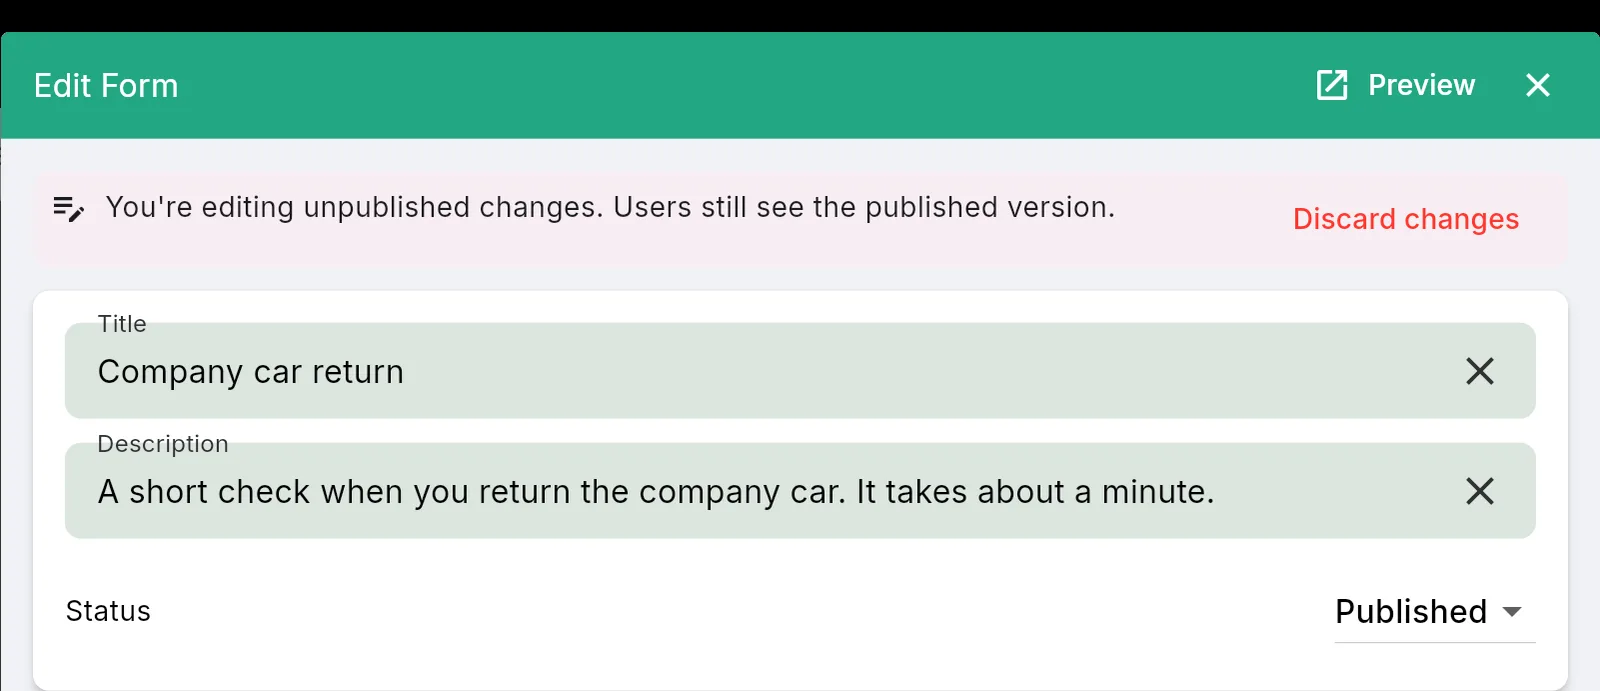
- Changing a live form. When you edit a published form, your changes are saved as a draft. Users keep seeing the published version until you click Publish changes. Click Discard changes to drop them.
- Allow draft. Turn this on in the booking rule if users should be able to save their answers and finish the form later.
- Stop using a form. Set its status to Archived. Users no longer see it, and the answers you already have are kept.
If you have further questions, feel free to contact us via our website chat (awaio.com) or email us at support@awaio.com.