

This guide is for locker and cabinet manufacturers who mount Awaio smart locks into storage units before shipping them to a customer. It covers unboxing, checking the door, choosing the right mounting template, installing the lock, and testing it before it leaves the factory.
The full installation guide as a printable PDF, plus reference drawings showing exactly where to drill for both door types, with dimensions and hole positions:
What's in the box
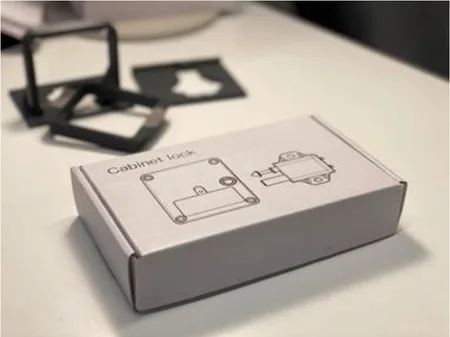
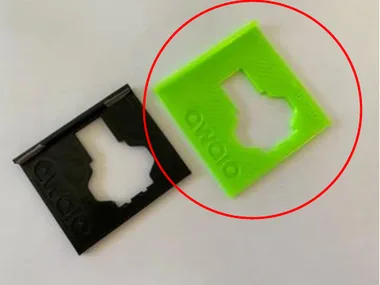
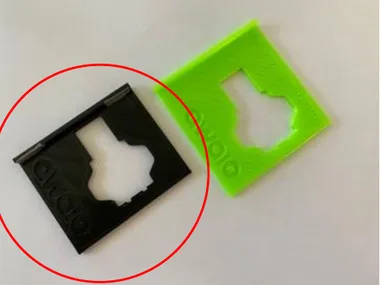
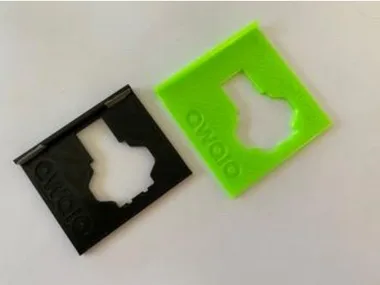
Each Awaio lock ships in a small box labelled Cabinet lock, containing the lock body, the locking pin, mounting screws, and the 3D-printed template set (one black, one green — used together to mark and drill the correct hole pattern).
Step 1: Check the door before mounting
Confirm all four before you touch a drill:
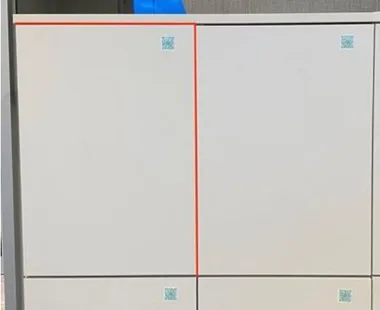
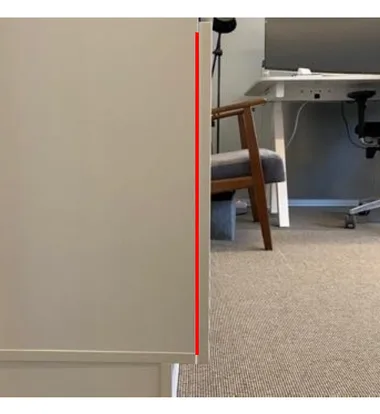
- Level and straighten the storage door in all directions. Adjust the hinges if needed.
- Make sure there is no gap between the door and the frame. Adjust the hinges if possible.
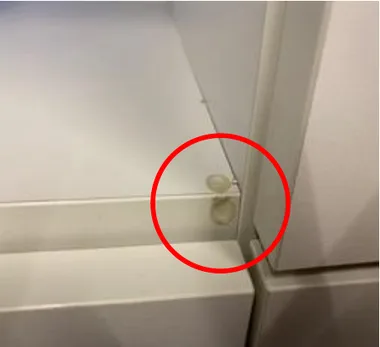
- Remove any damping pillows or rubber bump-stops near the lock area.
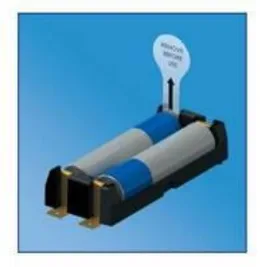
- Pull the battery insulation tab to activate the lock.
Tip
Pulling the plastic sticker on the battery activates the lock with a beep. If you don't hear a beep, remove and replace the battery before continuing.
Step 2: Label the lock and the door
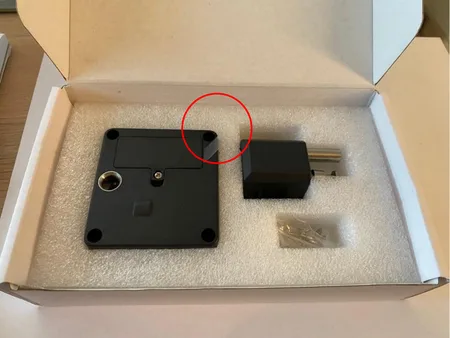
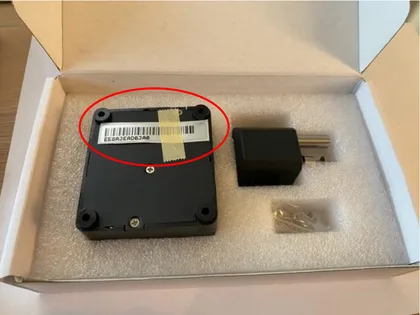
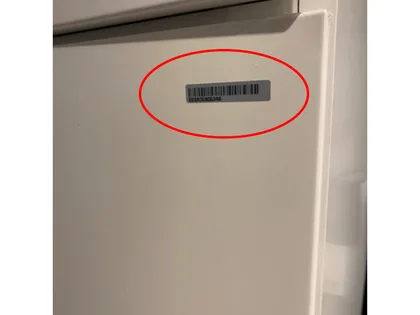
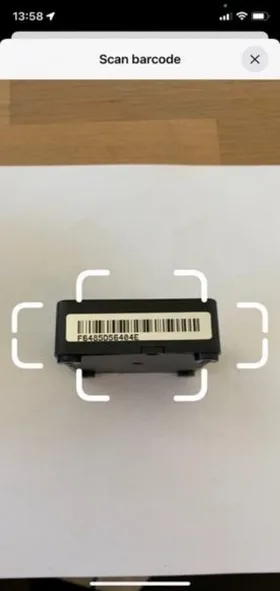
Every lock has a spare barcode sticker on its backside. Peel it off and place it on the outside of the door. Awaio support and the app both use this barcode to identify the lock later, so keep it somewhere visible and undamaged.
Step 3: Choose the correct mounting template
Awaio locks mount differently depending on whether the door sits inlay (flush inside the cabinet frame) or outlay (overlapping the frame on the outside).
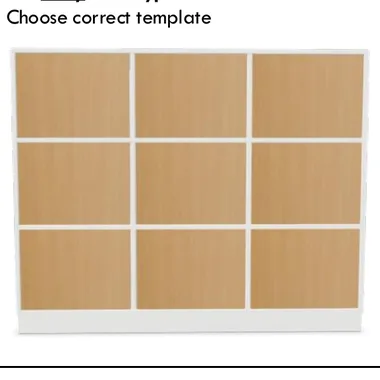
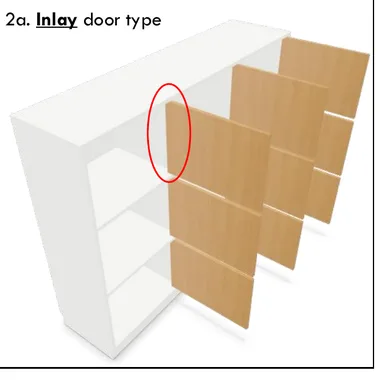
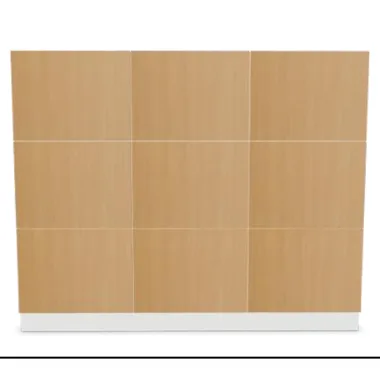
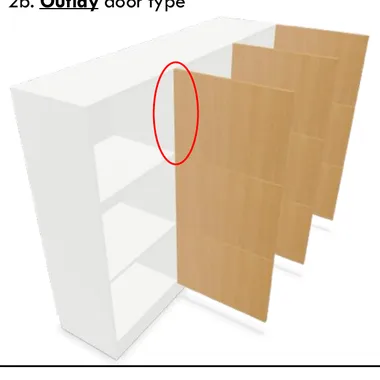
The template set has two sizes, marked by door depth:
- Inlay doors: use the larger template, marked for 16mm door depth.
- Outlay doors: use the smaller template.
Step 4: Mount the template and lock
With the correct template chosen, mount the lock in twelve steps:
- Choose the correct template for the door type.
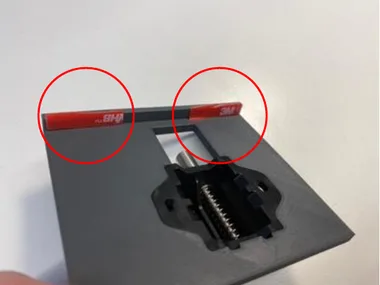
- Remove the cover plastic from the adhesive tape on the template part.
- Place the template with the locking pin in a good position (recommended: an upper corner) and tighten the screws firmly. Make sure the placement is level.
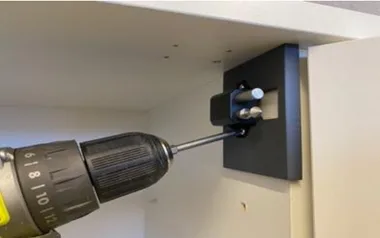
- Remove the template using a flat pin or screwdriver in the back end of the template, and pull the template forward.
- Place the second template part onto the pin module. Important: make sure no gap exists between the template and the wall.
- Place the third template part onto the second template and remove the plastic cover from the adhesive tape.
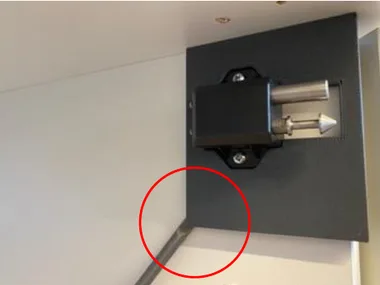
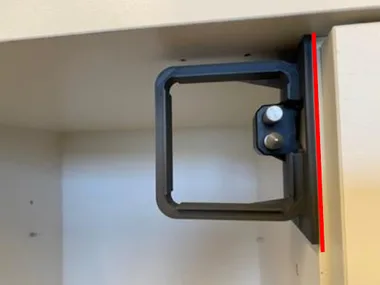
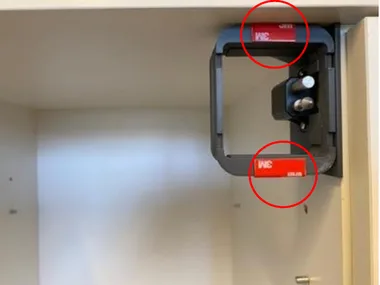
- Close the door firmly, then open it again.
- The locker template is now temporarily stuck to the door.
- Place the lock into the template and fasten all four screws firmly. Important: be careful if using a powered driver.
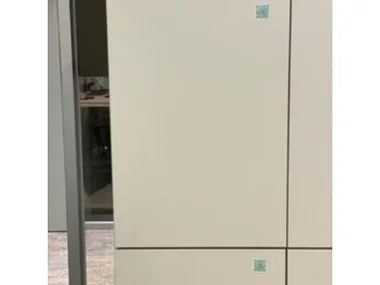
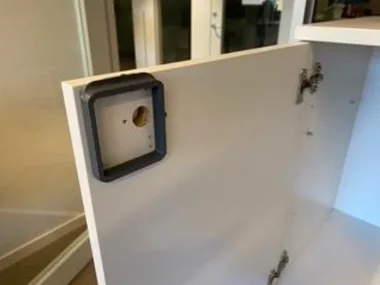
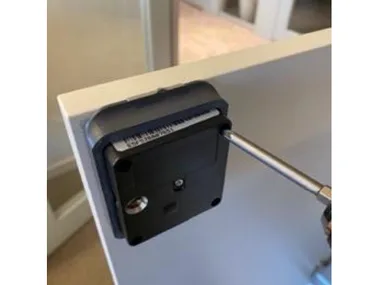
- Remove the template using a flat pin or screwdriver in the predefined holes, and pull it forward.
- Make sure all screws are tightened and the lock sits flat against the surface.
- Remove the template from the locking pin.
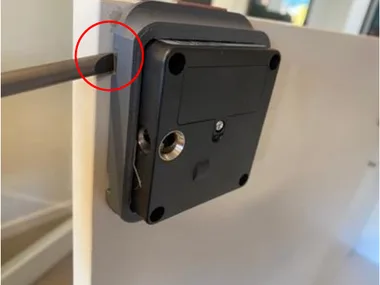
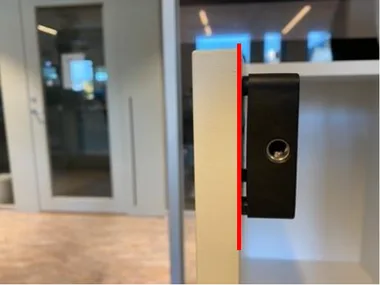
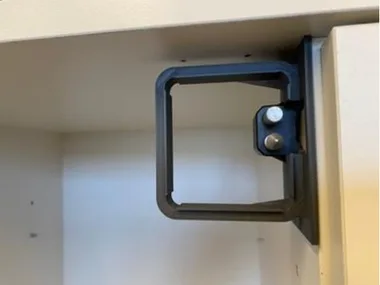
Warning
Before closing the door, make sure the battery is mounted and activated (beep) and that setup is finished in the Awaio app. Once the door is closed, the lock is only reachable over Bluetooth.
Step 5: Download the Awaio app
Testing and pairing the lock is done from the Awaio mobile app. The Locks Setup feature is currently only available on iOS.



Step 6: Become an Awaio Locks Installer
To pair locks you need an installer account. Ask your Awaio contact to send you a sign-up invitation by email:
- Open the invitation link on your phone and enter your work email address.
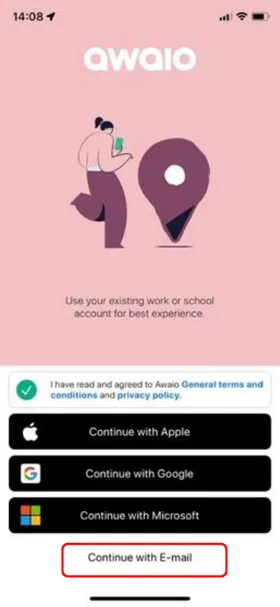
- Create your account and log in — continue with Apple, Google, Microsoft, or email.
- Accept the invitation. You now have installer access to test and pair Awaio locks.
Step 7: Test the lock before shipping
Before the storage leaves the factory, verify the mounted lock opens correctly from the app:
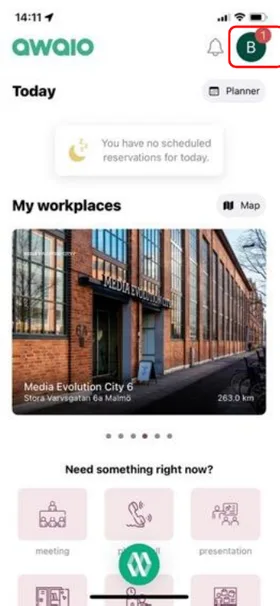
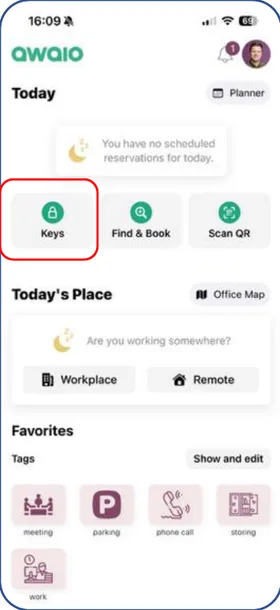
- Tap the Keys icon on the home screen.
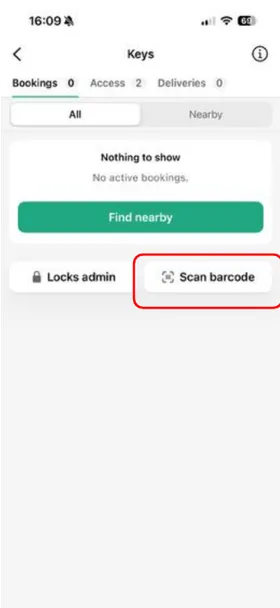
- Under Admin functions, tap Scan barcode.
- Scan the barcode you placed on the door.
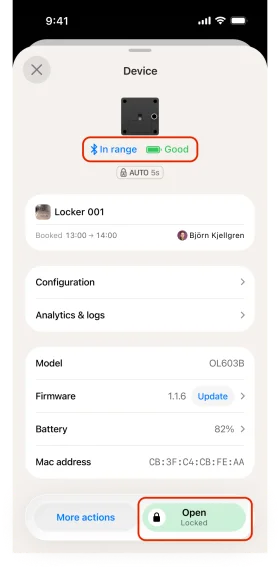
- Check that the battery reads above 3000 mV, Auto Unlock on low battery is Active, and Install Mode is Off.
- Tap Unlock to test-open the lock.
Note
Manufacturers are only responsible for mounting and testing the lock, as covered in this guide. Pairing each lock to its resource and finishing setup happens later, on-site, and is handled by the installer team once the storage reaches the customer.
If you have further questions, feel free to contact us via our website chat (awaio.com) or email us at support@awaio.com.