

Overview
The Events & Happenings section in the Awaio Admin Portal lets you create and manage workplace events visible to community members. Events can be one-time or repeating, and you control when they are published and whether members are notified.
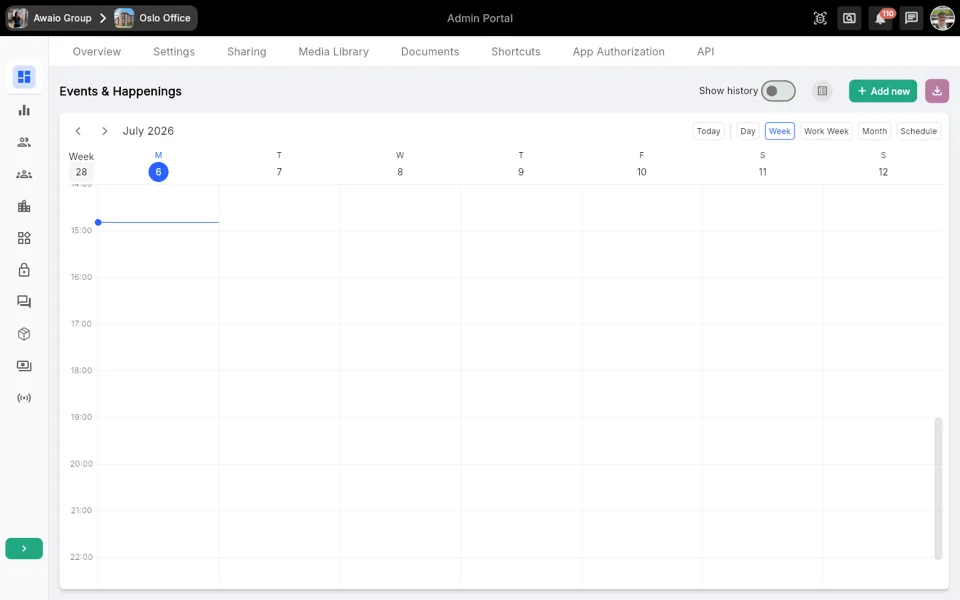
Navigate to Events & Happenings
- Open the Awaio Admin Portal and select the correct community from the top navigation bar.
- In the left sidebar, click the Events & Happenings icon to open the events section.
- The calendar view loads by default. Use the Day, Week, Work Week, Month, or Schedule buttons to change the calendar display.
- Toggle Show history on if you want to view past events on the calendar.
Create a new event
- Click + Add new in the top-right corner of the Events & Happenings page.
- The Create Event dialog opens.
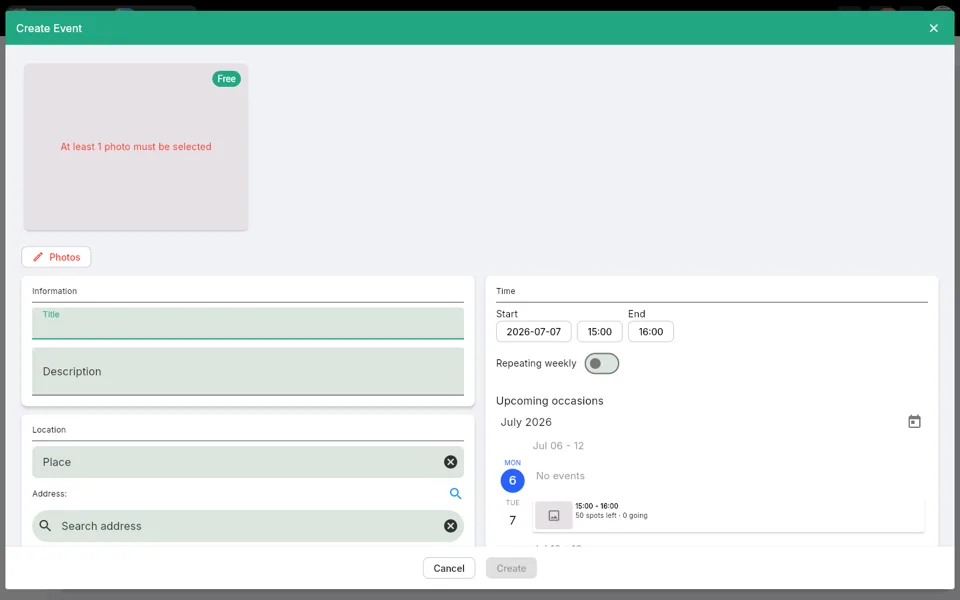
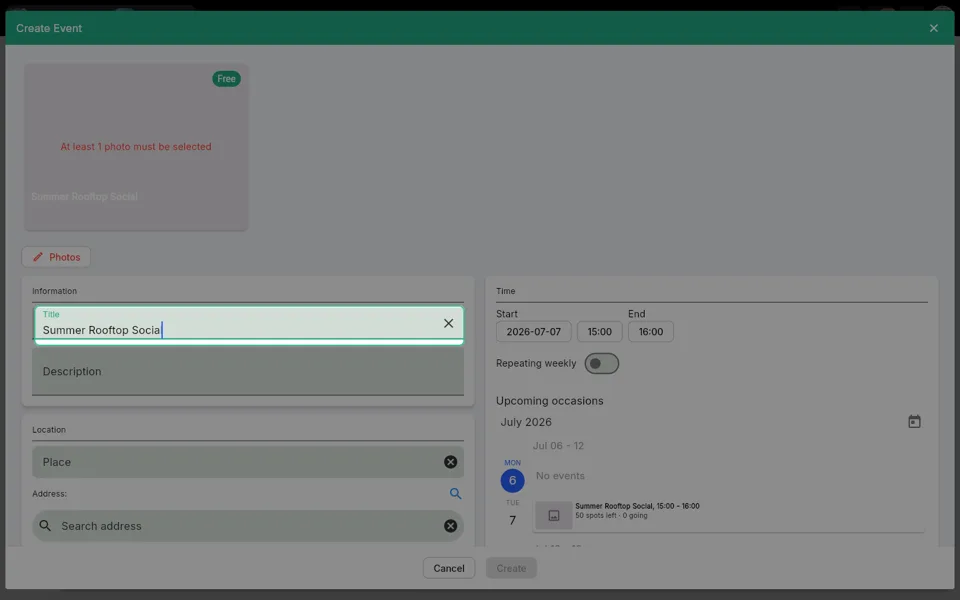
- In the Information section, click the Title field and enter the event name.
- Click the Description field and enter a description for the event.
- Set the event Capacity — the maximum number of attendees allowed to register.
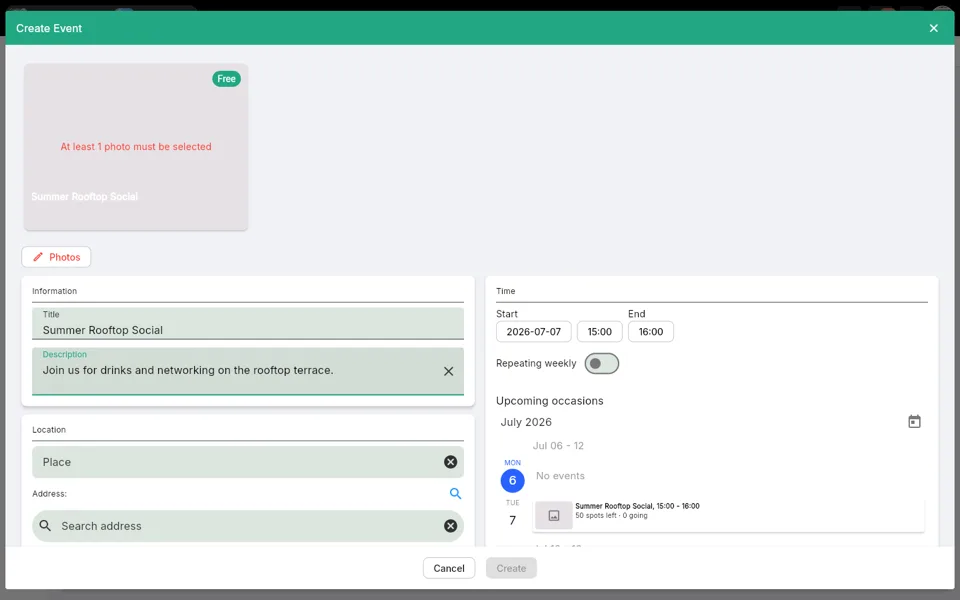
Set the time and recurrence
- In the Time section on the right side of the dialog, click the Start date button to open the date picker and select a date.
- Click the Start time button and enter the start time using the time picker.
- Click the End time button and enter the end time.
- To make the event repeat, toggle Repeating weekly on.
- When repeating is enabled, an Until date button appears — click it to set the date on which the recurrence ends.
- The Upcoming occasions panel updates in real time to preview the scheduled occurrences.
Set the location
- In the Location section, click the Place field and select an internal place from the list.
- To add a street address, click the Search address field and type an address. Select the correct result from the suggestions that appear.
Add photos
At least one photo is required before an event can be published.
- Click the Photos button below the image preview area.
- The Edit Photos panel opens.
- Click + Add to upload one or more photos.
- Click Save to return to the event form.
Save and publish the event
- Once all required fields are complete and at least one photo has been added, click Create to save the event in an unpublished state.
- To publish the event, open it from the events list and click Publish.
- In the Publish Event dialog, optionally check Notify community members to send a push notification to members when the event goes live.
- Click Publish to confirm.
View and manage existing events
- Switch between the calendar view and the list view using the view toggle button next to + Add new.
- In list view, events are split into Published and Unpublished tabs.
- Click any event card to open it and edit its details.
- Use the export button (download icon) to export event data.
Tips
- The event preview in the Create Event dialog updates as you type the title and add photos, so you can see how the event will appear to members before saving.
- If the Create button remains inactive, check that you have filled in the Title, Capacity, and at least one photo.
- For recurring events, each individual occurrence can be edited independently after the master event is created.
- Duplicate an existing event by opening it and using the duplicate option — the copy is created in an unpublished state so you can adjust details before publishing.