

Setting up your Awaio smart locks is quick and hassle-free. With no wiring, no complicated tools, and a simple mobile app, you can mount the locks, pair them, and start using them in just a few minutes.
Video guide
Step-by-step guide
Step 1: Locate templates
Locate your inlay door mounting template and your outlay door mounting template.
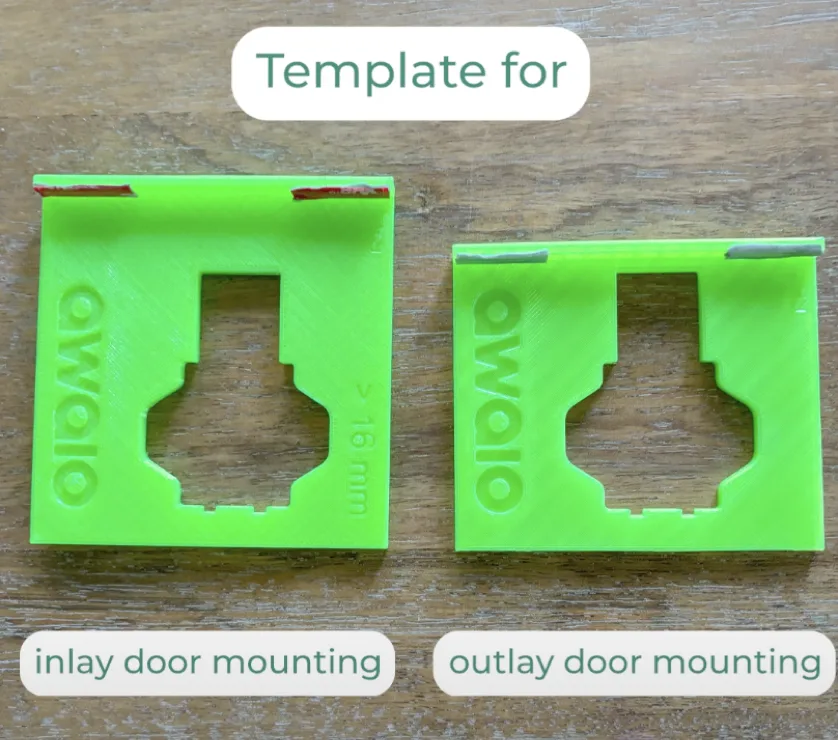
Step 2: Position template
Place template facing outwards in the upper corner of the locker.
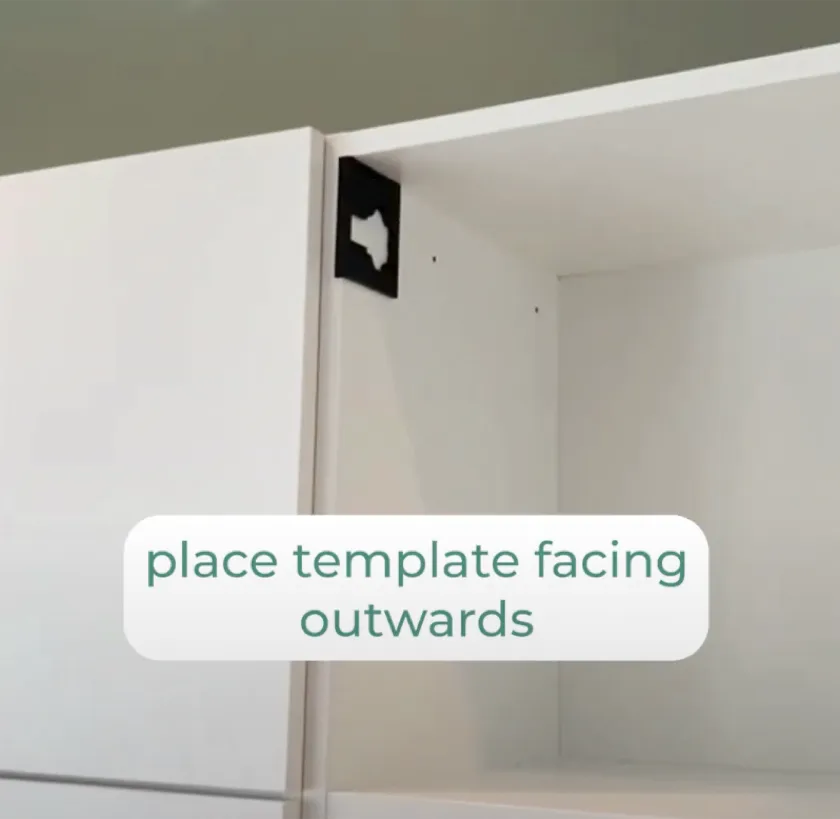
Step 3: Insert pin
Place the pin in the template.
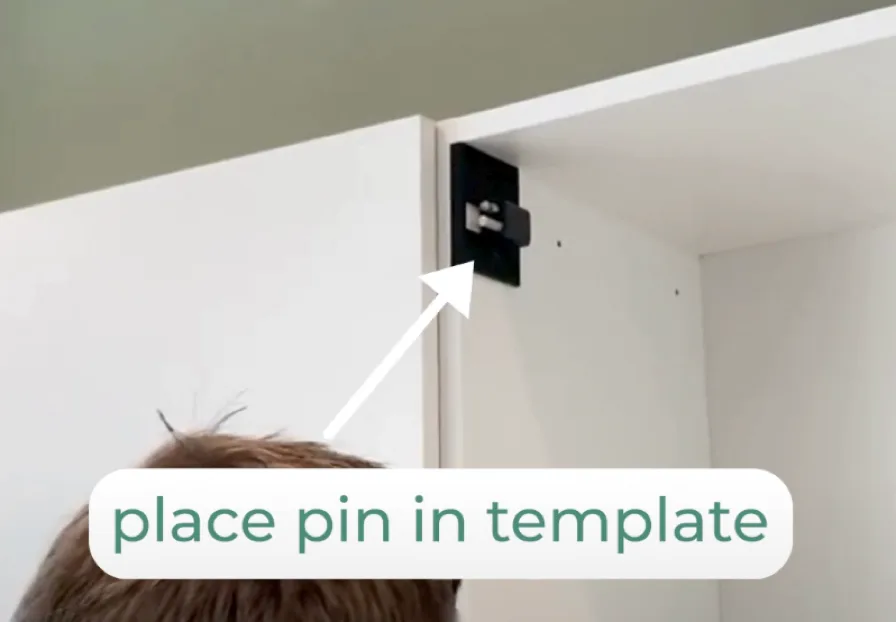
Step 4: Secure screws
Tighten screws firmly.
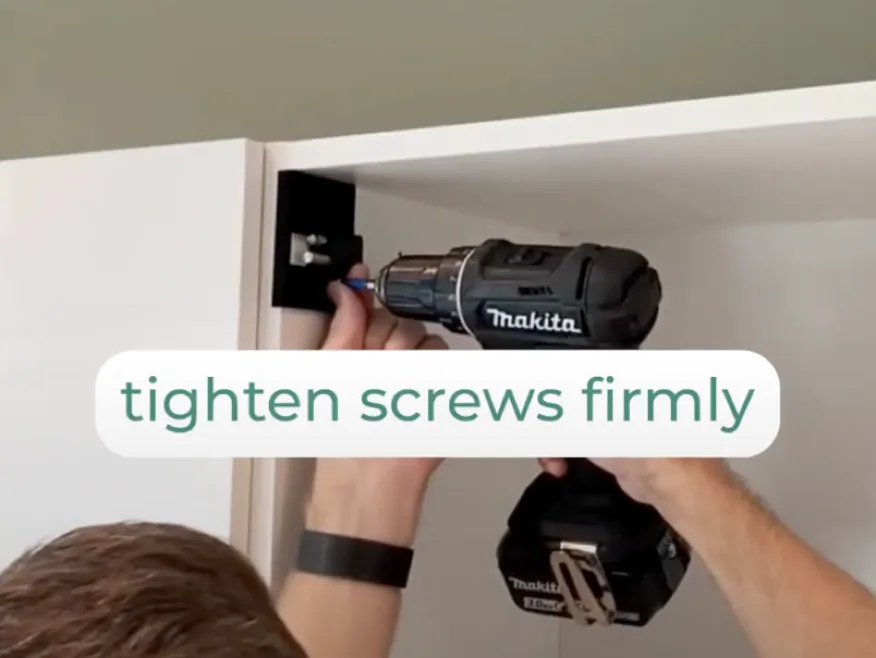
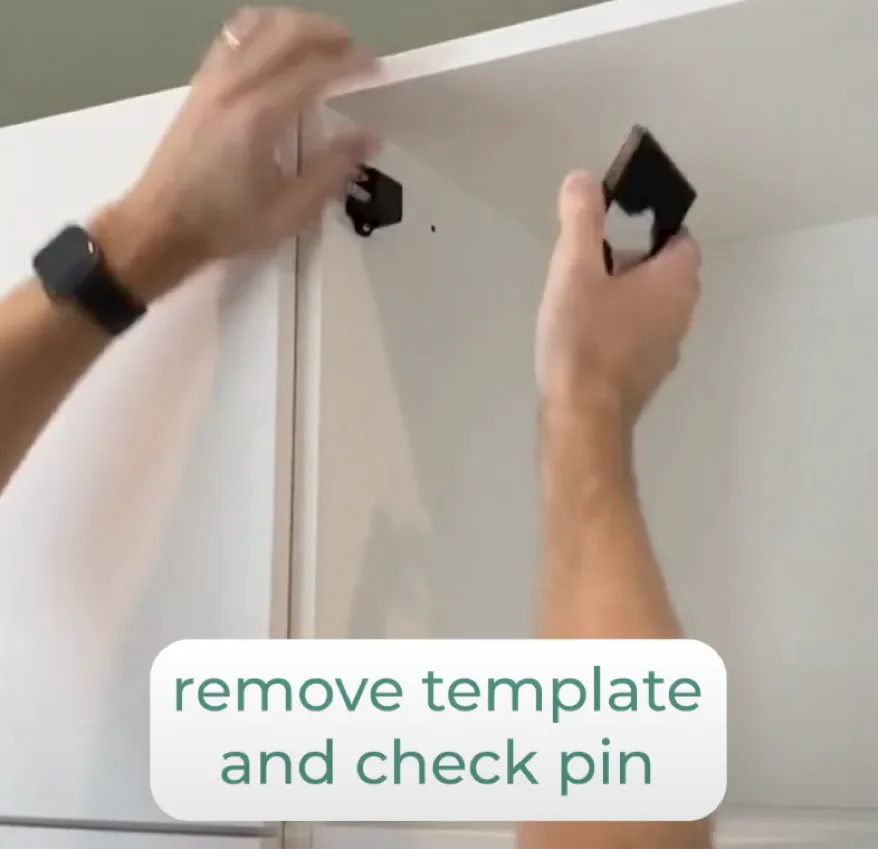
Step 5: Verify pin
Remove the template and check pin.
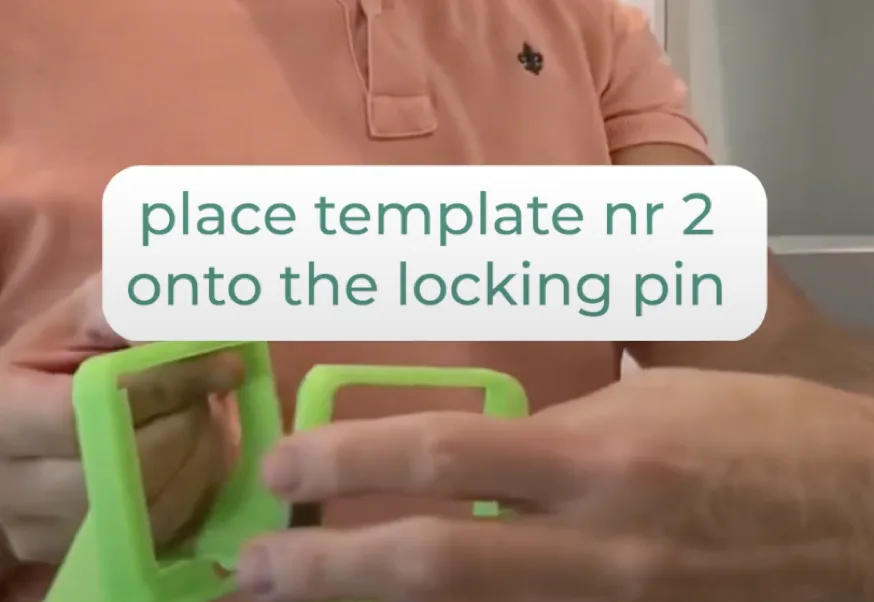
Step 6: Apply second template
Place the second template onto the locking pin.
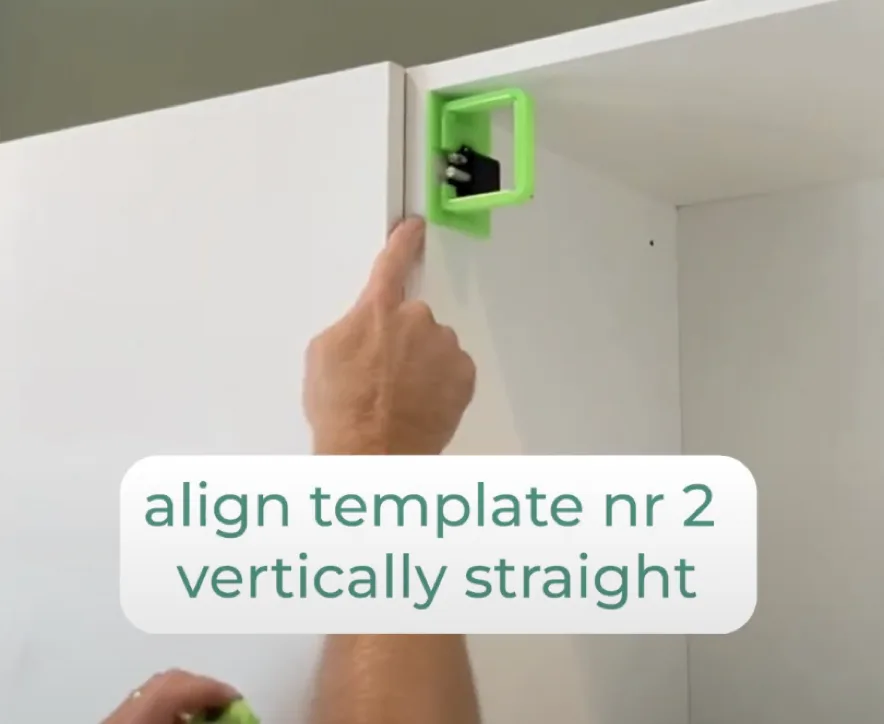
Step 7: Align vertically
Align the second template vertically straight.
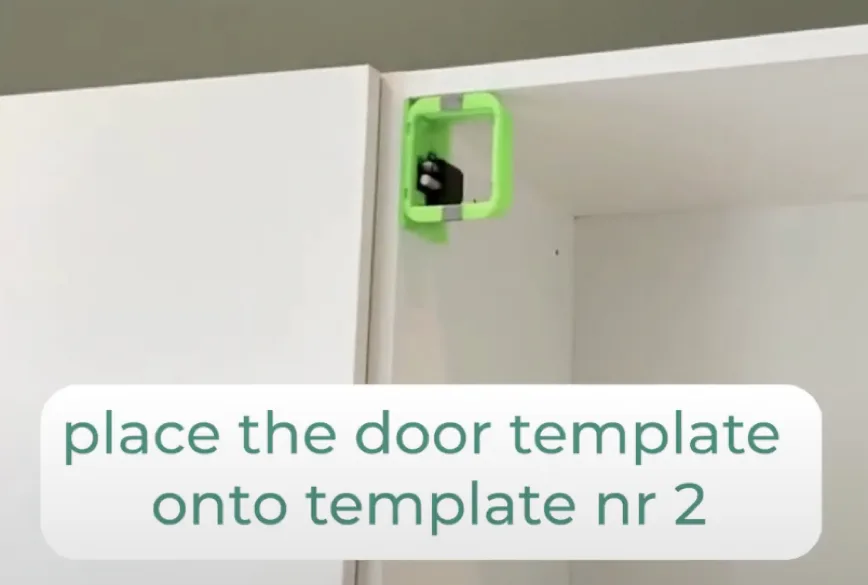
Step 8: Apply door template
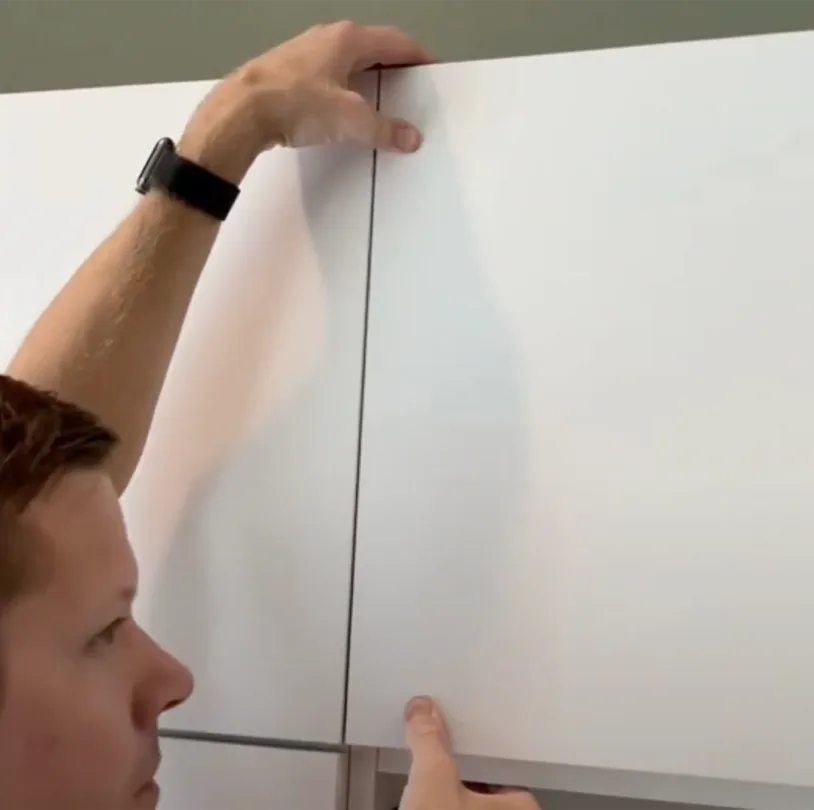
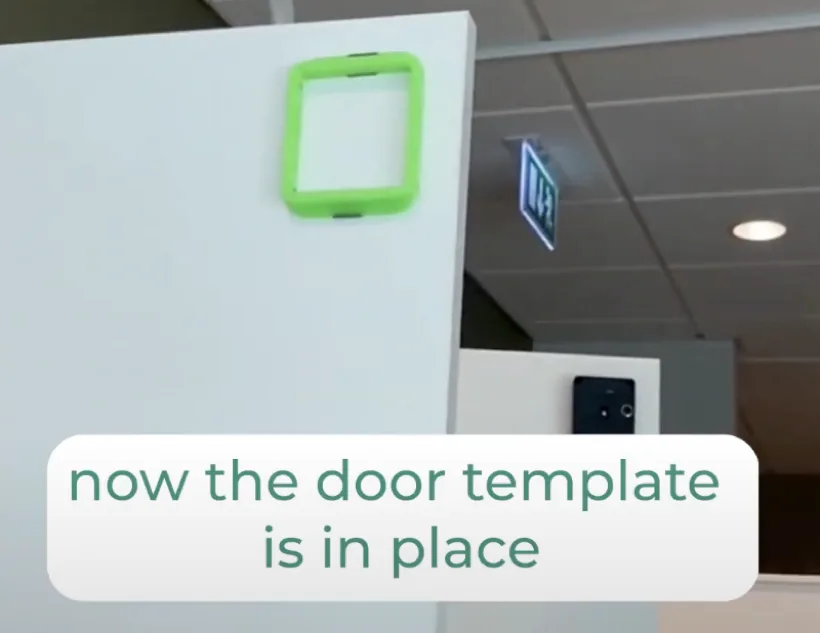
Place the door template onto template nr 2.
Step 9: Close & press
Close the locker door and press firmly so that the template attaches.
Step 10: Remove tape
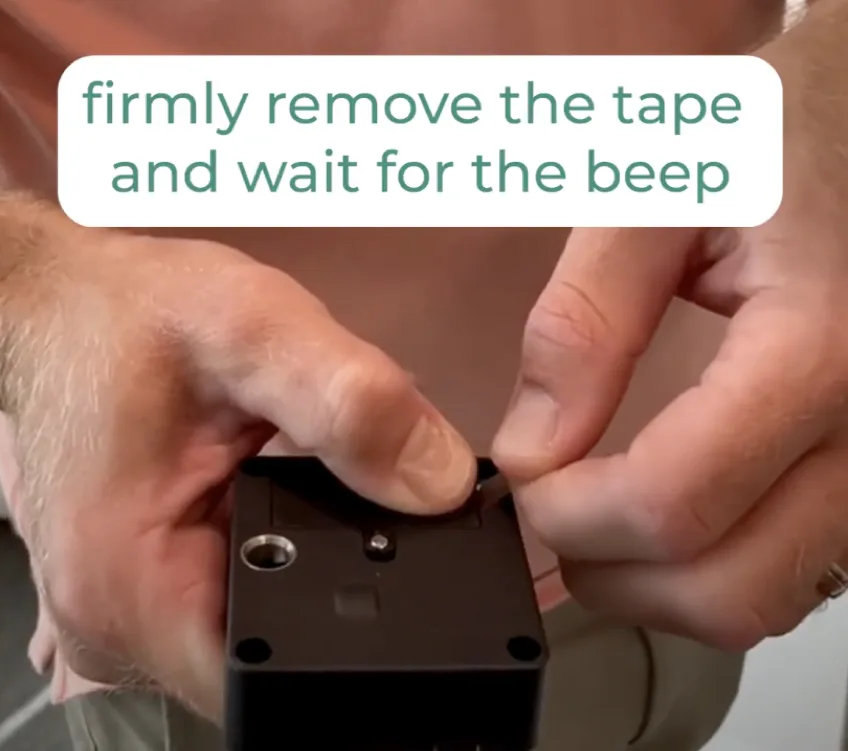
Firmly remove the tape from the lock and wait for the beep.
Step 11: Install lock
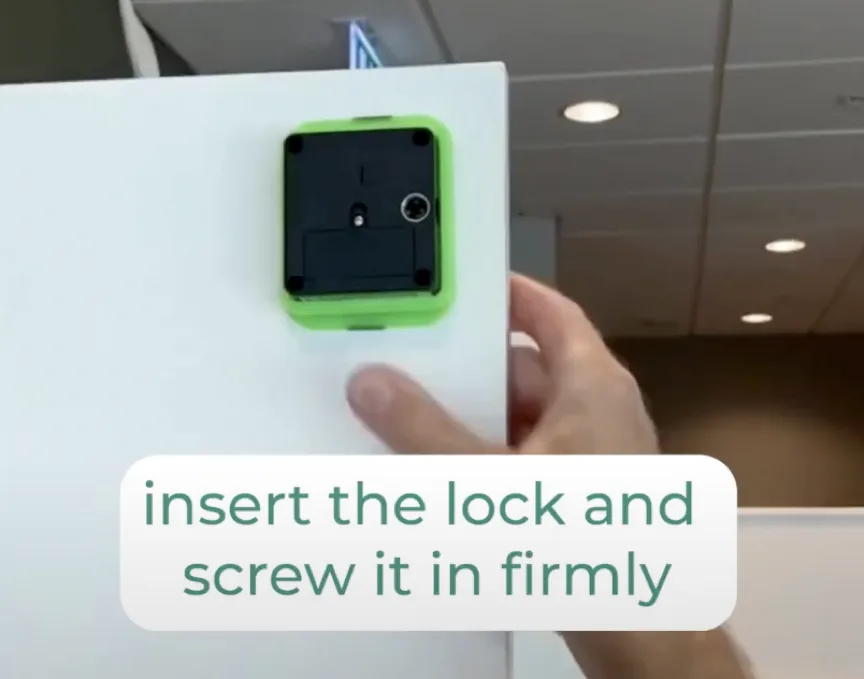
Insert the lock into the door template and screw it in firmly.
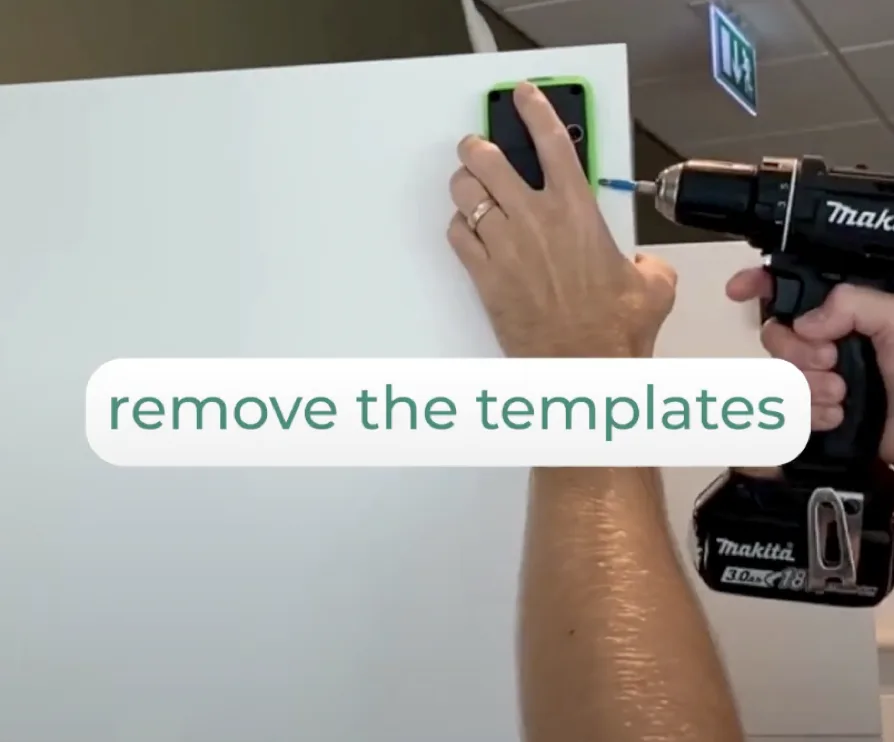
Step 12: Remove templates
Remove the templates.
Step 13: Download the app
Download the Awaio app on iOS to pair the lock.
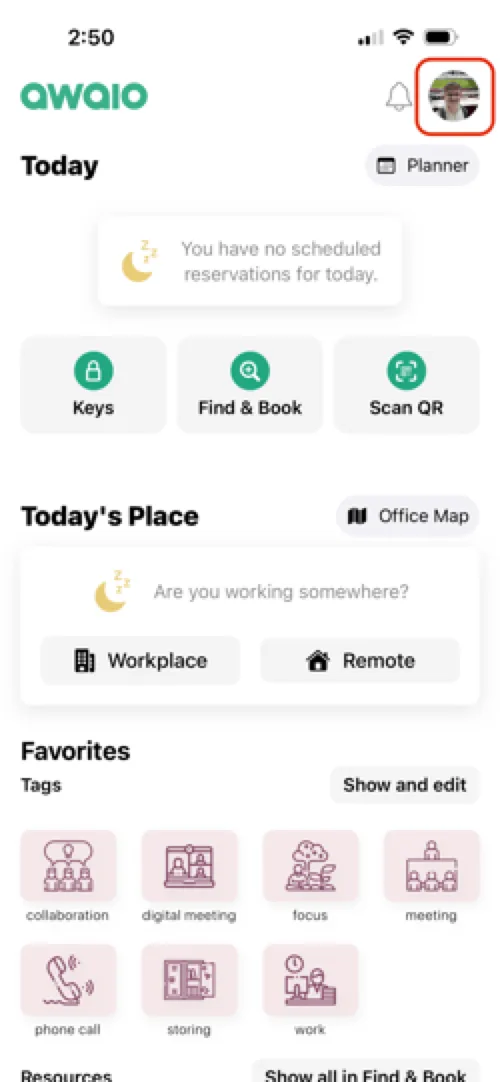
Step 14: Open profile settings
Launch the Awaio app and tap your profile icon in the top-right corner.
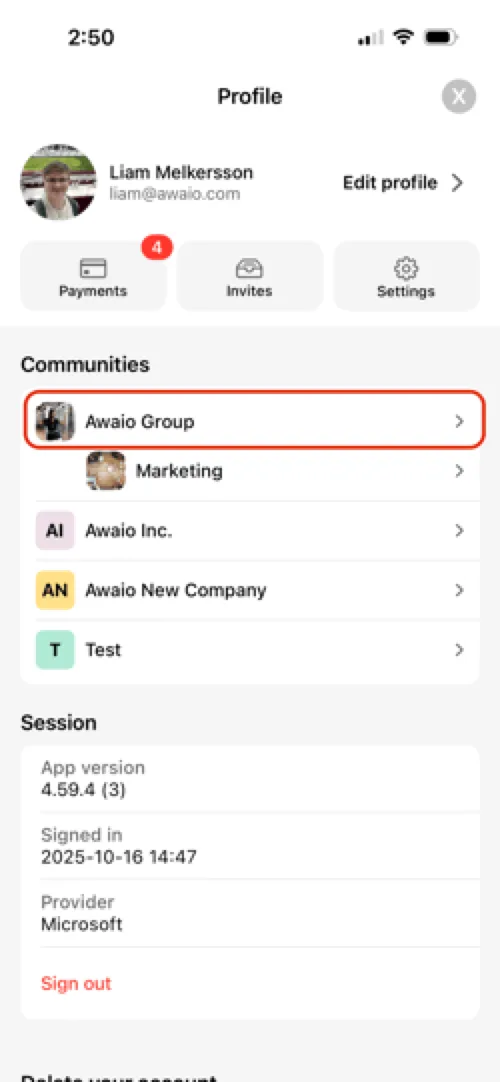
Step 15: Select your community
Go to the Communities tab and select your organisation (often your company name).
Step 16: Open Resources
Tap Resources to see the available locker clusters.
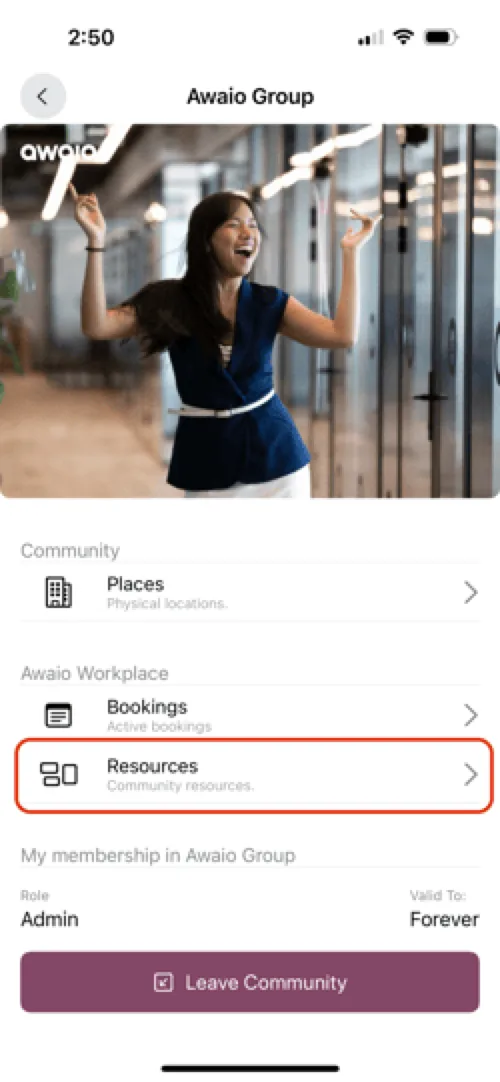
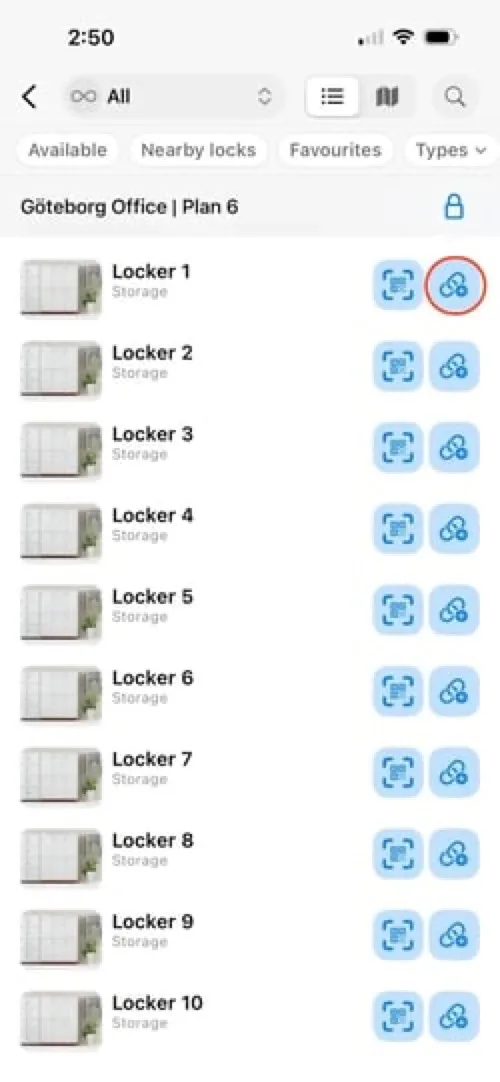
Step 17: Find the locker
Locate the locker you just mounted the lock on and tap the link button next to it.
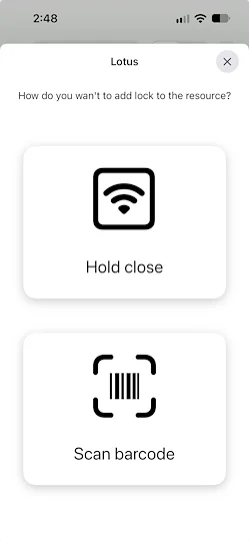
Step 18: Choose how to add the lock
Tap Scan barcode (or Hold close to pair by proximity), then scan the barcode on the lock to activate it and link it to the locker.
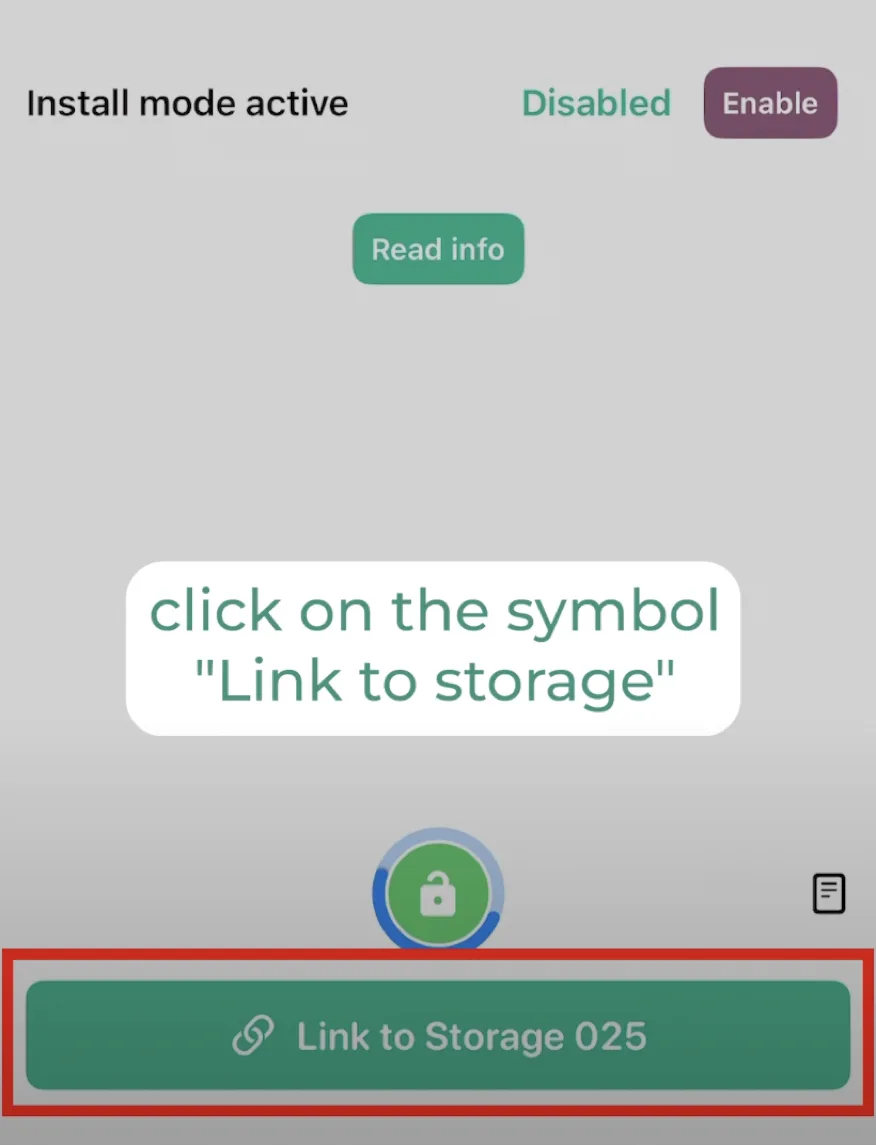
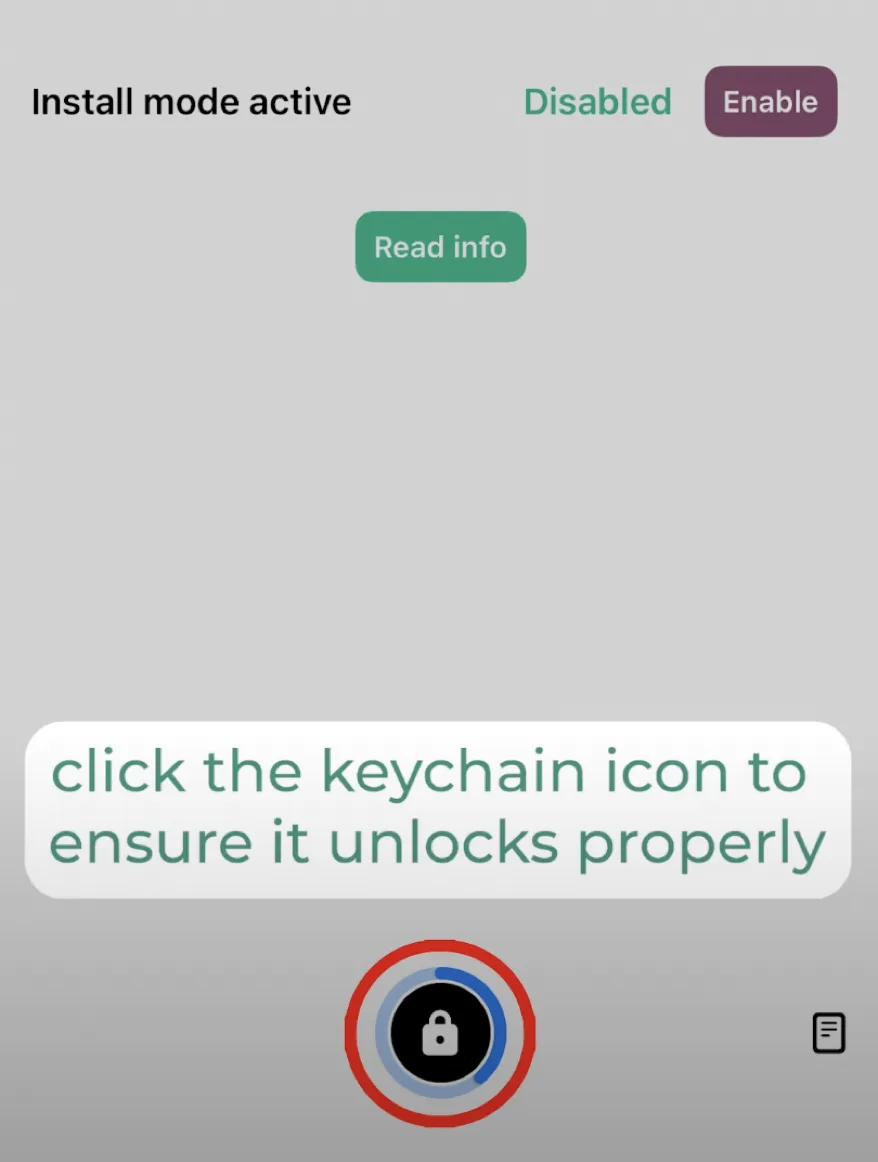
Step 19: Test the lock
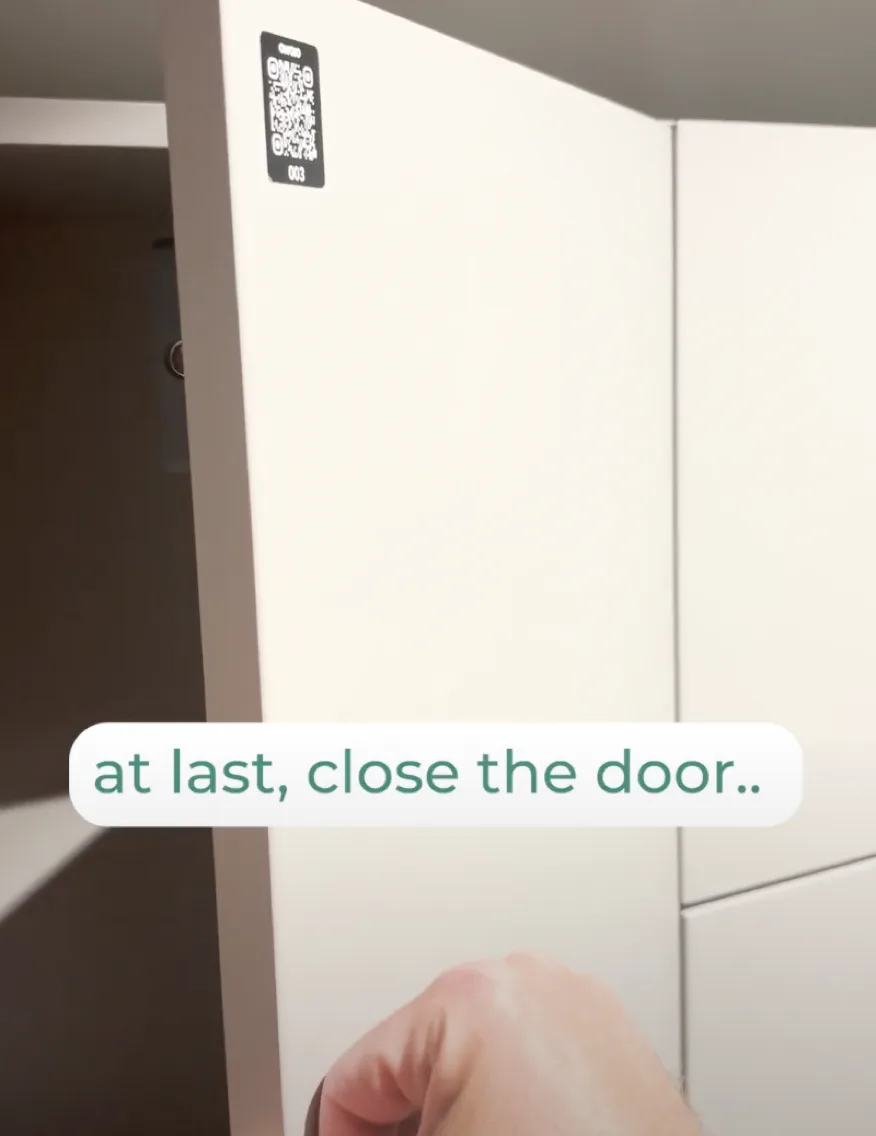
Verify the locker unlocks properly. That's it: your smart locker is ready to use.
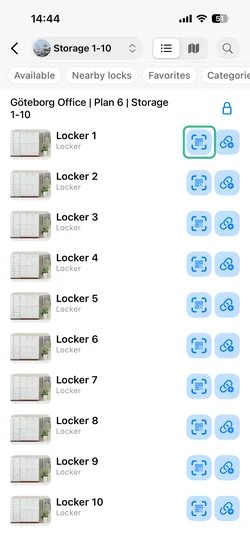
Step 20: Pair via QR code
Tap the QR code icon next to the locker to start pairing.
If you have further questions, feel free to contact us via our website chat (awaio.com) or email us at support@awaio.com.