If a resource, cluster, or area is on the right floor but sits in the wrong spot on the map — after a desk layout change, for example — you can reposition it directly on the map without touching the Places hierarchy.
Note: To move something to a different floor, see Moving a cluster, area, or resource to a different floor instead.
Step 1: Open Places
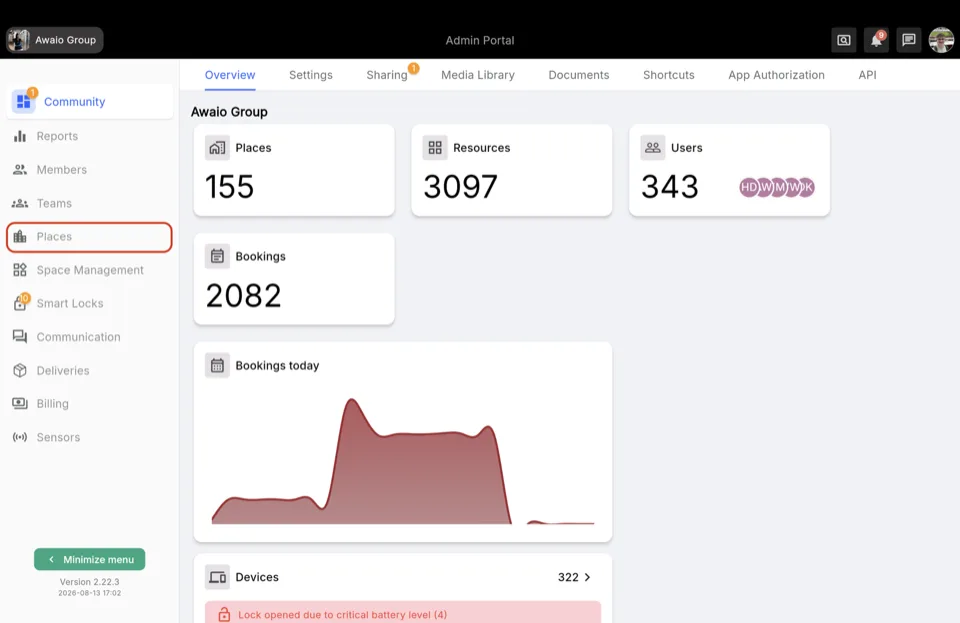
In the Admin Portal, navigate to Places in the left-hand navigation.
Step 2: Go to Office Maps
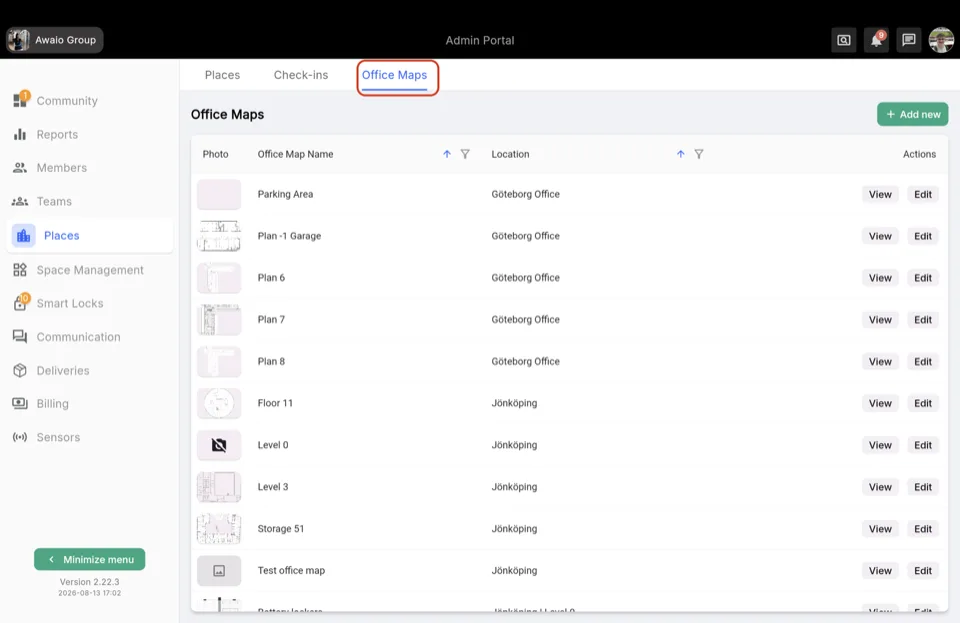
Switch to the Office Maps tab.
Step 3: Edit the floor's map
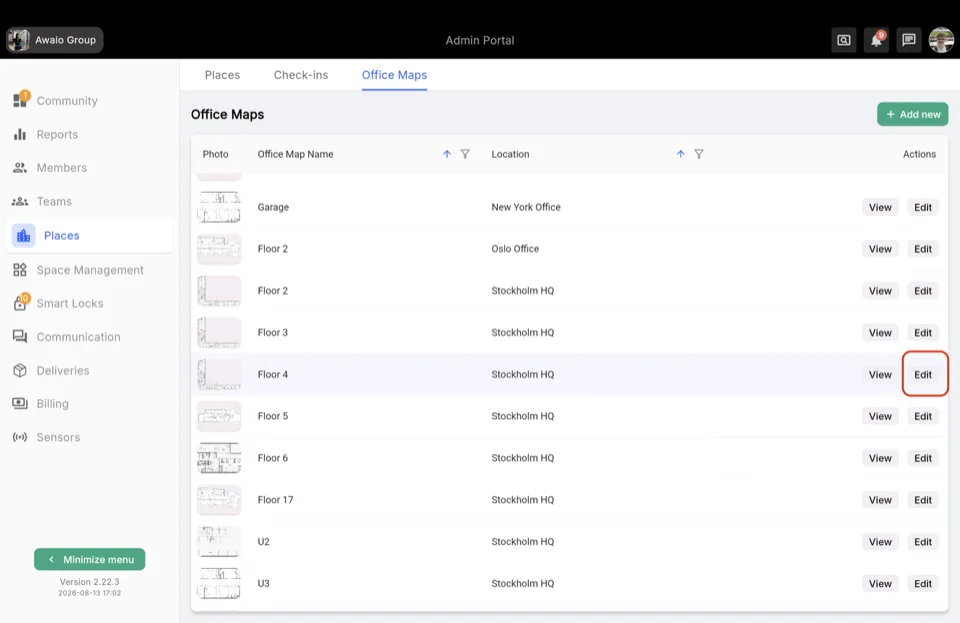
Find the office map for the floor the resource is already on, and click Edit in the Actions column.
Step 4: Find it and drag it into place
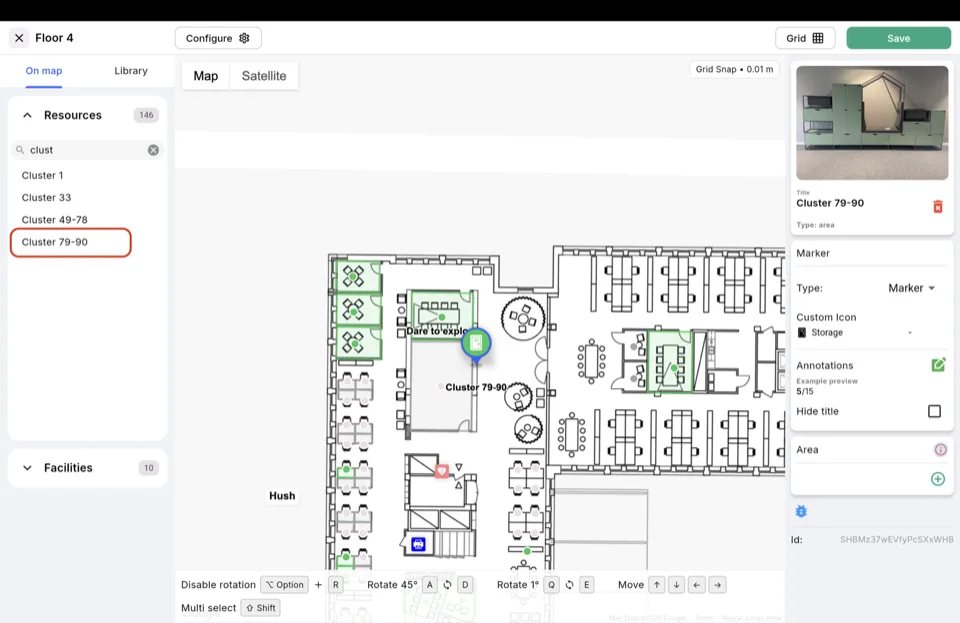
In the On map tab's Resources list, search for the resource, cluster, or area by name and select it. Drag it to its new spot on the canvas — use Grid Snap to line it up precisely, or the arrow-key Move controls in the bottom toolbar for fine adjustments. Click Save when it's positioned correctly.