

Overview
Use the Find & Book section in Awaio to search for an available desk, select your preferred location, and confirm your booking — all in a few steps.
Step 1: Open the Dashboard and start a new booking
- Log in to Awaio. You will land on the Dashboard.
- If you have no bookings for today, click New booking in the calendar panel, or click Show in Find & Book under the Resources section to jump directly to desk search.
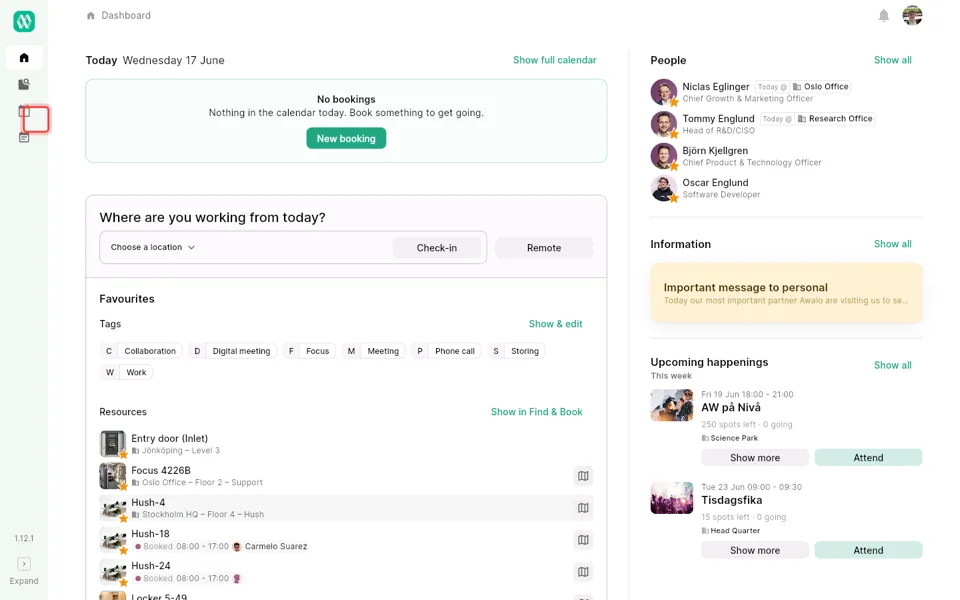
Step 2: Go to Find & Book via the sidebar
- In the left sidebar, click the Find & Book icon (the desk/resource icon).
- The Find & Book view will open, displaying available locations and resources.
Note: If your calendar is not yet connected to Microsoft or Google, a banner will appear at the top. You can dismiss it or go to Settings to integrate your calendar.
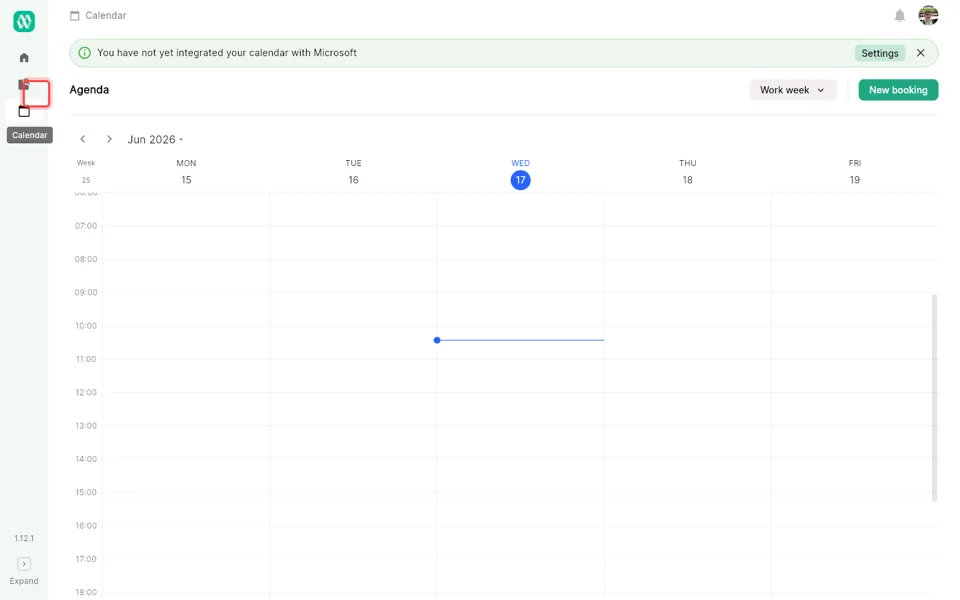
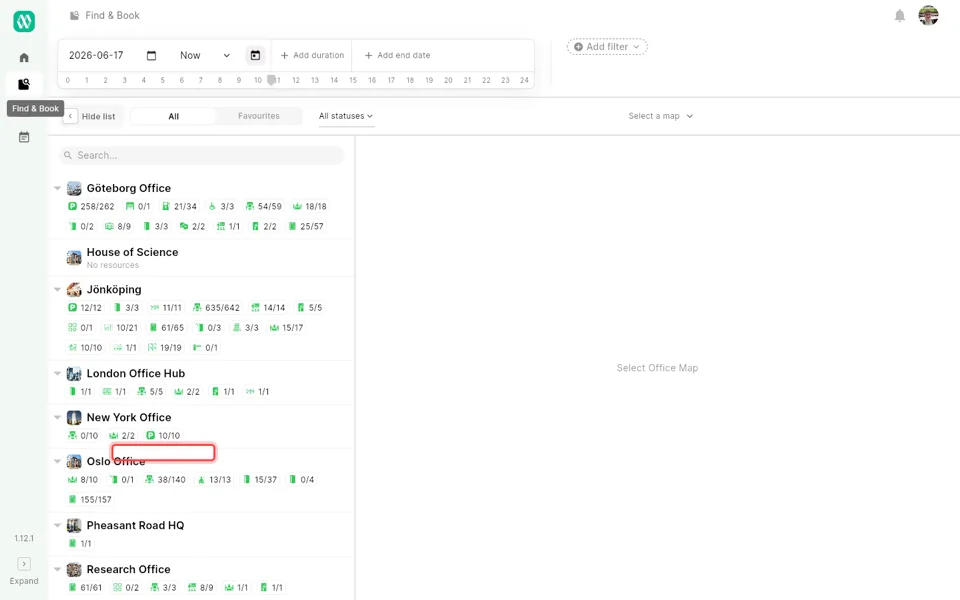
Step 3: Set your date and time, then locate your office
- At the top of the Find & Book view, confirm or change the date using the date picker.
- Adjust the time using the time slider or the Now dropdown.
- Optionally, click + Add duration or + Add end date to define a booking window.
- Scroll through the location list to find your office — for example, Oslo Office.
- Review the resource availability counters shown beneath each location name.
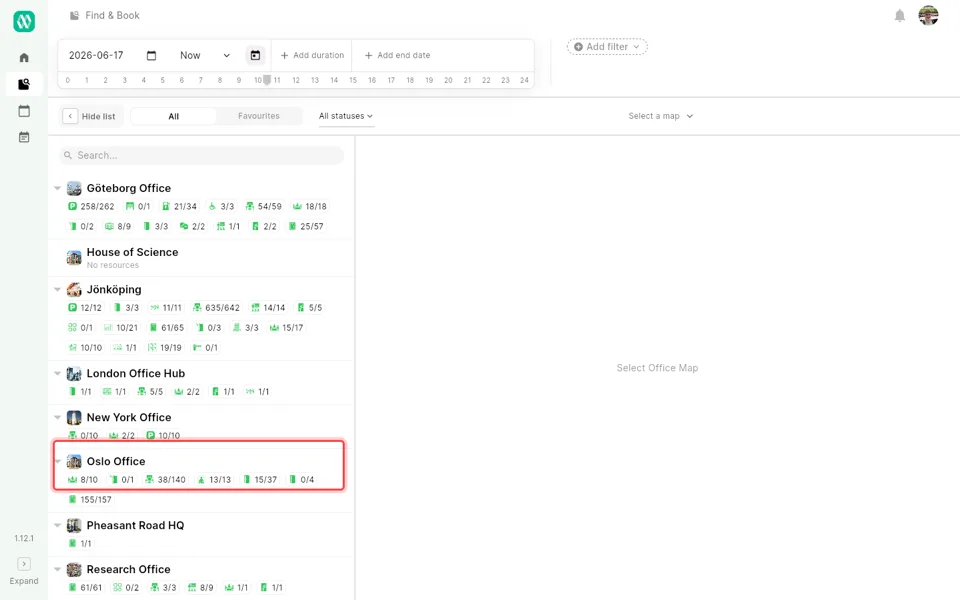
Step 4: Select a location and book a desk
- Click on your chosen office — for example, Oslo Office — to highlight and expand it.
- The location will be outlined, confirming your selection.
- Click Select a map (top right) to open the floor plan, or click directly on an available desk in the list.
- Select an available desk and confirm your booking details in the panel that appears.
- Click Book to complete the reservation.
Tips
- Favourites tab: Switch to the Favourites tab in Find & Book to quickly access desks you use regularly.
- Filters: Use Add filter to narrow results by desk type, floor, or amenities such as monitors or standing desks.
- Same-day booking: Leave the date set to today and use Now to find desks available immediately.
- Booking from the Dashboard: Your confirmed desk booking will appear in the calendar on the Dashboard and can be managed from there.
- Check-in: After arriving at the office, remember to check in via the Dashboard to confirm your presence.