

Overview
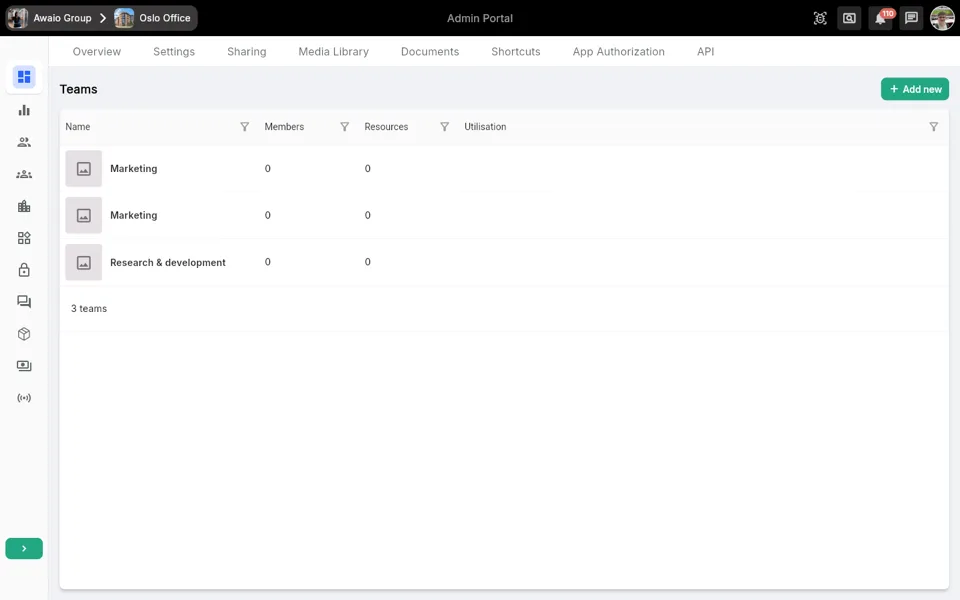
Teams let you group employees together so you can apply consistent access rules, booking quotas, and resource sharing across your organisation. All team management is done from the Teams section of the Awaio Admin Portal.
Navigate to Teams
- Sign in to the Awaio Admin Portal.
- In the left-hand navigation, click the Teams icon.
- The Teams list opens, showing each team's name, number of members, assigned resources, and utilisation.
Create a new team
- On the Teams page, click + Add new in the top-right corner.
- The Create Team dialog opens.
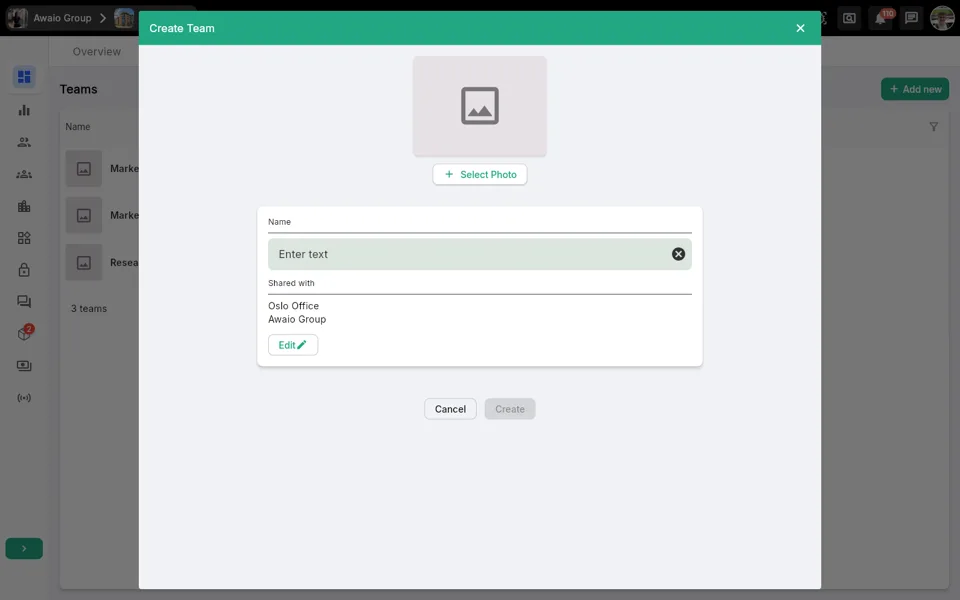
- Optionally, click + Select Photo to upload a team image.
- Enter a name for the team in the Name field.
- Review the Shared with list. This shows the communities the team will be visible to. Click Edit to change the sharing scope if needed.
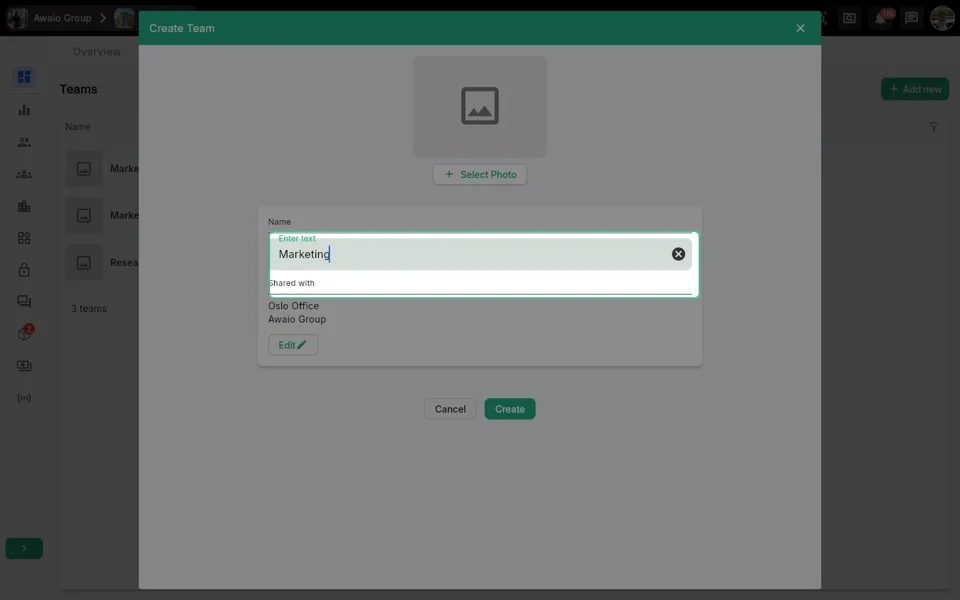
- Click Create. The button becomes active once a name has been entered.
Confirm the team was created
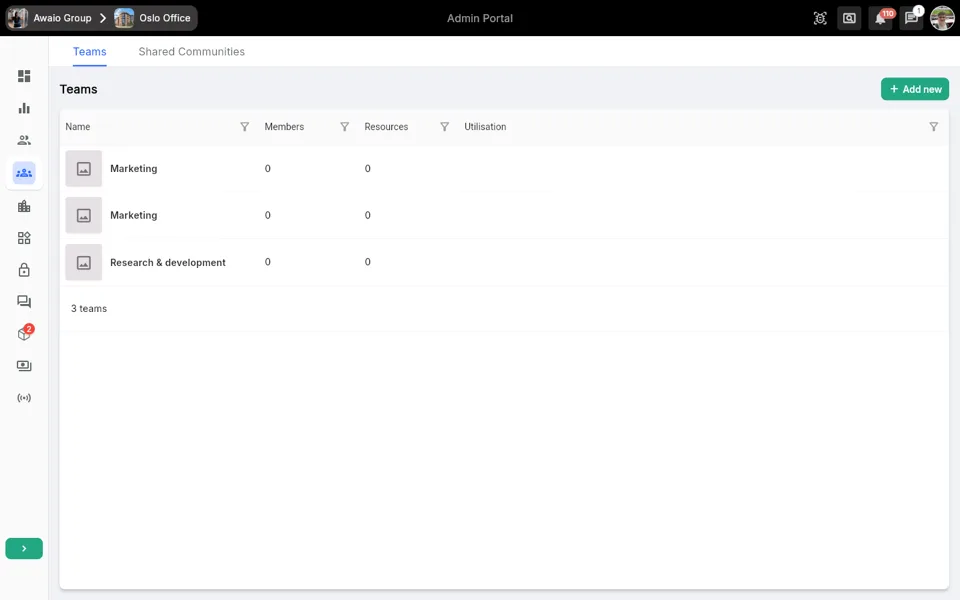
After saving, the new team appears in the Teams list alongside any existing teams. The total team count at the bottom of the list updates automatically.
Edit an existing team
- On the Teams page, click any row in the list to open the team details drawer.
- Update the team name, photo, or Shared with settings as needed.
- Click Save to apply your changes.
Tips
- Use the filter icon (▼) on the Name, Members, or Resources columns to quickly find a specific team.
- The Shared with setting controls which communities can see and use the team. If your organisation has multiple locations or groups, make sure the correct communities are selected before creating the team.
- Teams can be referenced when configuring Booking Rules and Booking Quotas to apply policies to specific groups of employees.