

Allow Awaio to use your existing company account in Microsoft 365. Follow these steps to enable Single Sign-On and make it easier for users to log in to Awaio.
Required permissions
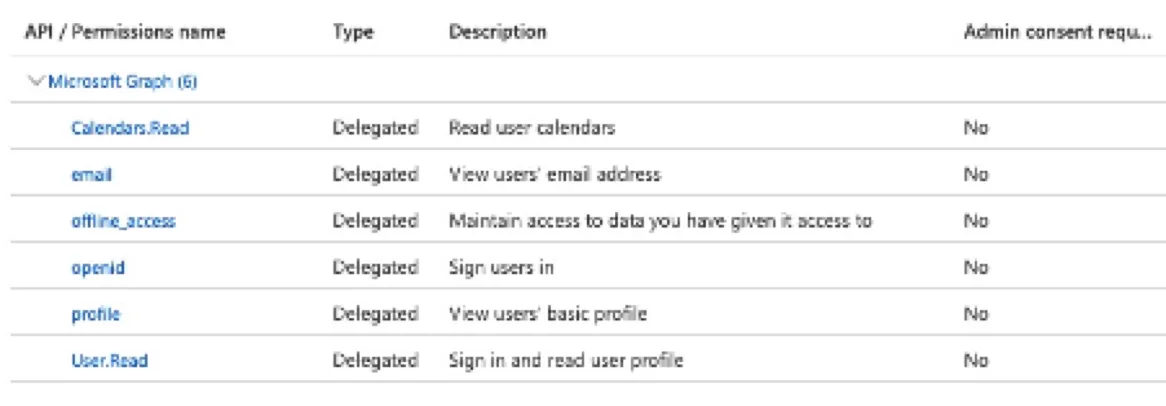
Before you begin, it helps to understand which permissions Awaio requests and why.
Login: Mandatory
- Sign users in (openid): to be able to sign in to Awaio
- View users' basic profile (profile): for showing the correct first name and last name
- View users' email address (email): to be able to log in with email
- Maintain access to data you have given it access to (offline_access): to be able to use data offline
Profile: Recommended
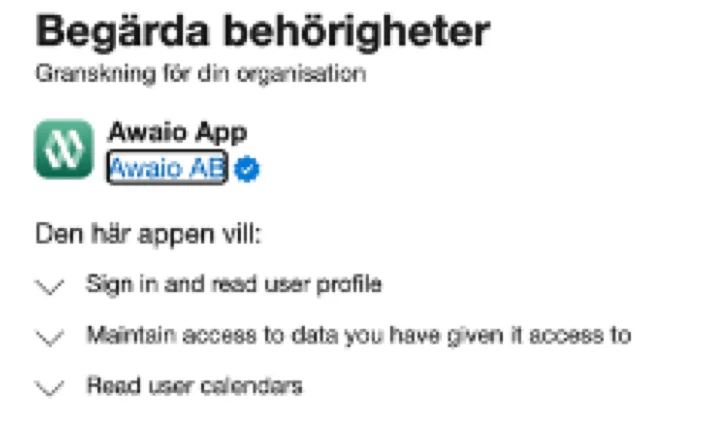
- Sign in and read user profile (User.Read): to read title, photo, phone number, department, etc.
Grant consent for Login + Profile
User Calendar: Optional
- Read user calendars (Calendars.Read): to be able to show the user calendar in the Awaio app
Grant consent for Login + Profile + Calendar
Part 1: Grant admin consent in Azure Active Directory
Step 1: Open Azure Active Directory
Log in to your Azure Active Directory admin center.
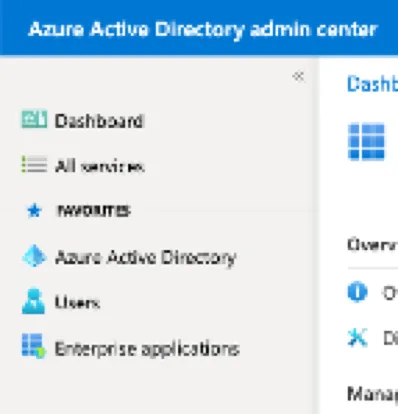
Step 2: Go to Enterprise applications
In the left menu, select Enterprise applications.

Step 3: Search for the Awaio app
Use the search field to find Awaio. Select the Awaio application from the results.
Step 4: Open Permissions
In the Awaio application, navigate to Security → Permissions.
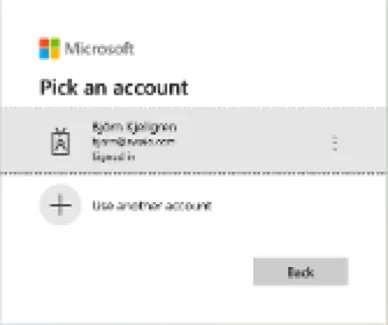
Step 5: Grant admin consent
Click Grant admin consent for [your organization] and confirm in the dialog that appears.
Part 2: Configure the integration in the Awaio Admin Portal
Step 6: Open Integrations in the Awaio Admin Portal
Go to App Authorization in the Awaio Admin Portal.

Step 7: Select Microsoft 365
Choose Microsoft 365 from the list of available integrations.
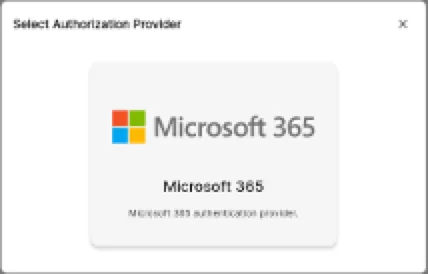
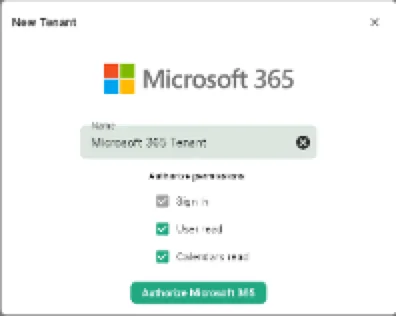
Step 8: Add your Microsoft Tenant
Enter your Microsoft Tenant ID and select the permission level you want to enable (Login, Profile, or Calendar).
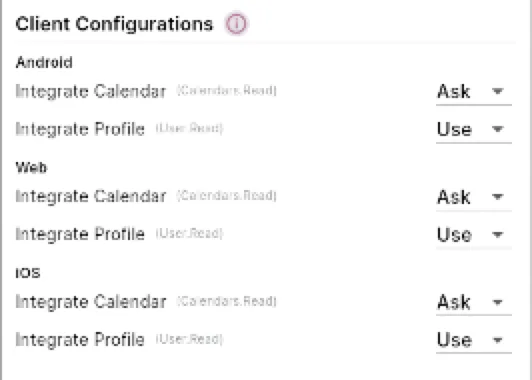
Step 9: Configure app settings
Review and confirm the app settings. You can choose which permissions to enable based on your organization's needs.
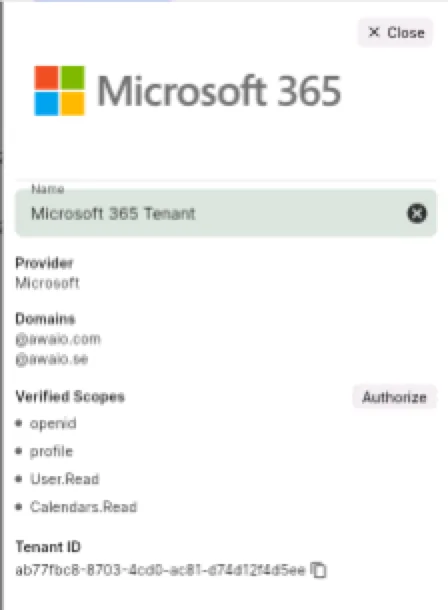
Step 10: Verify the connection
Once saved, the integration status should show as connected. Verify that the tenant ID and permission level are correct.
Connect Microsoft Groups to Awaio Teams
You can sync Microsoft 365 Groups with Awaio Teams so that group membership is automatically reflected in Awaio.
Step 11: Open Team settings
In the Awaio Admin Portal, navigate to Teams and select the team you want to connect.
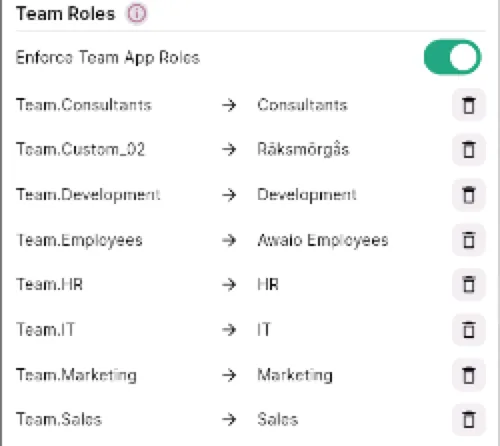
Step 12: Link a Microsoft Group
Under the integration settings for the team, search for and select the corresponding Microsoft 365 Group.

Step 13: Review sync settings
Confirm the sync direction and any role mappings between the Microsoft Group and the Awaio Team.
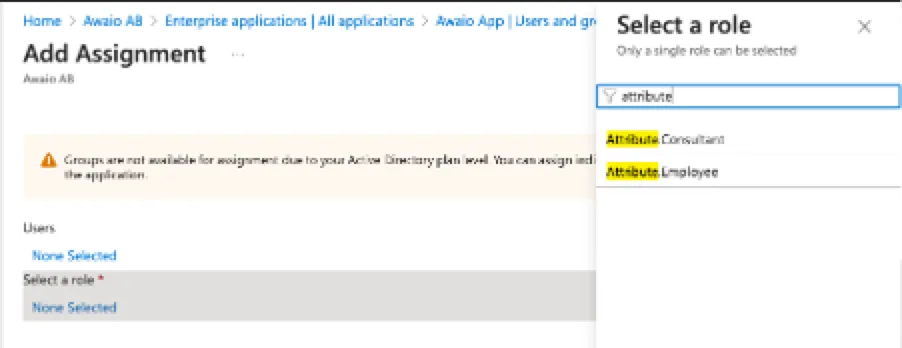
Attributes and user roles
Step 14: Configure user attributes
Under Settings → Integrations → Microsoft 365 → Attributes, you can map Microsoft profile fields (such as department or job title) to Awaio user attributes.
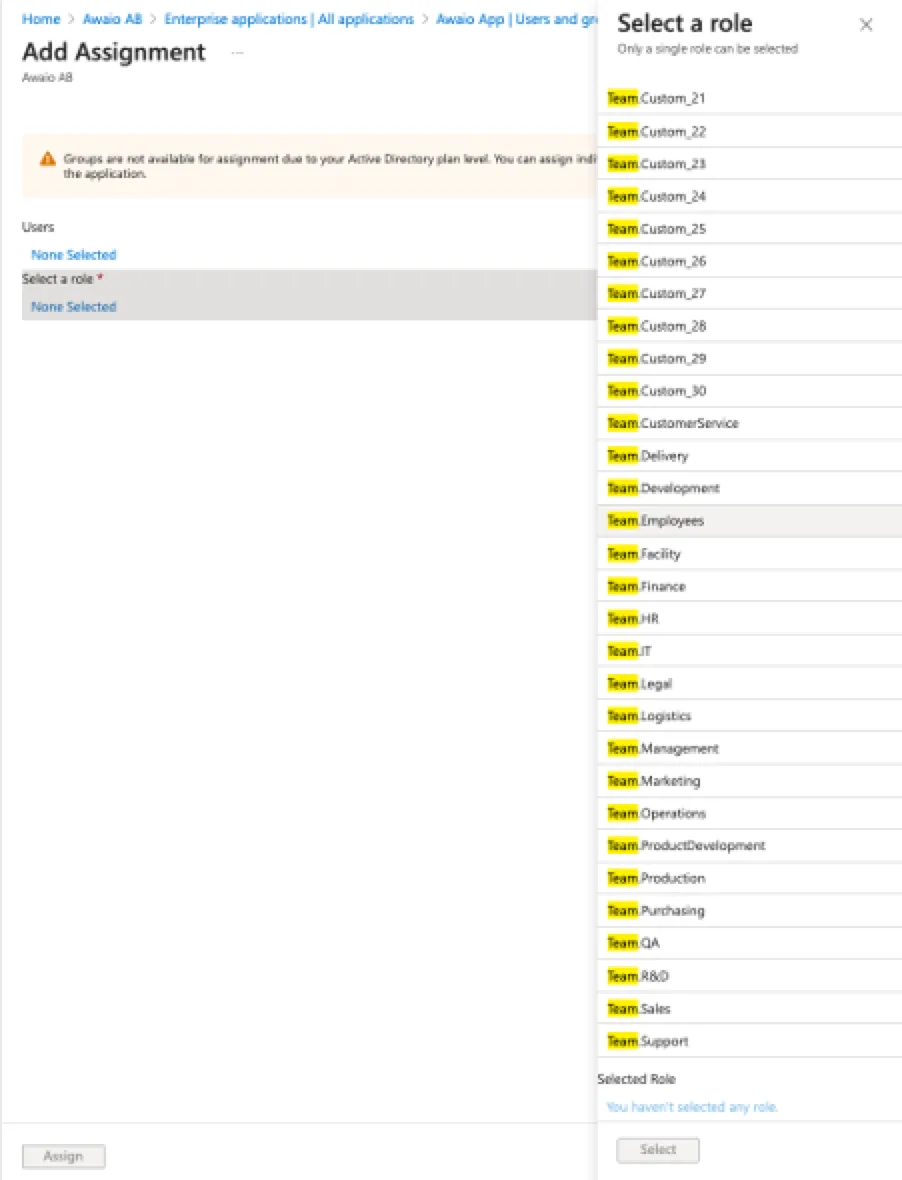
Step 15: Manage user roles
Use the role management settings to define which Awaio roles are assigned based on Microsoft Group membership or user attributes.
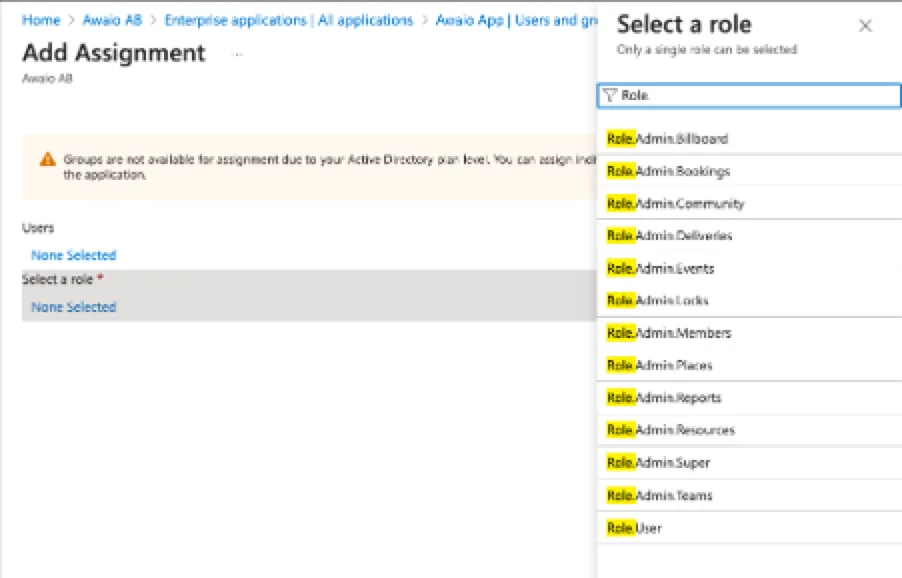
If you have further questions, feel free to contact us via our website chat (awaio.com) or email us at support@awaio.com.