What you need
- Small Philips screwdriver
- Awaio CR123A (3V) battery: available at awaio.com
- The Awaio app with admin access

Before you begin
Make sure you have admin access to the correct Community and Resources, and that you can see the Devices overview in the app showing which locks need service.
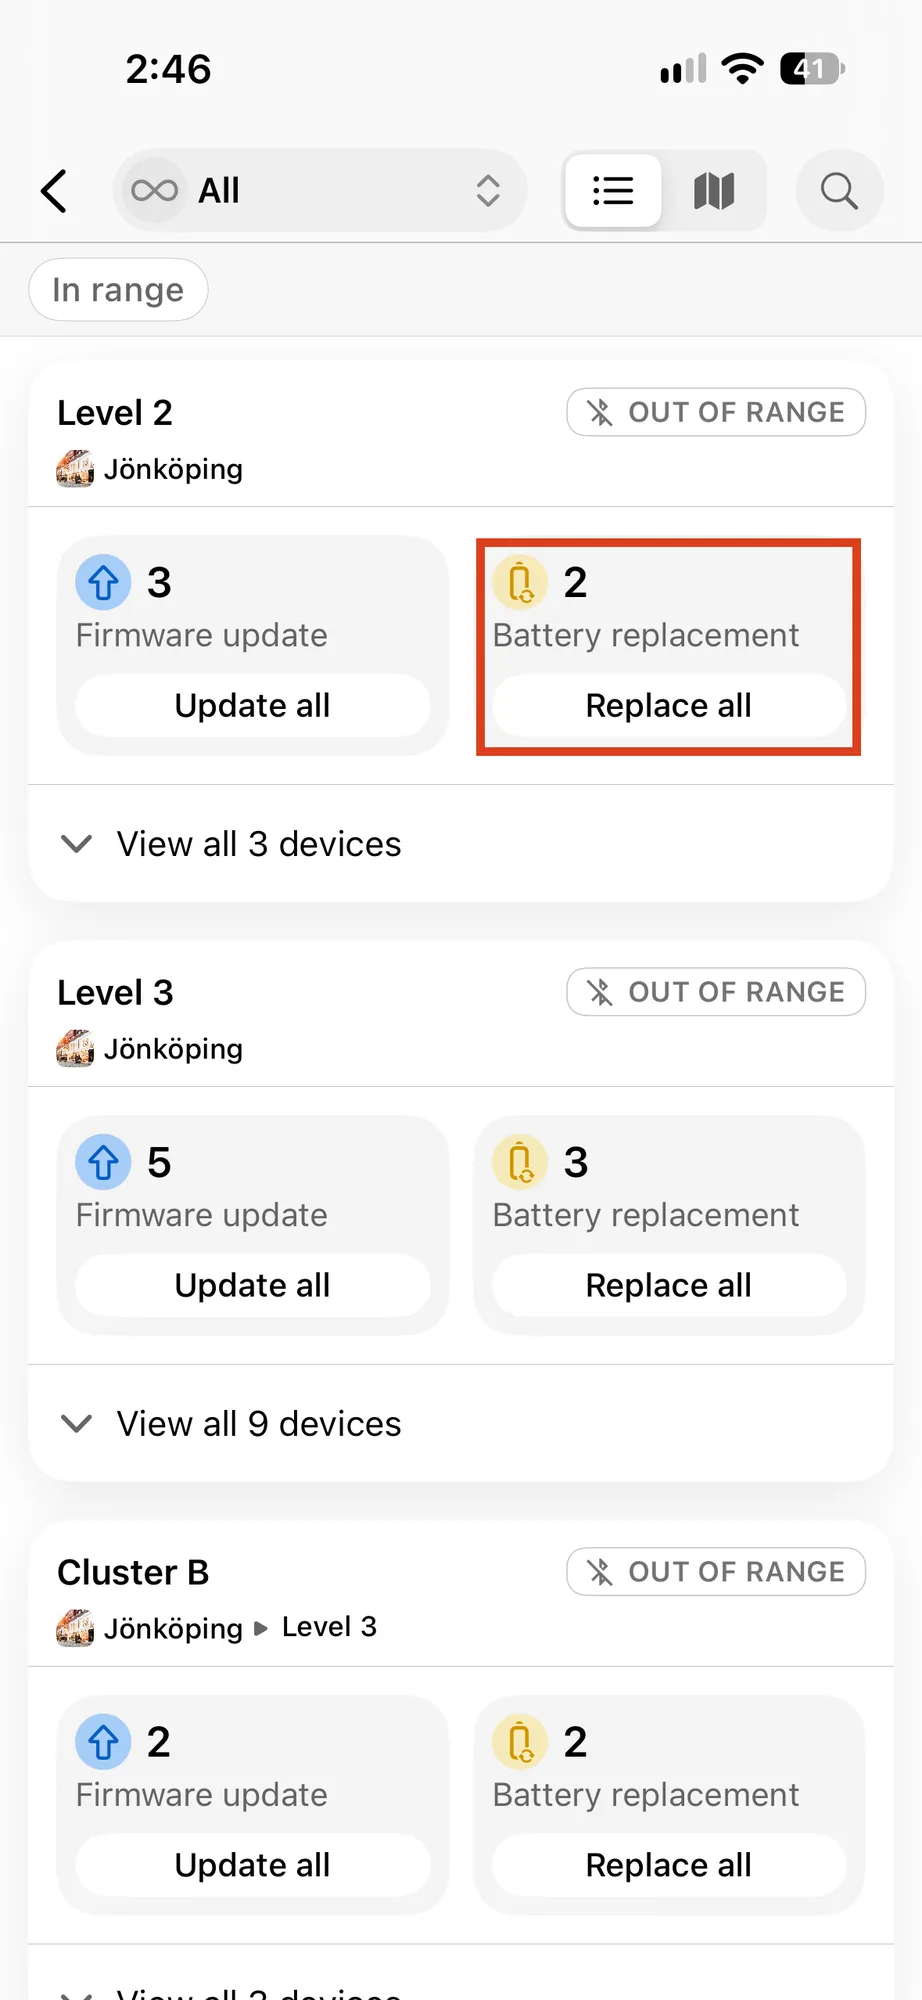
Syncing battery data happens over Bluetooth, so you need to be physically near the locks. Each cluster, area, or floor in the device list shows IN RANGE or OUT OF RANGE. Replace all only works for groups marked IN RANGE — walk to that floor or cluster first, and stay there until the sync finishes.
Step-by-step
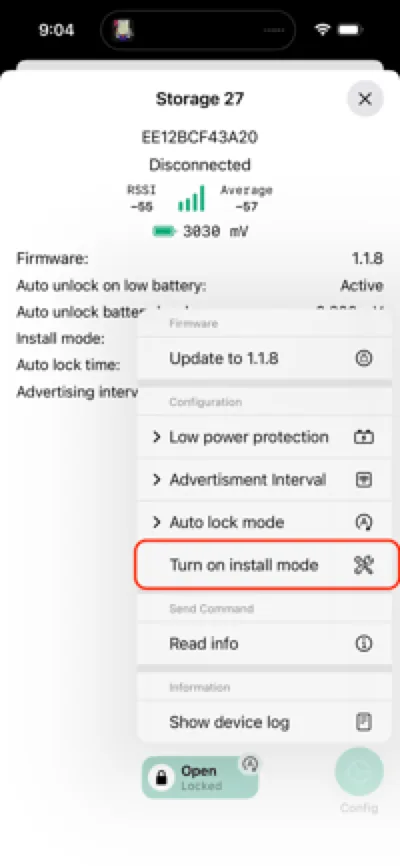
Step 1: Activate install mode
Place the lock into install/service mode to prevent accidental door closure during battery removal.
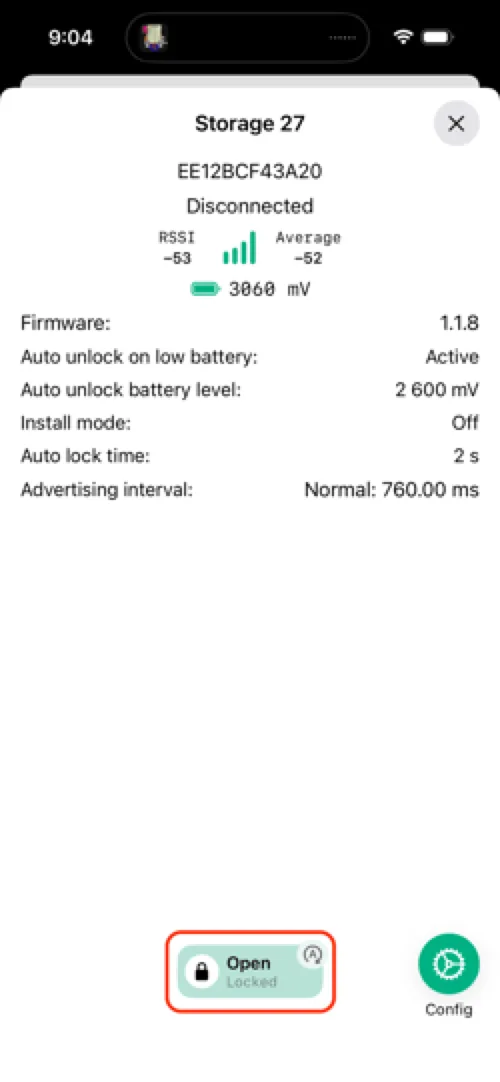
Step 2: Unlock the locker
Unlock the device to access the internal battery compartment.
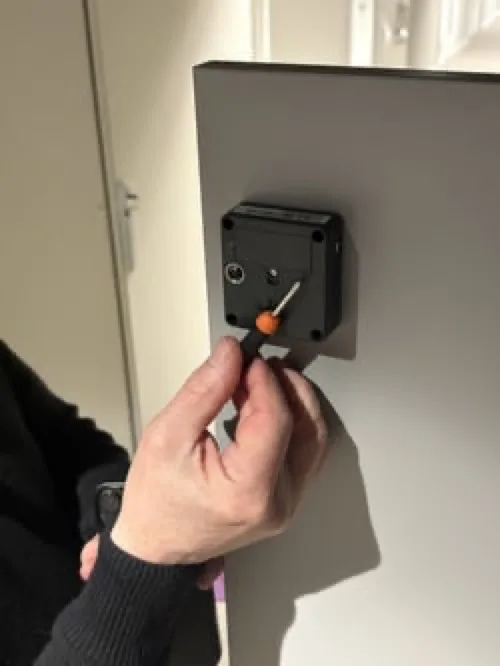
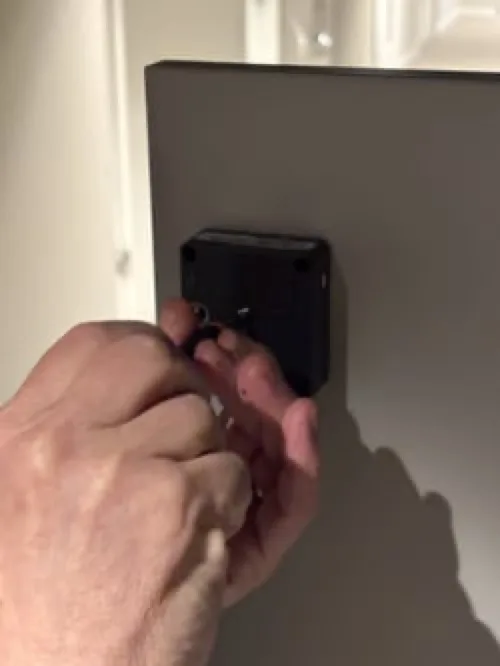
Step 3: Remove the battery latch
Use a Philips screwdriver to unscrew and remove the battery latch. Place the screw somewhere secure so it doesn't get lost.
Step 4: Remove the old battery
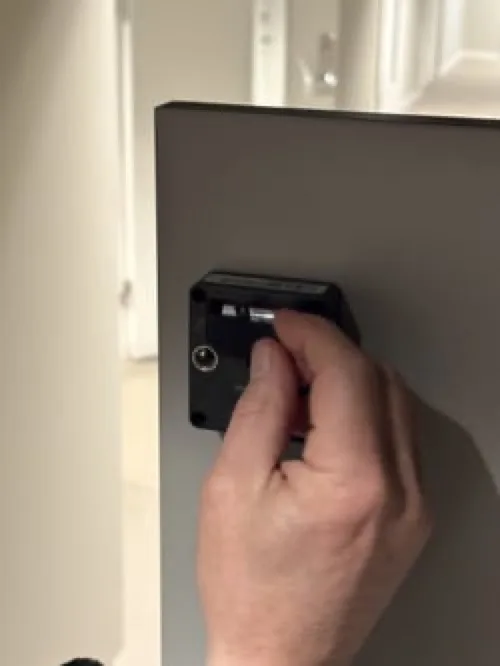
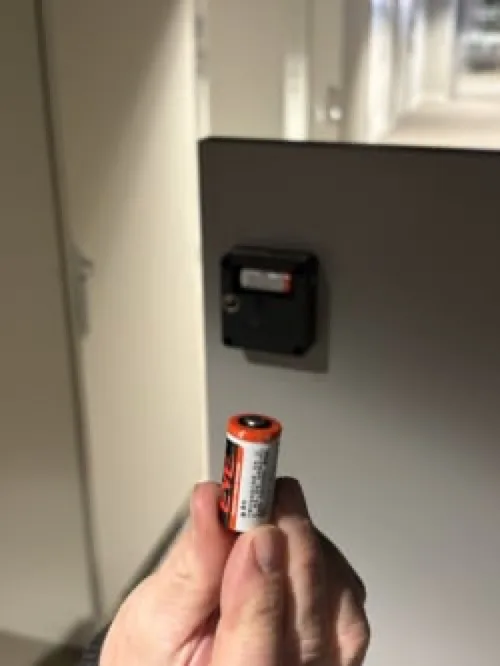
Step 5: Insert the new battery
Insert a new official Awaio CR123A battery. Wait for the confirmation beep indicating successful installation.
Step 6: Reattach the battery latch
Screw the latch firmly back into place.
Step 7: Test the lock
Use the app to verify the lock operates correctly before closing the door.
Step 8: Update battery data in the app
Open the Devices view in the app to find the lock that needs a battery data update.
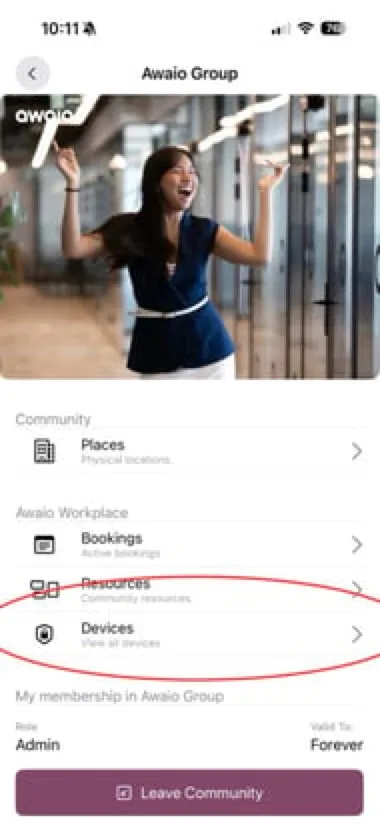
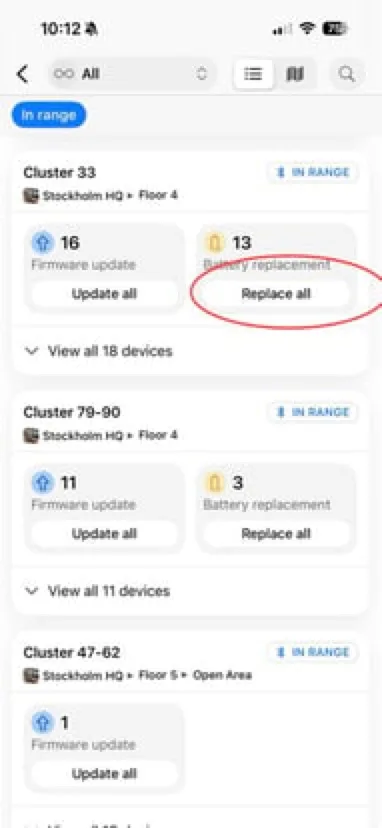
Tap the lock and select the update option to sync the new battery reading to the admin portal.
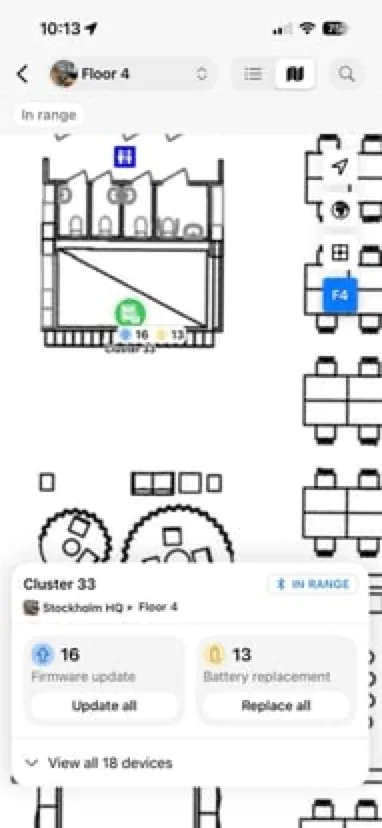
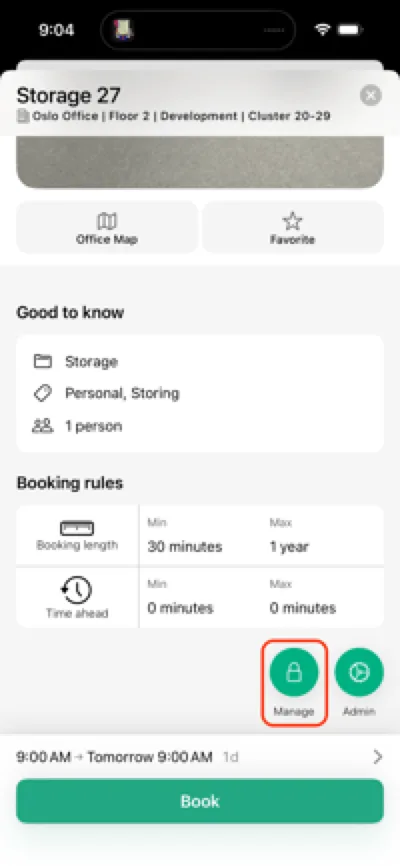
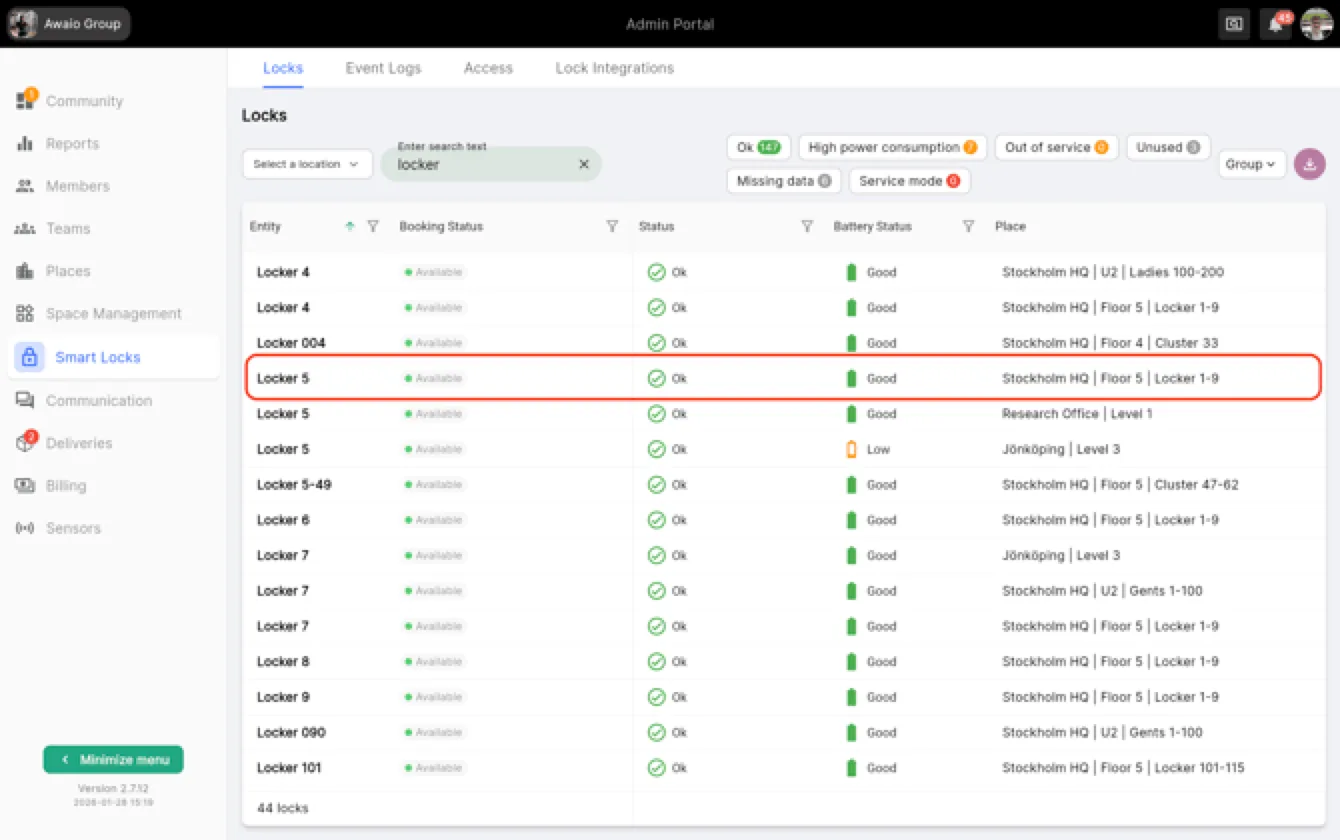
Confirm the update is reflected in the Admin Portal.
Sync a whole cluster or floor at once
Once you have replaced the batteries in several locks, you don't have to sync them one by one. The device list groups your locks by place, floor, and cluster, and each group has a Replace all button that syncs every lock in it.
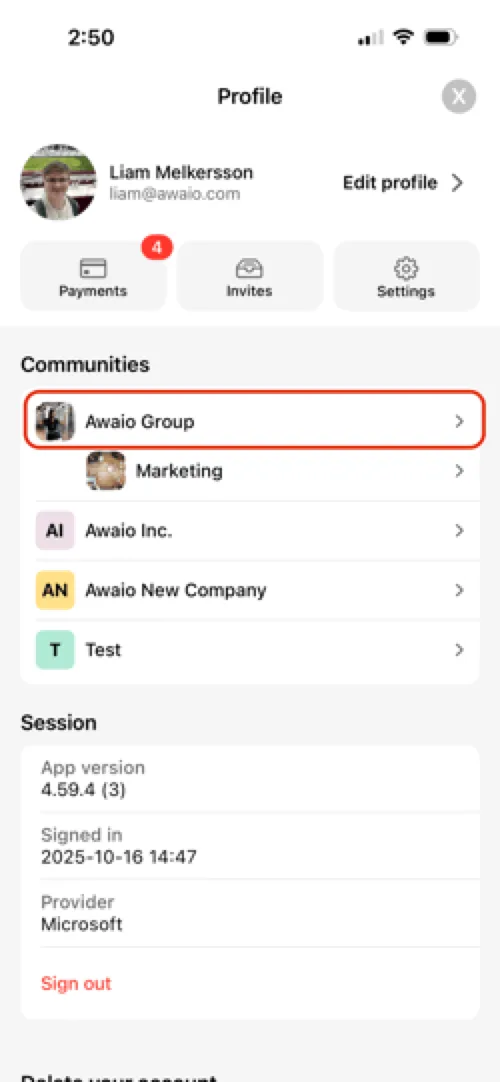
Step 1: Select your community
Tap your profile in the top-right corner, then under Communities choose your community.
Step 2: Open the device list
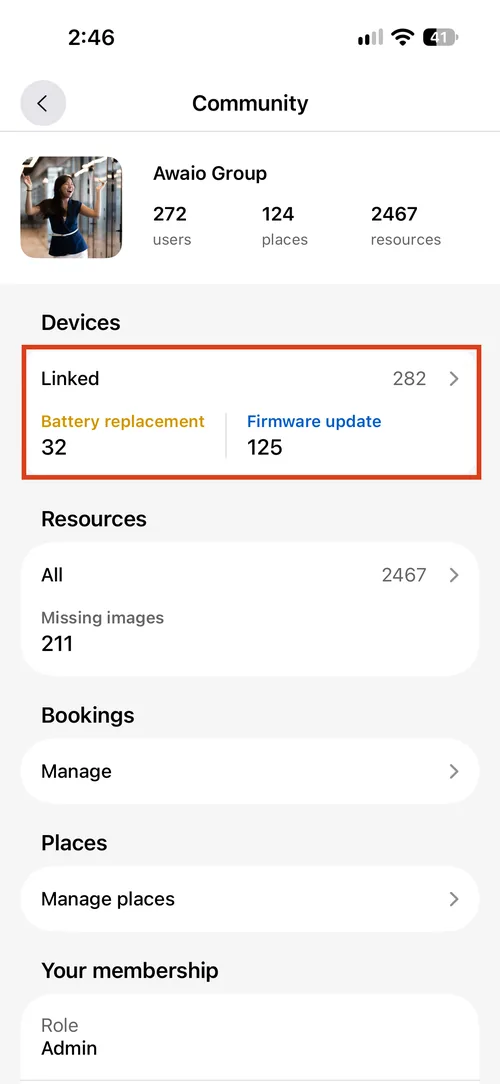
Under Devices, tap Linked. The card also shows how many locks currently need a battery replacement across the whole community.
Step 3: Find the group and tap Replace all
Scroll to the cluster, area, or floor you worked on and tap Replace all under Battery replacement. Remember that this only works for a group marked IN RANGE.
Step 4: Wait for the sync to finish
Stay within Bluetooth range until every lock in the group has been read. The battery replacement count drops as each lock reports its new reading, and the new data appears in the Admin Portal.
If you have further questions, feel free to contact us via our website chat (awaio.com) or email us at support@awaio.com.