Connect Awaio to your Microsoft 365 room calendars so users can book Microsoft Rooms directly from Awaio. The integration uses subscriptions through Microsoft Graph API, which keeps it fast and reliable, and it works in both directions: bookings created in Awaio sync to Microsoft, and bookings made in Outlook or Teams sync back to Awaio.
This is a separate integration from Single Sign-On — see Awaio with Microsoft 365 – Enterprise Application if you're looking to set up SSO instead.
Part 1: Grant admin consent for the Awaio M365 Sync app
If a consent request has been sent to your admin, look for the Awaio M365 Sync app. Otherwise, an admin can grant consent directly using this link:
Grant admin consent for Awaio M365 Sync
The app requests these permissions:
- Maintain access to data you have given it access to (offline_access): to be able to use data offline
- Sign in and read user profile (User.Read): to log in and find shared rooms in the address book
- Read all users' basic profiles (User.ReadBasic.All): to read room information like equipment and capacity
- Read and write user and shared calendars (Calendars.ReadWrite.Shared): to sync shared calendars like meeting rooms, and to make bookings in calendars where the account has Full Access permission
Part 2: Set up a Microsoft 365 service account
We recommend running the integration through a dedicated service account with only the lowest permissions needed, rather than a personal admin account.
Step 1: Create the service account
Create an account with a name and email such as awaio@company.com or awaio.booking@company.com, and assign it a license that includes email and calendar.
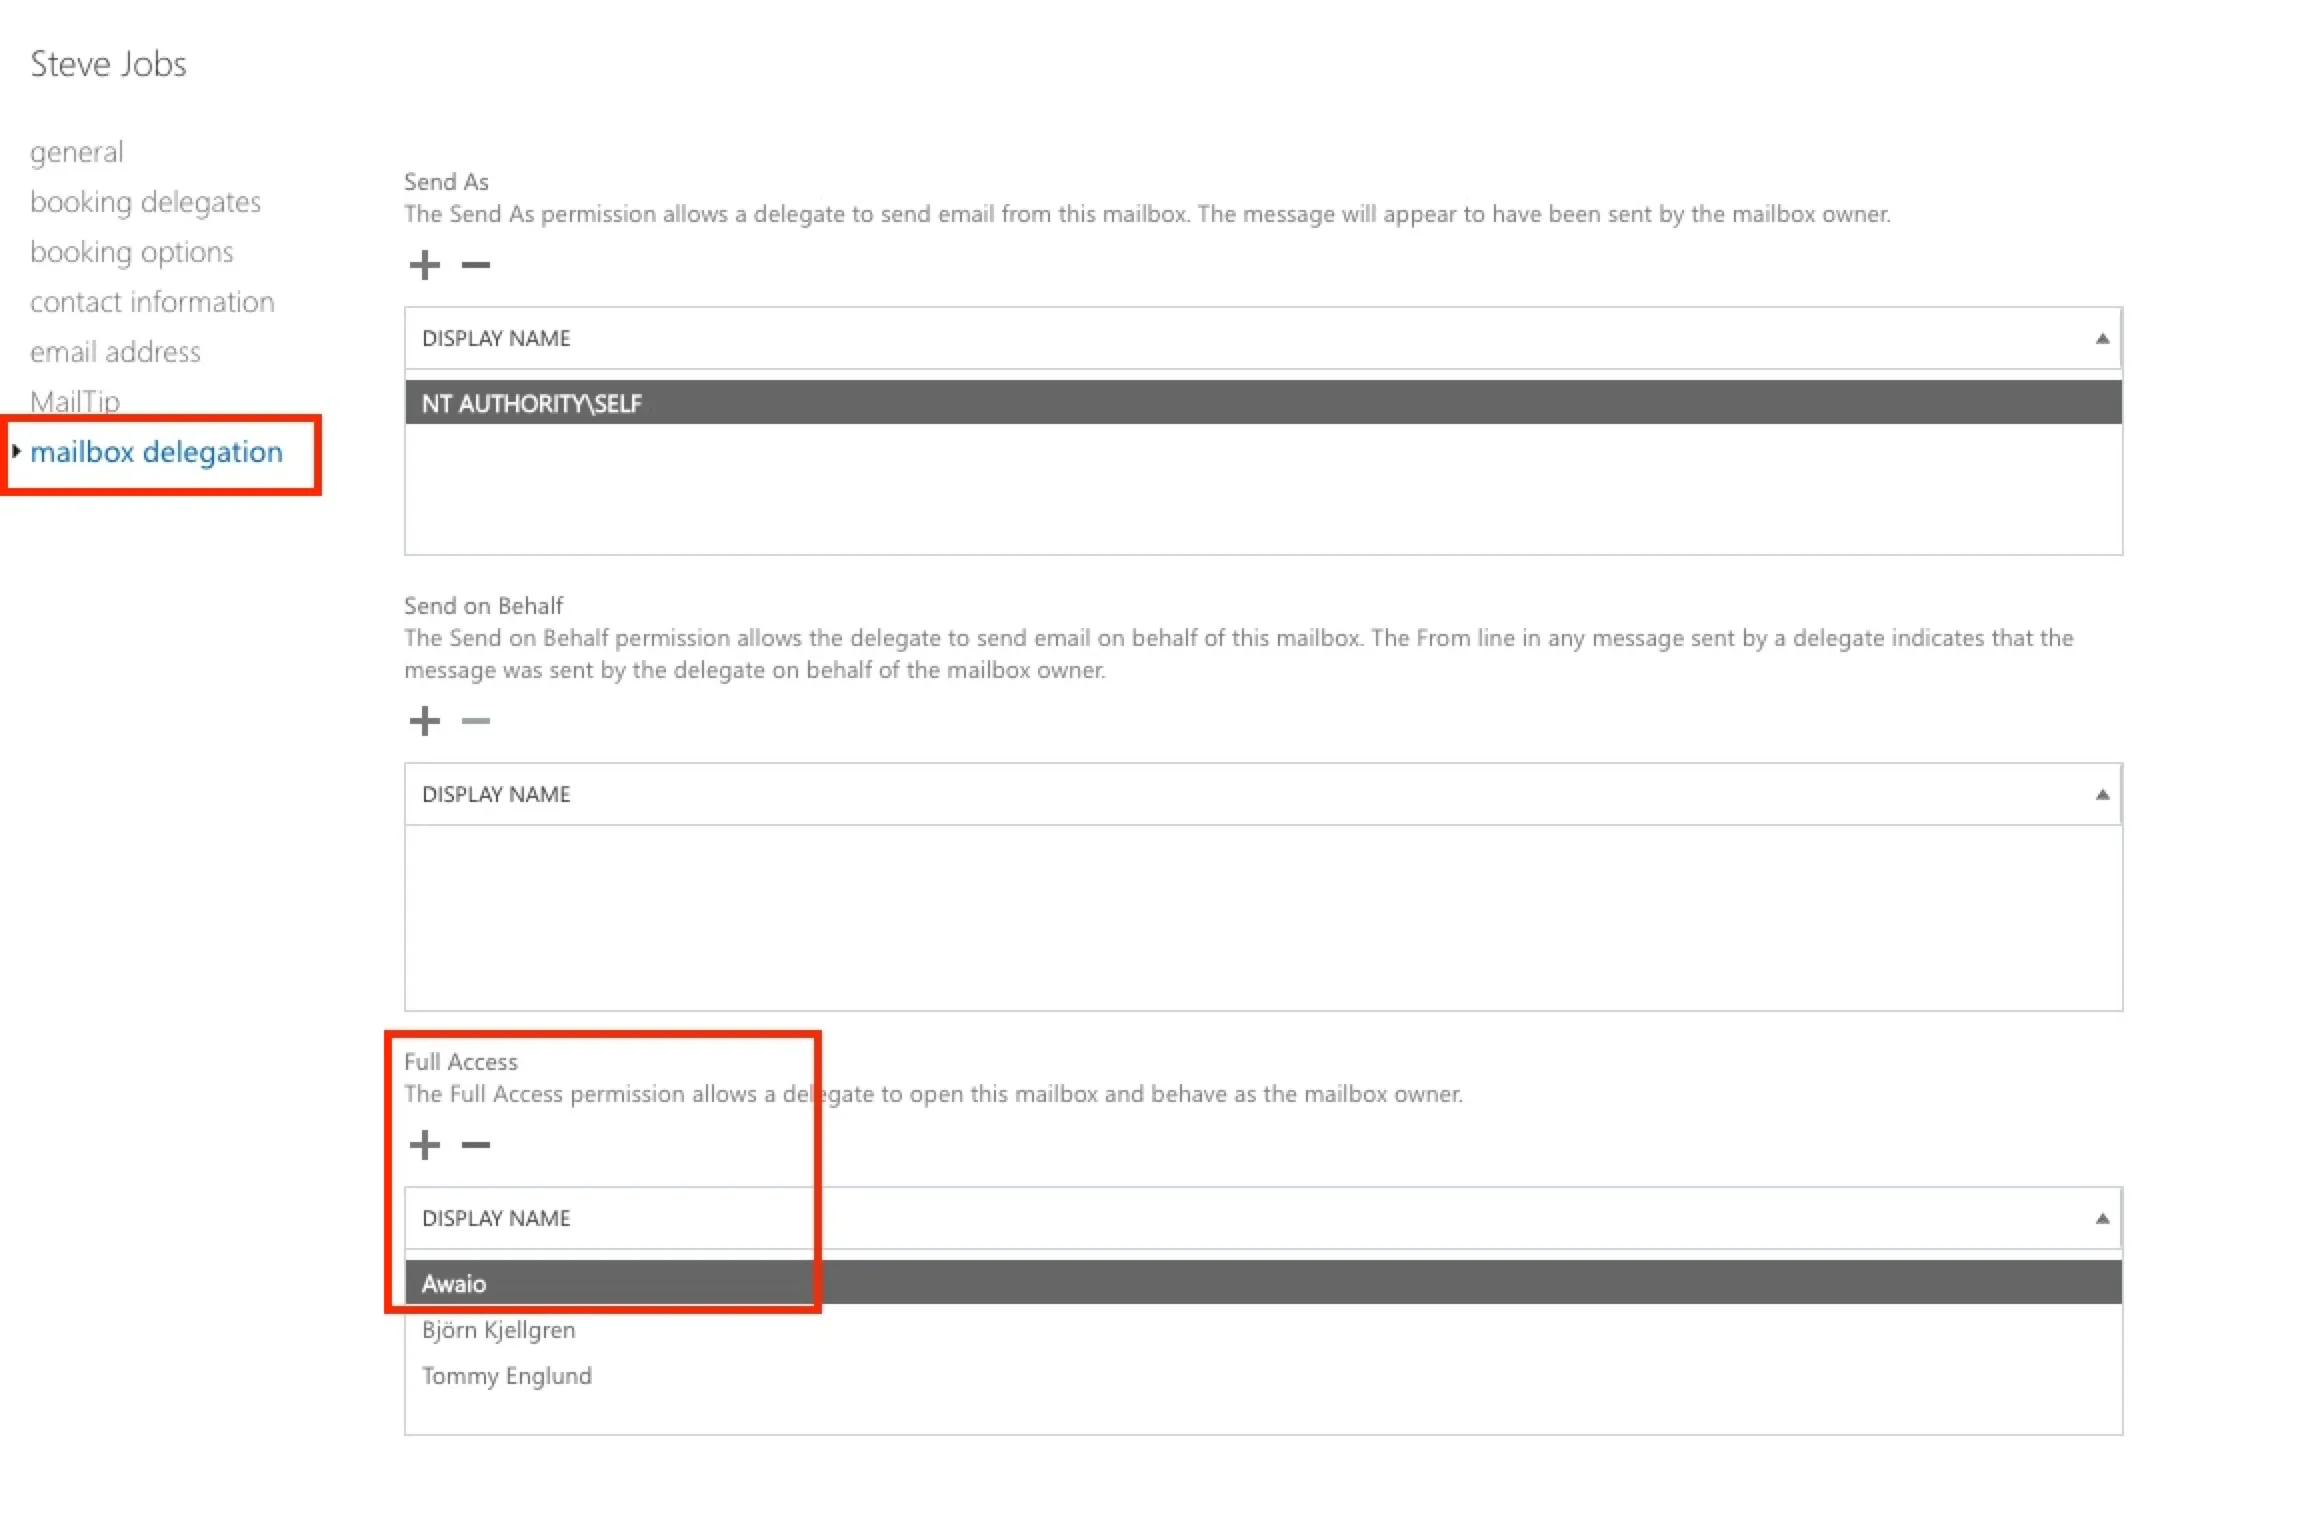
Step 2: Grant Full Access to each room mailbox
In the Microsoft 365 admin center, open each room mailbox's delegation settings and grant the service account Full Access permission. This lets the service account open the room's mailbox and act on its behalf — it does not need Send As or Send on Behalf.
Part 3: Set up the integration in Awaio
Step 3: Open Calendar Integrations
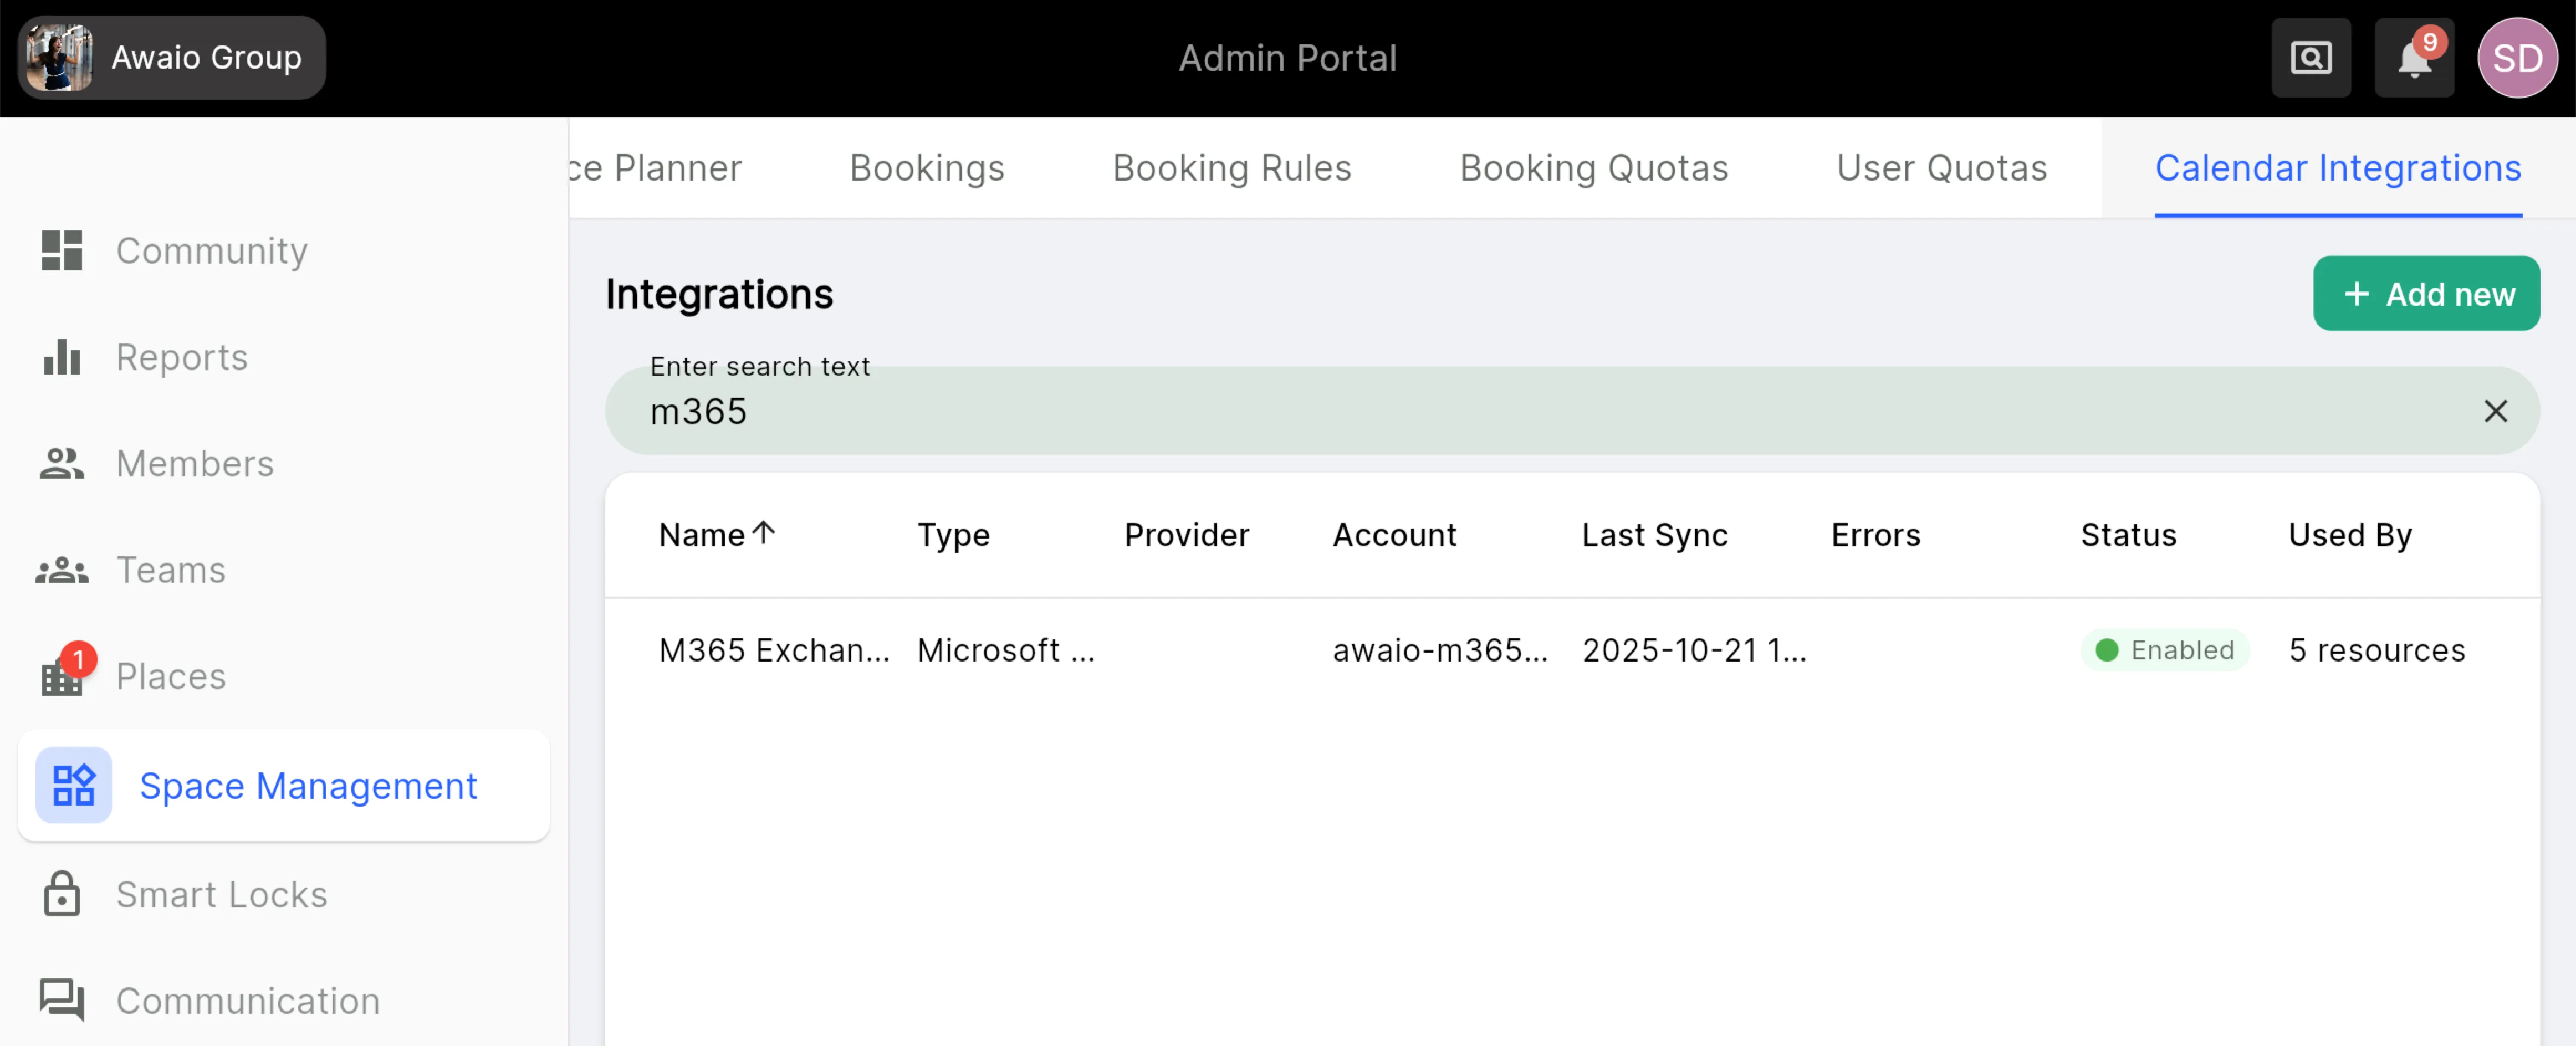
Log in to the Awaio Web Portal and go to Space Management → Calendar Integrations.
Step 4: Add a new integration
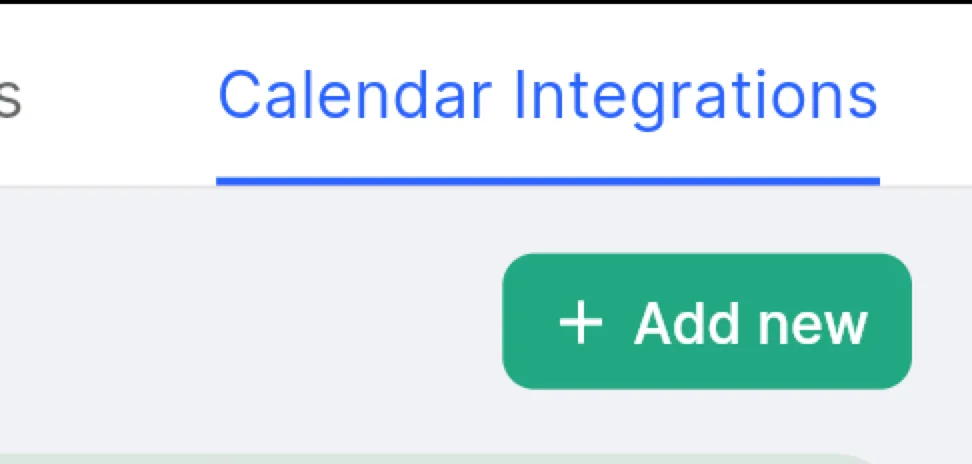
Click Add new in the lower right corner.
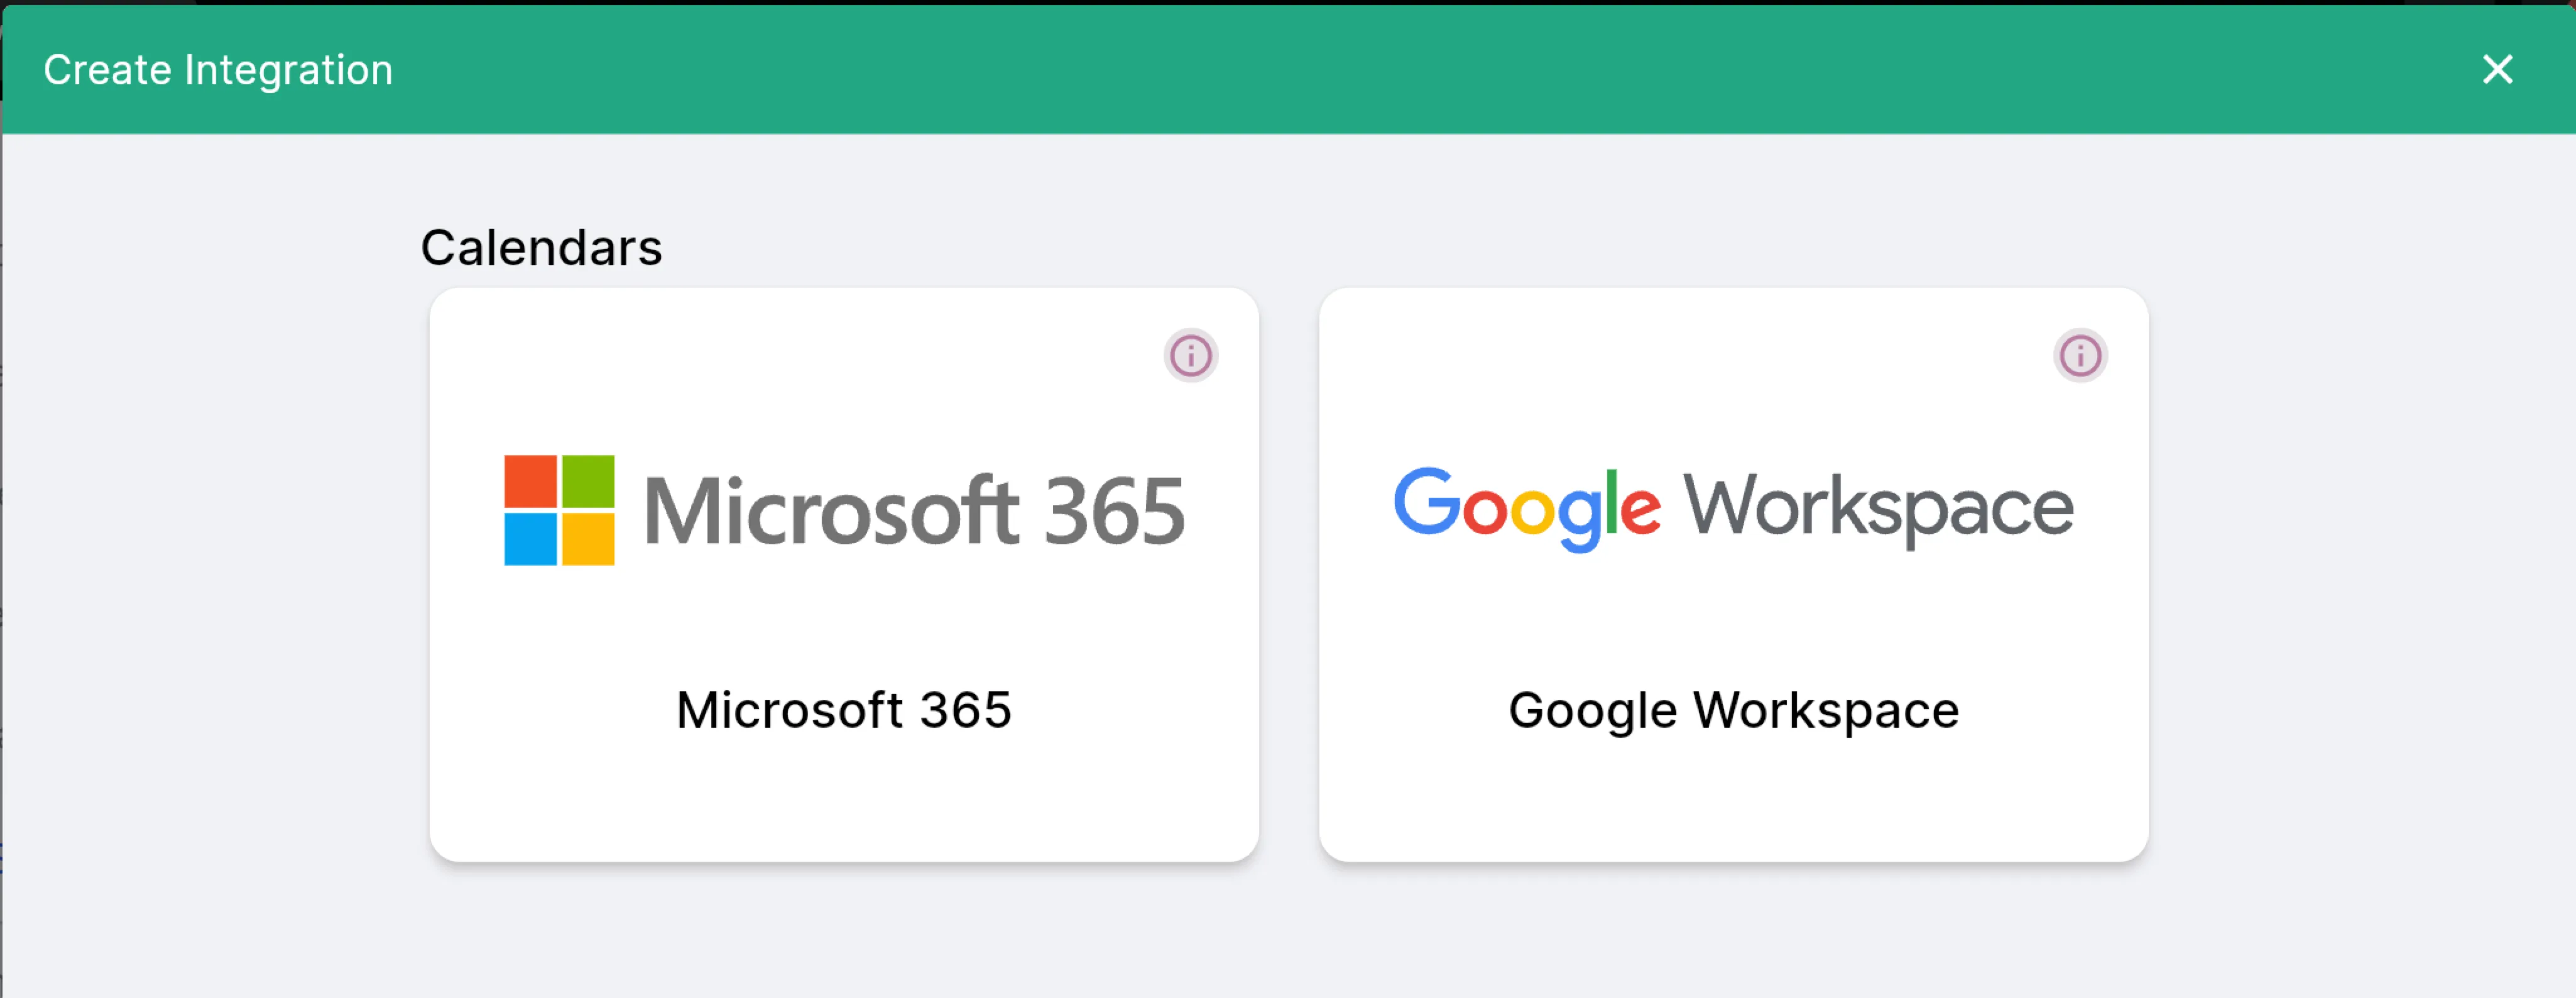
Step 5: Choose Microsoft 365
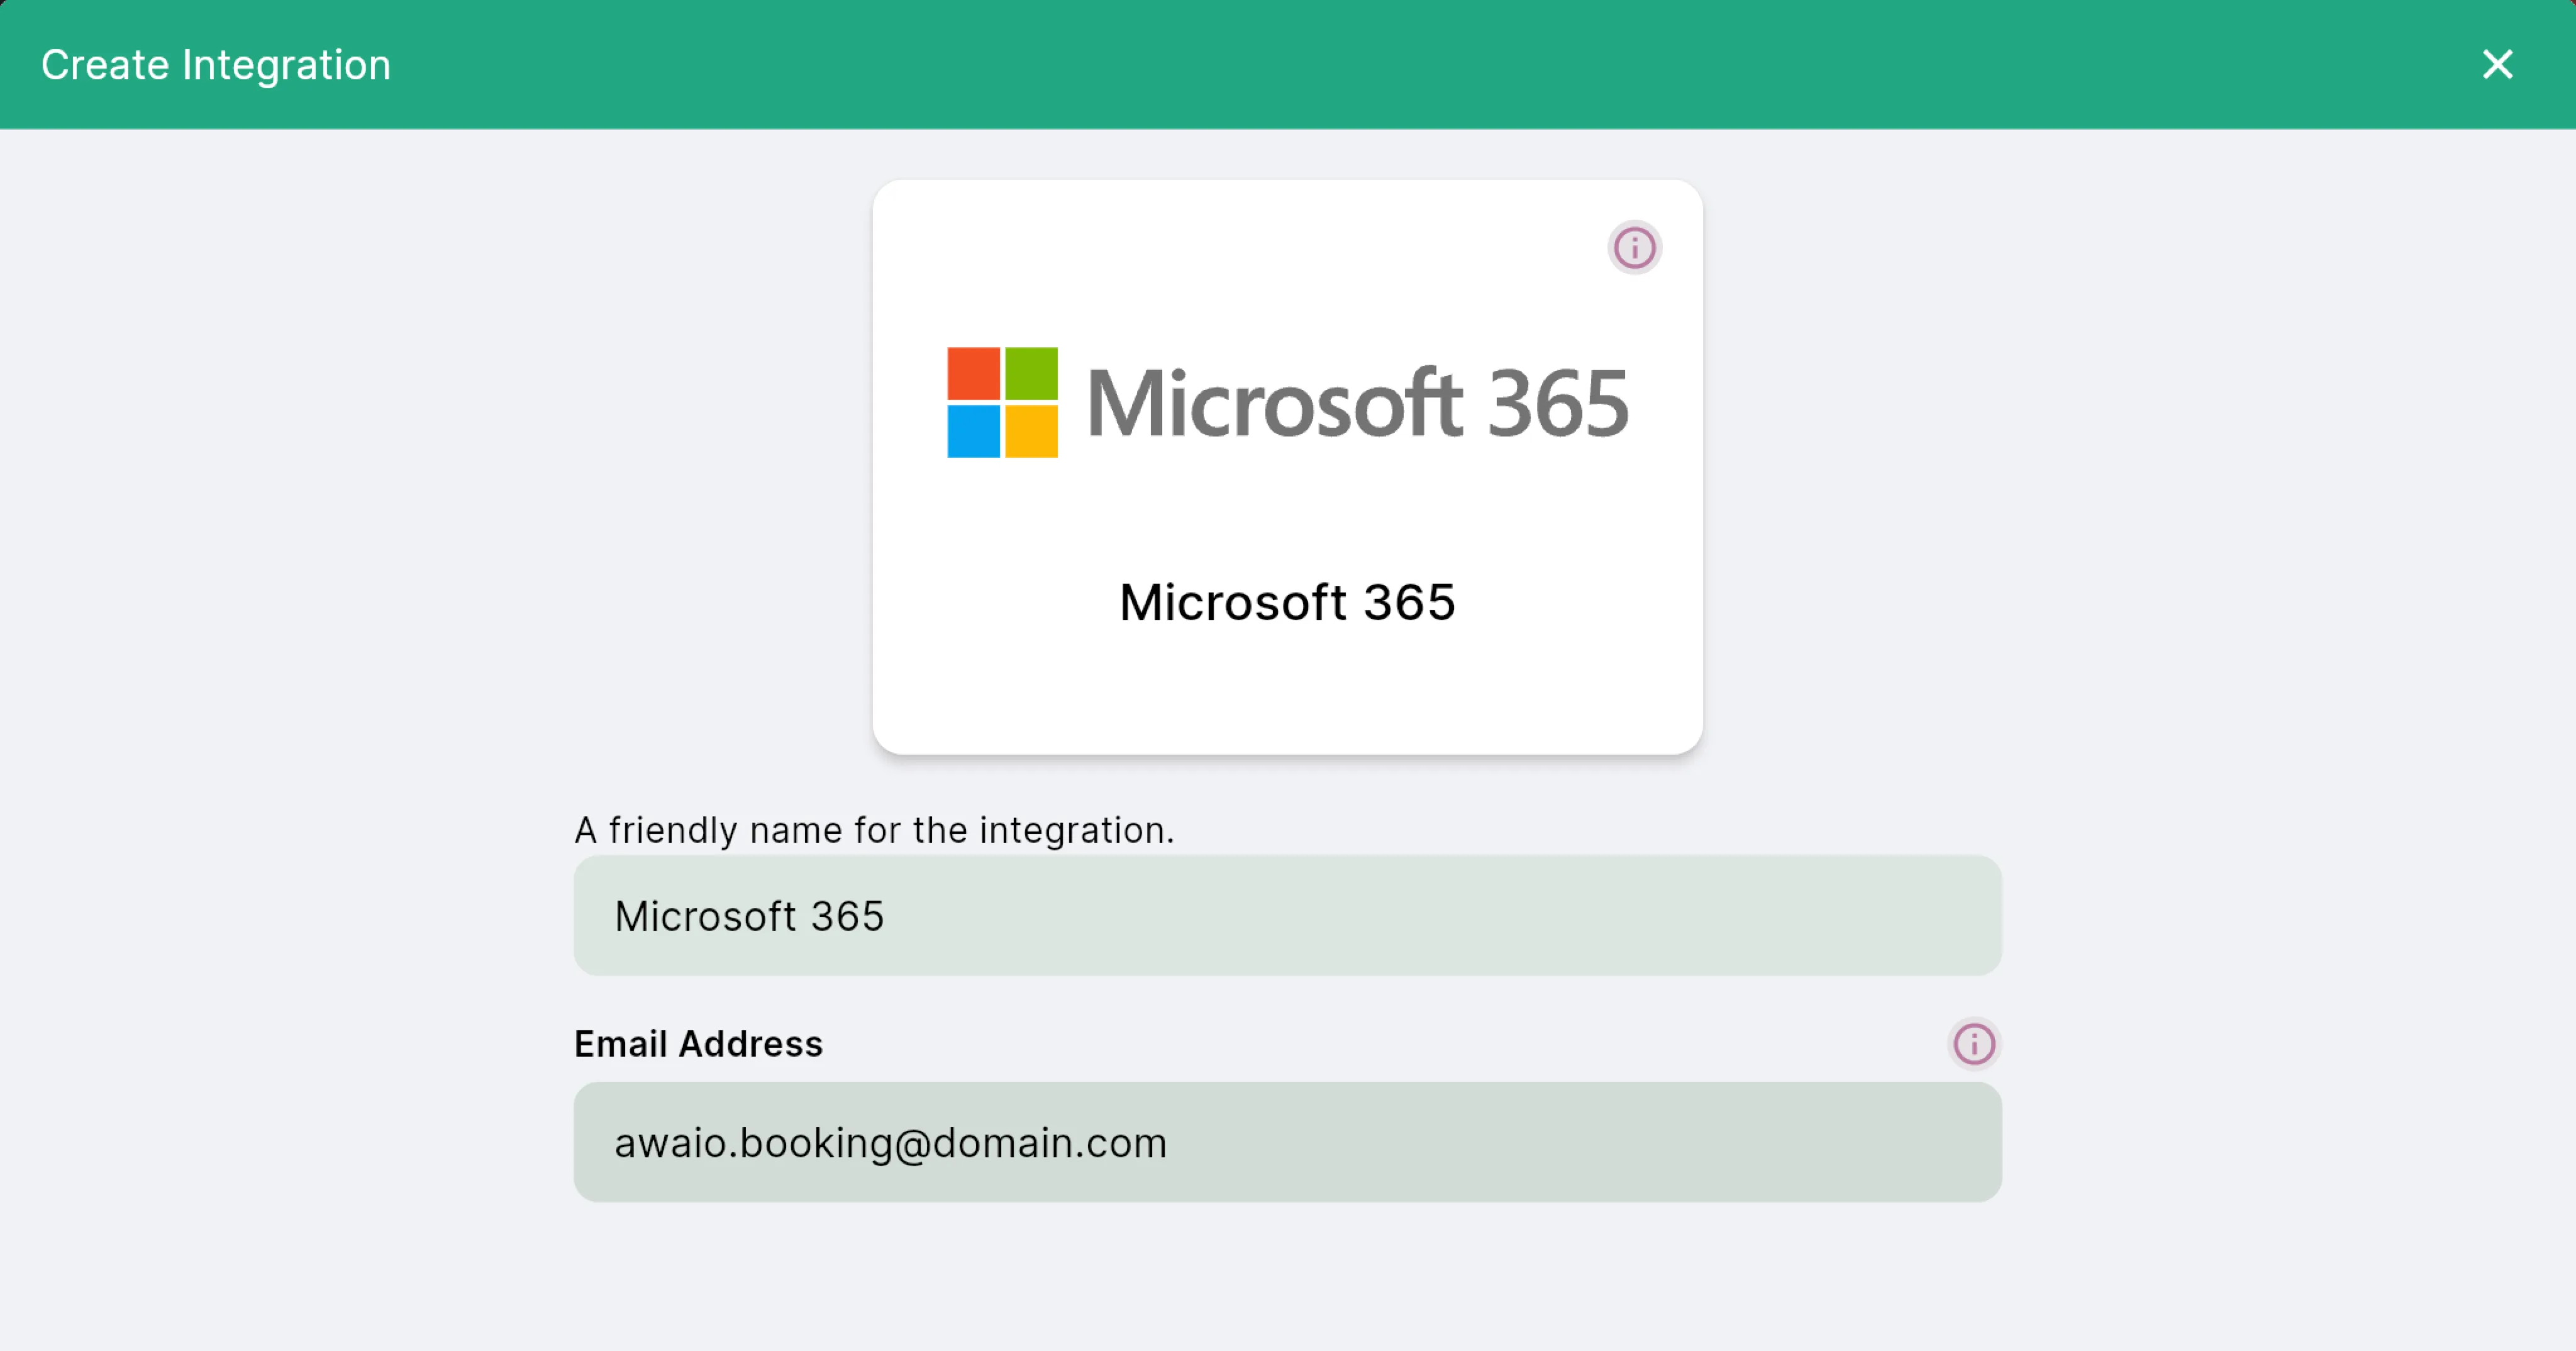
Step 6: Name the integration and enter the service account email
Give the integration a friendly name, then enter the email address of the service account you created in Part 2. You can also edit the description if needed.
Step 7: Consent, sign in, and subscribe
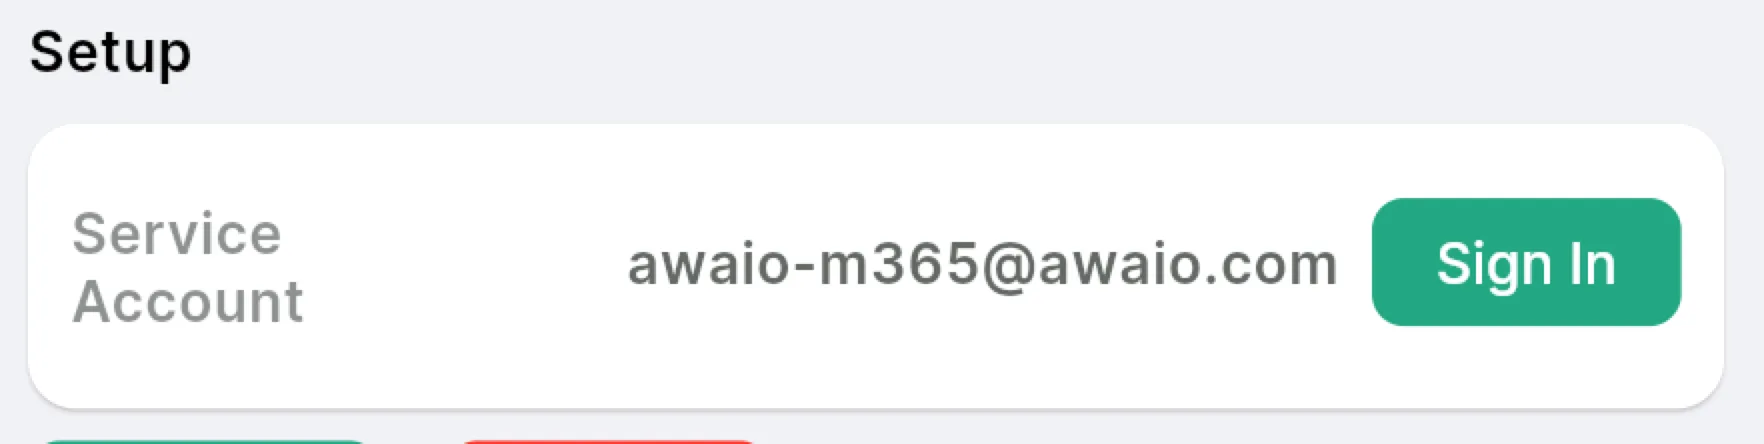
Complete the setup in three steps:
- Consent — use the admin consent link from Part 1 if you want to consent with a different account than the one you're signed in with.
- Sign In — sign in with the service account.
- Subscribe — the subscription activates automatically within 12 hours, or click to start it immediately.
Part 4: Connect rooms to the integration
Step 8: Open Resources
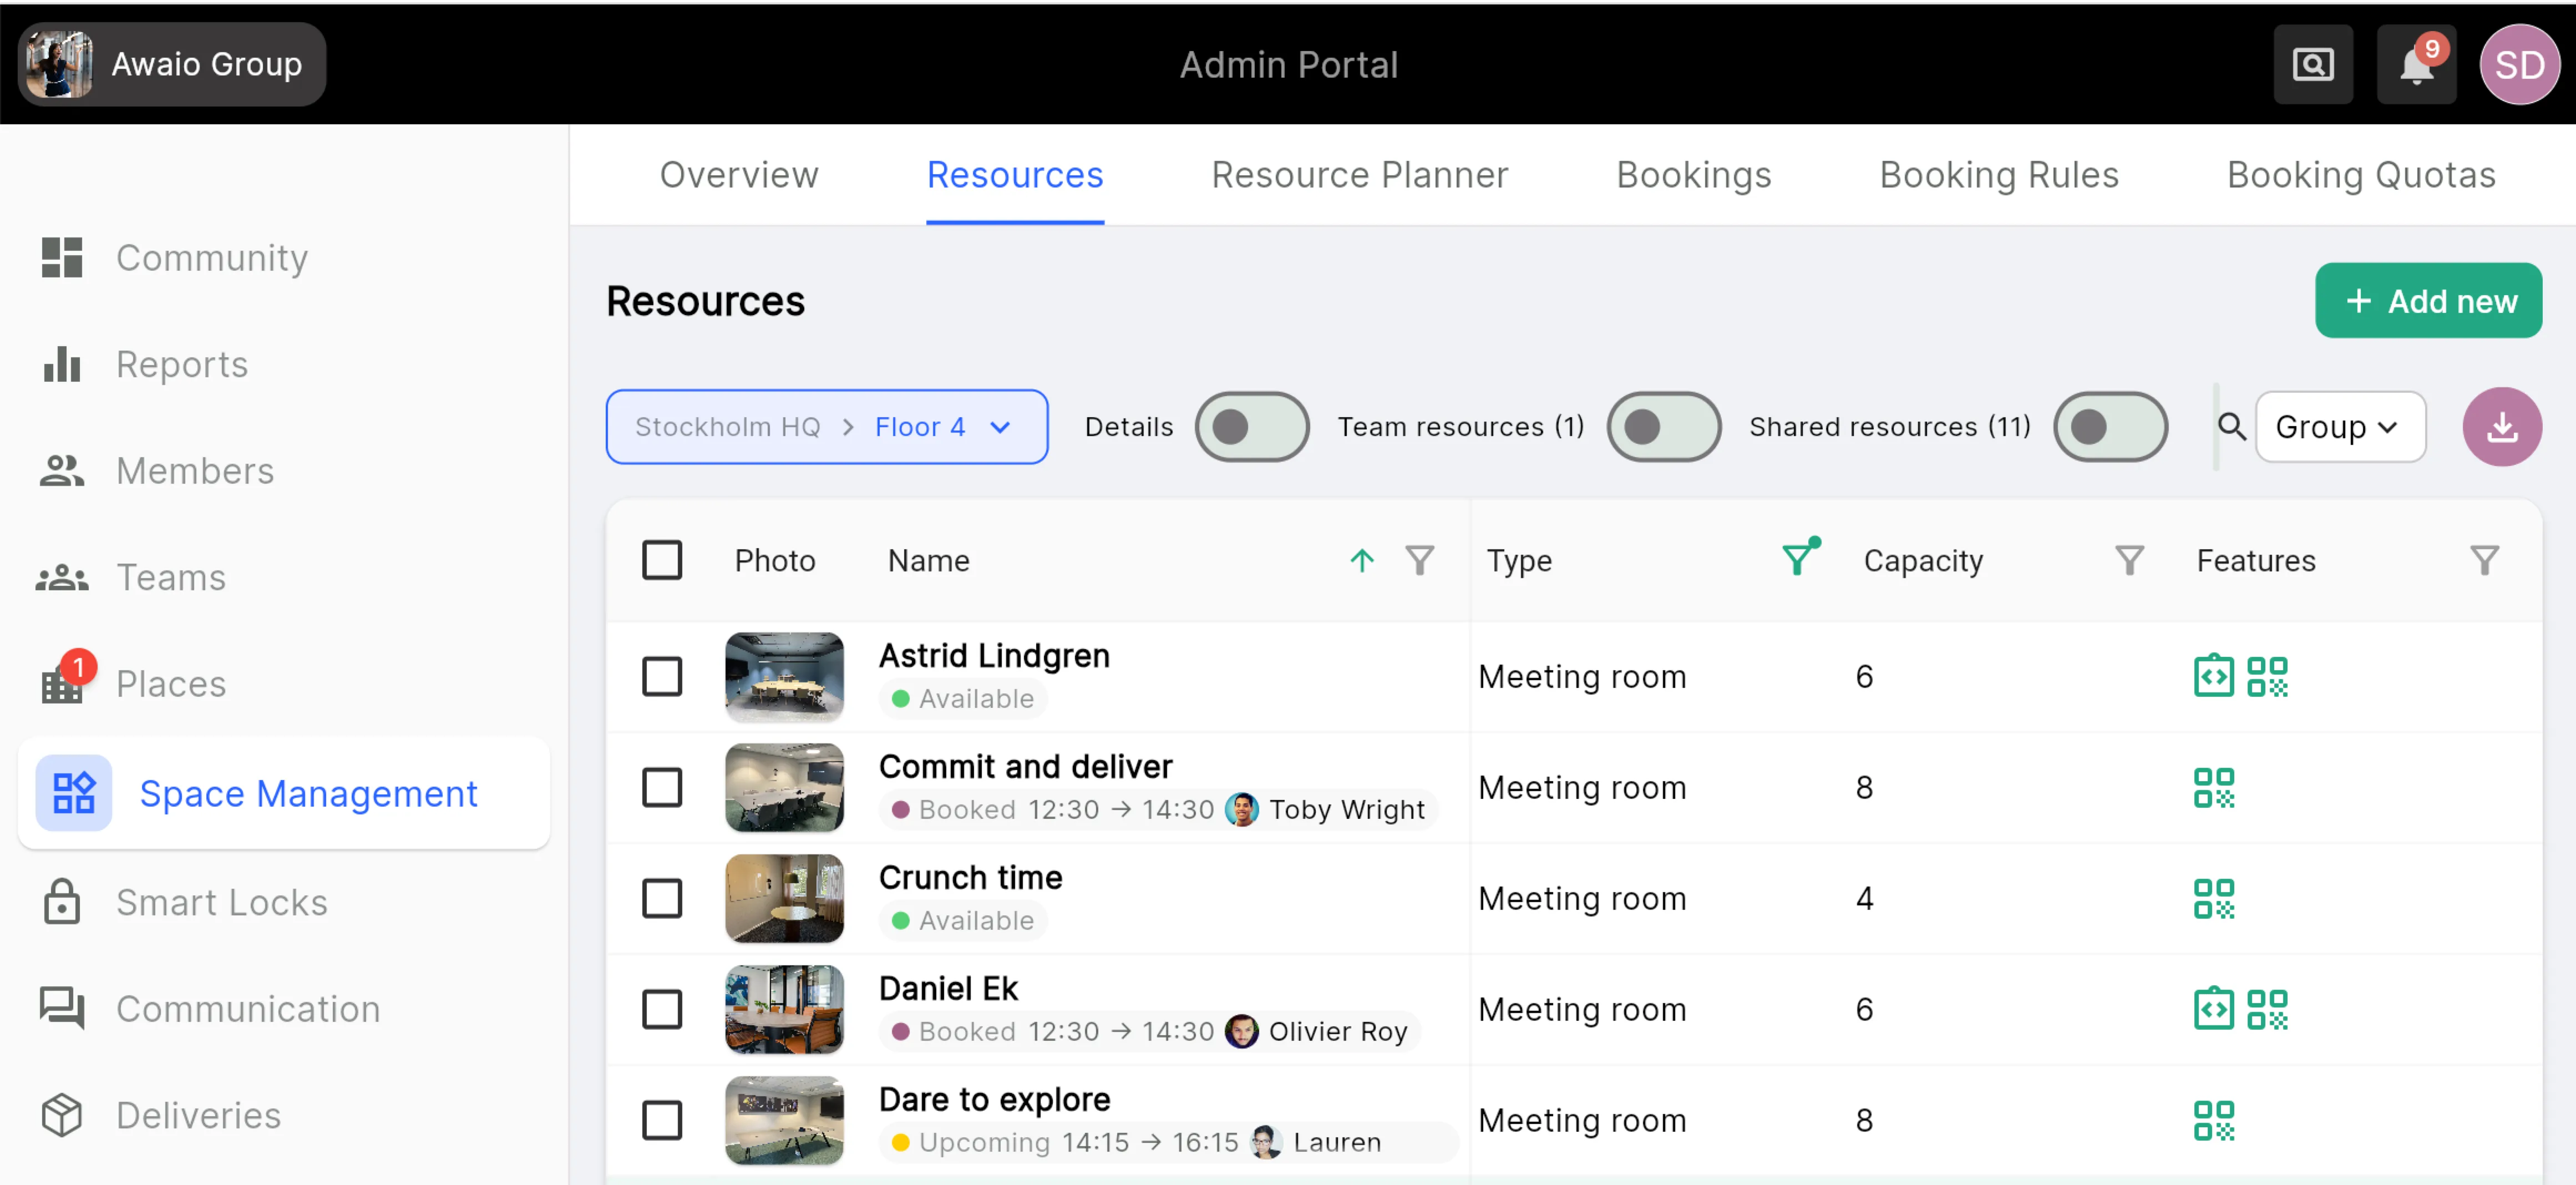
Go to Space Management → Resources. From here you can create a new room from a template, or click an existing resource in the list.
Step 9: Open the room's booking settings
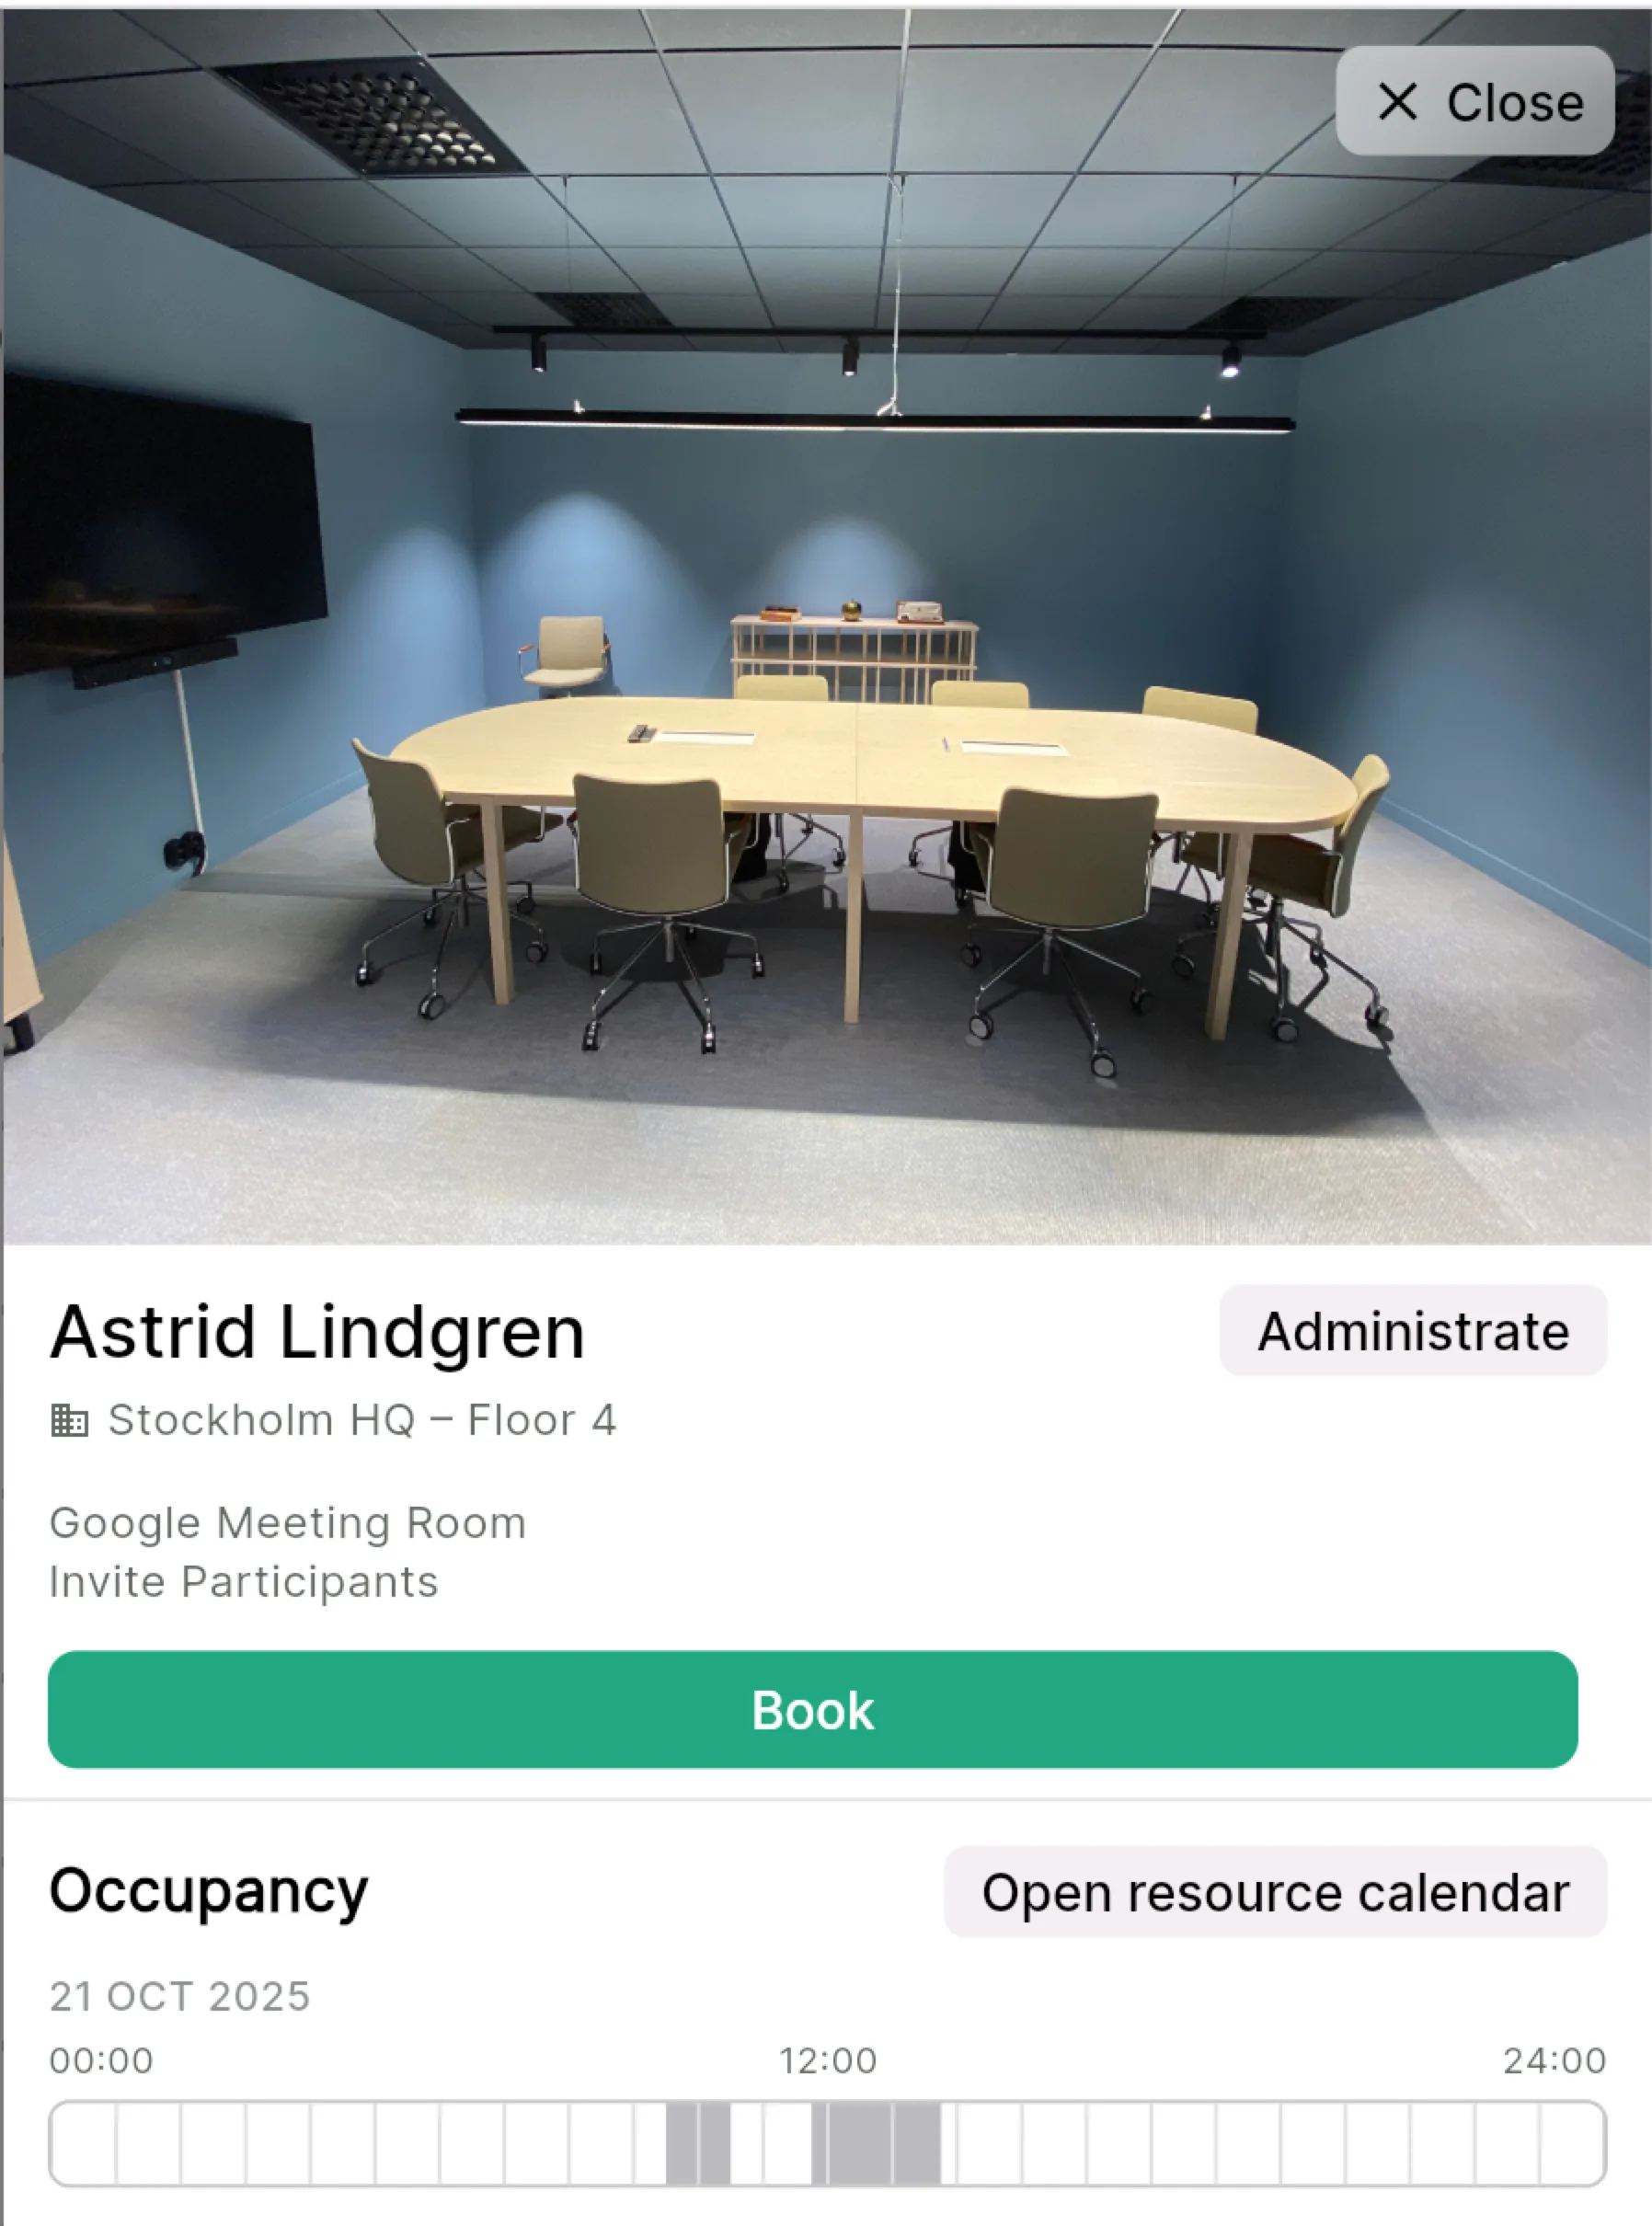
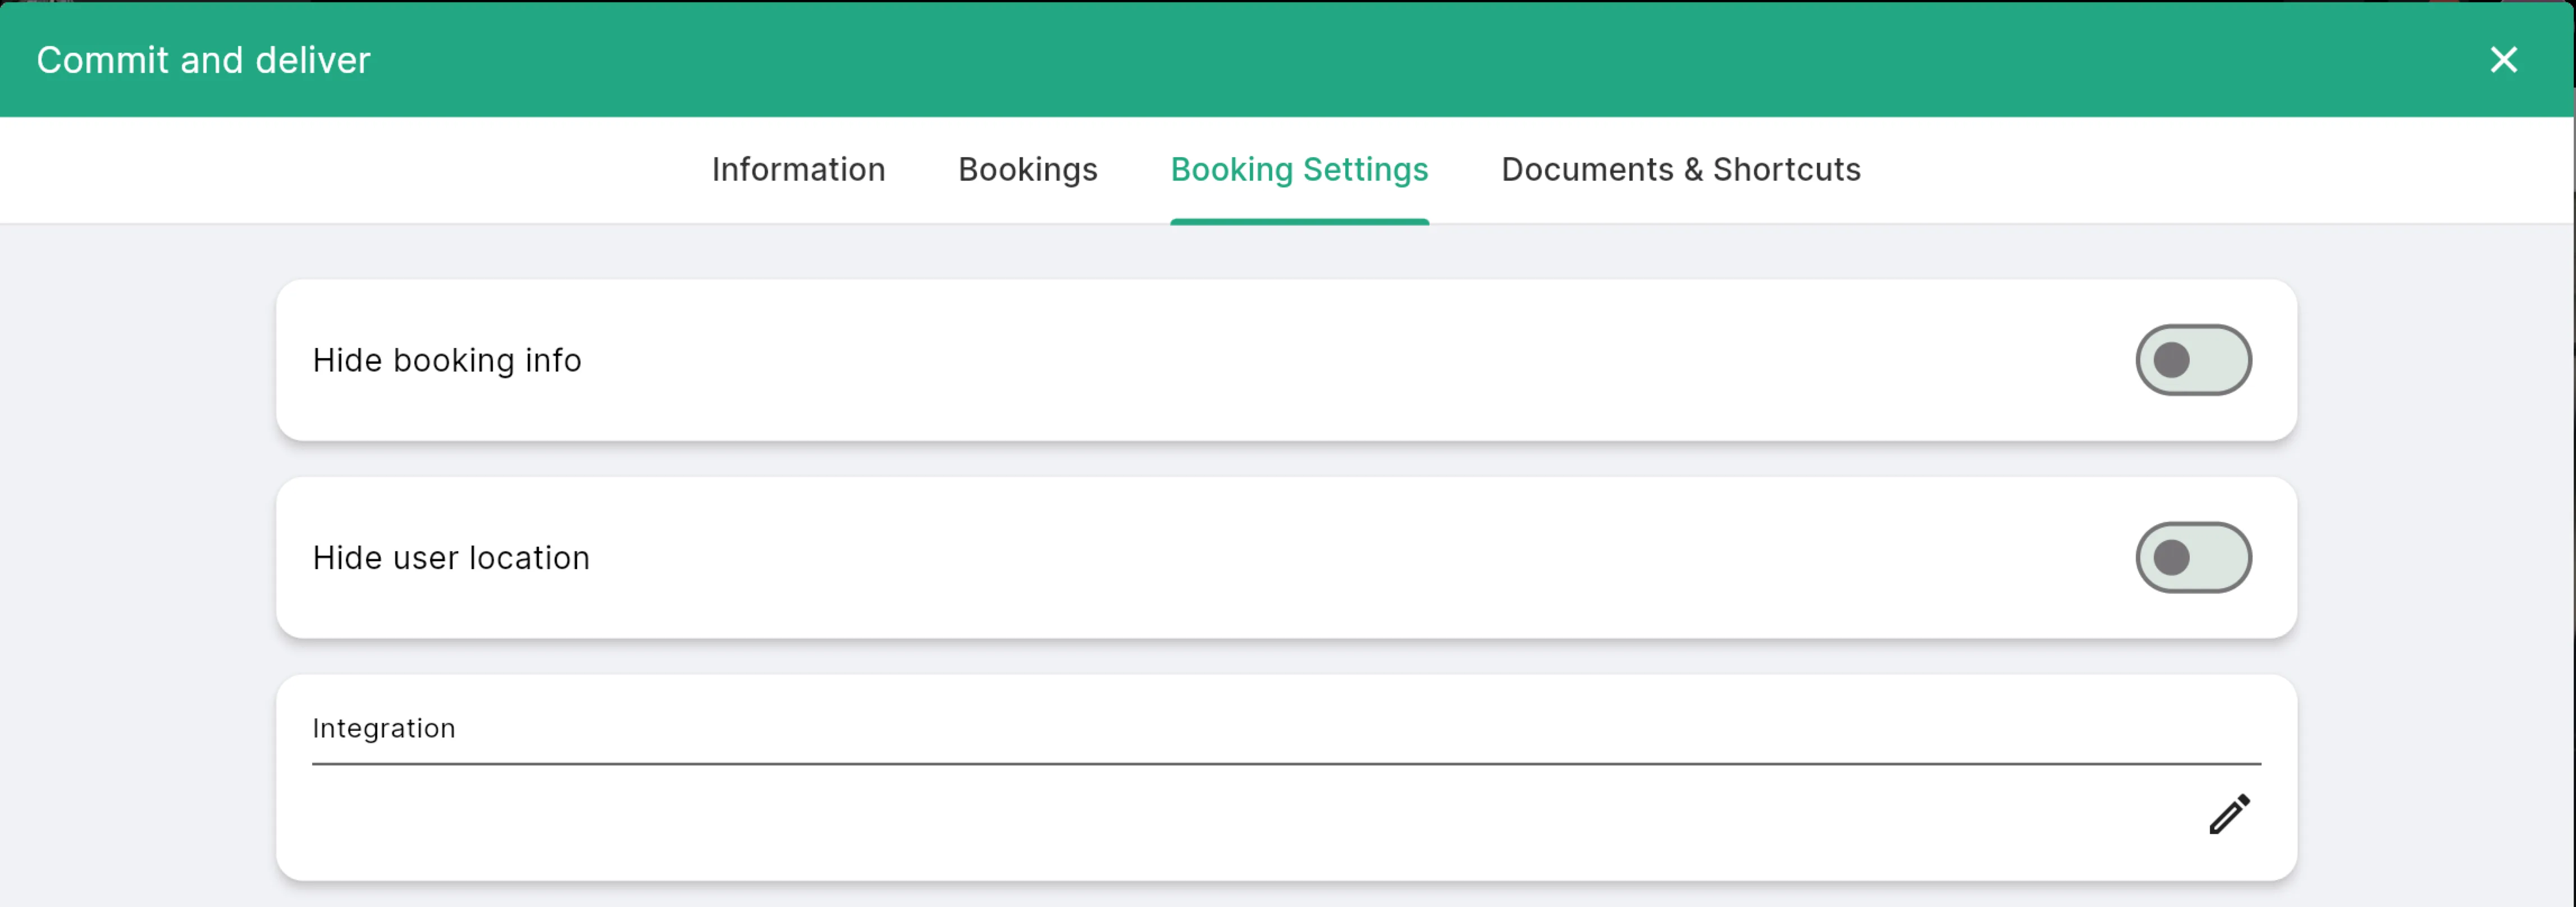
Open the room and click Administrate, then go to Booking Settings.
Step 10: Add the integration
Under Booking Settings, click the edit icon next to Integration and select the Microsoft 365 integration you created.
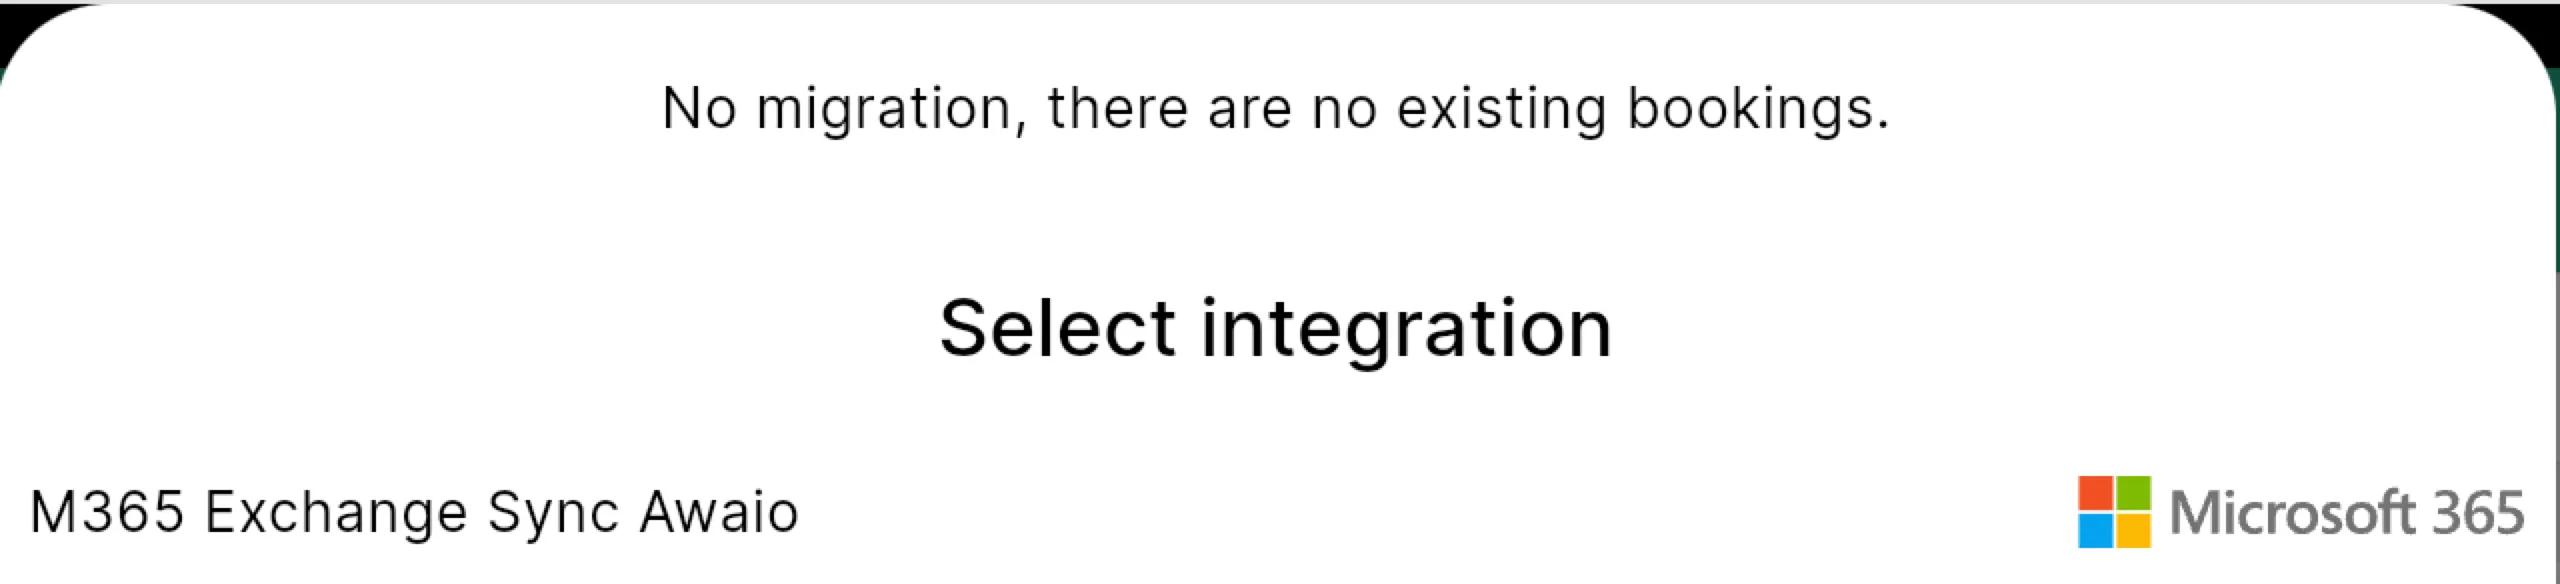
Step 11: Select the integration
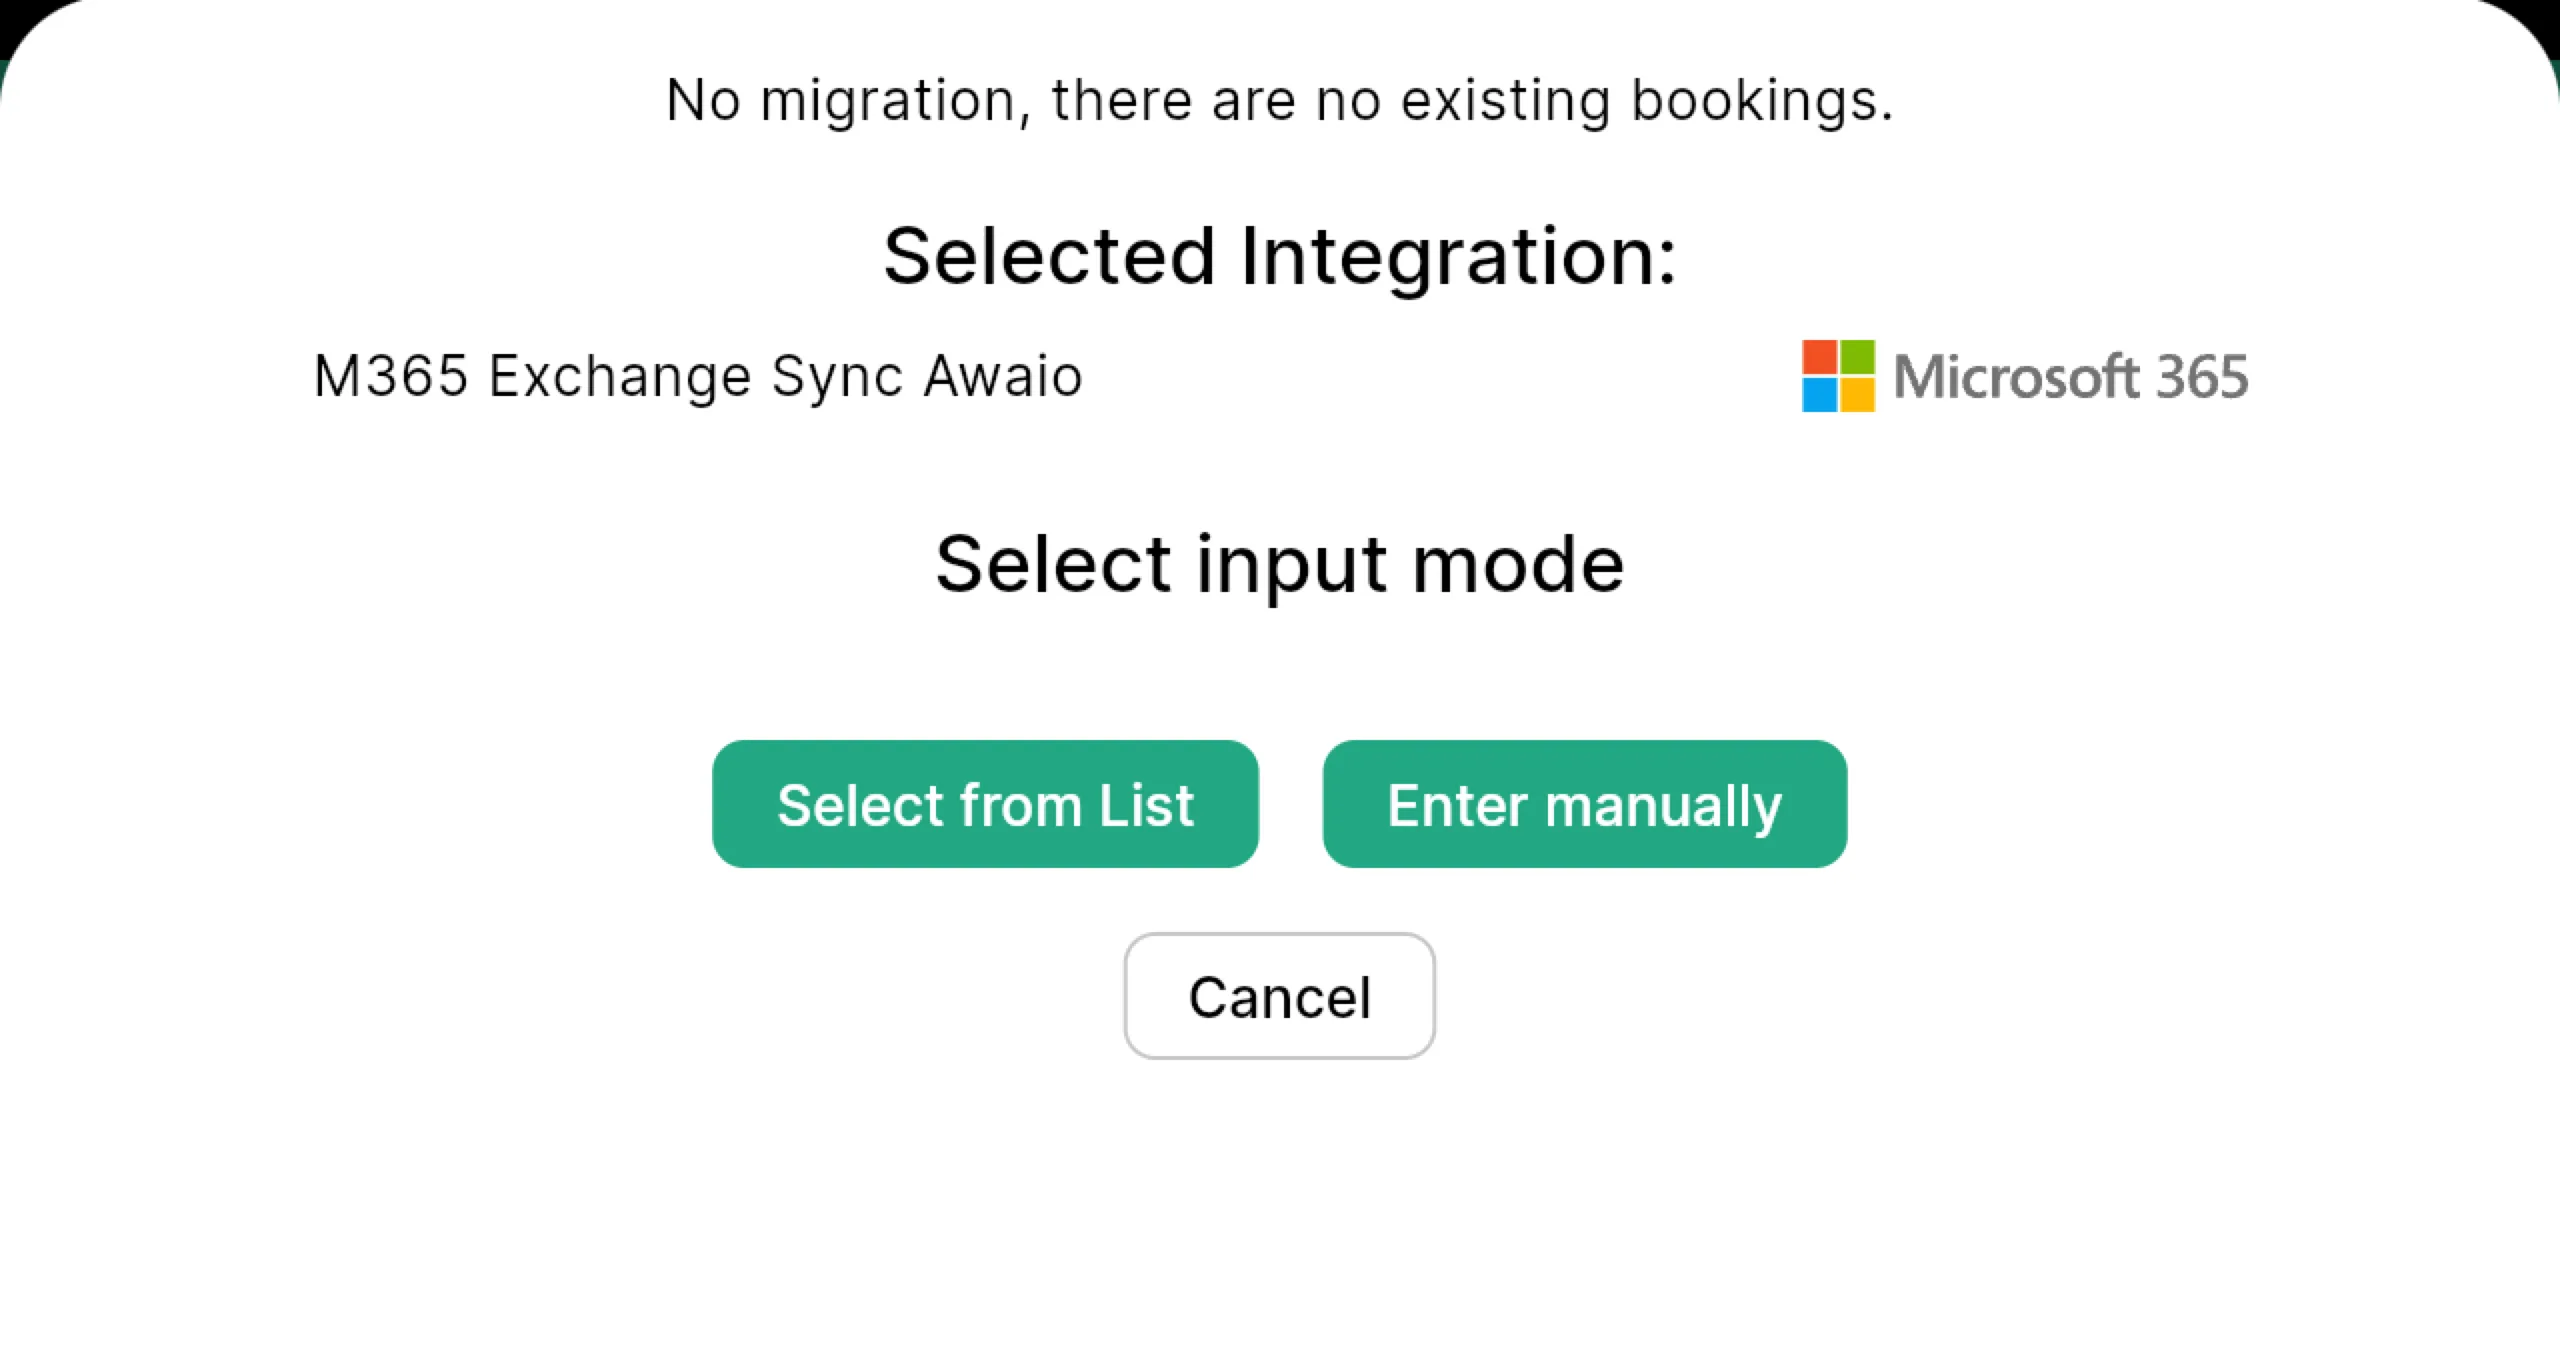
Step 12: Match the room to its Microsoft calendar
Choose Select from List (shows up to 100 rooms) or Enter manually if the room isn't in the list or you have more than 100 rooms.
Part 5: Activate and verify sync
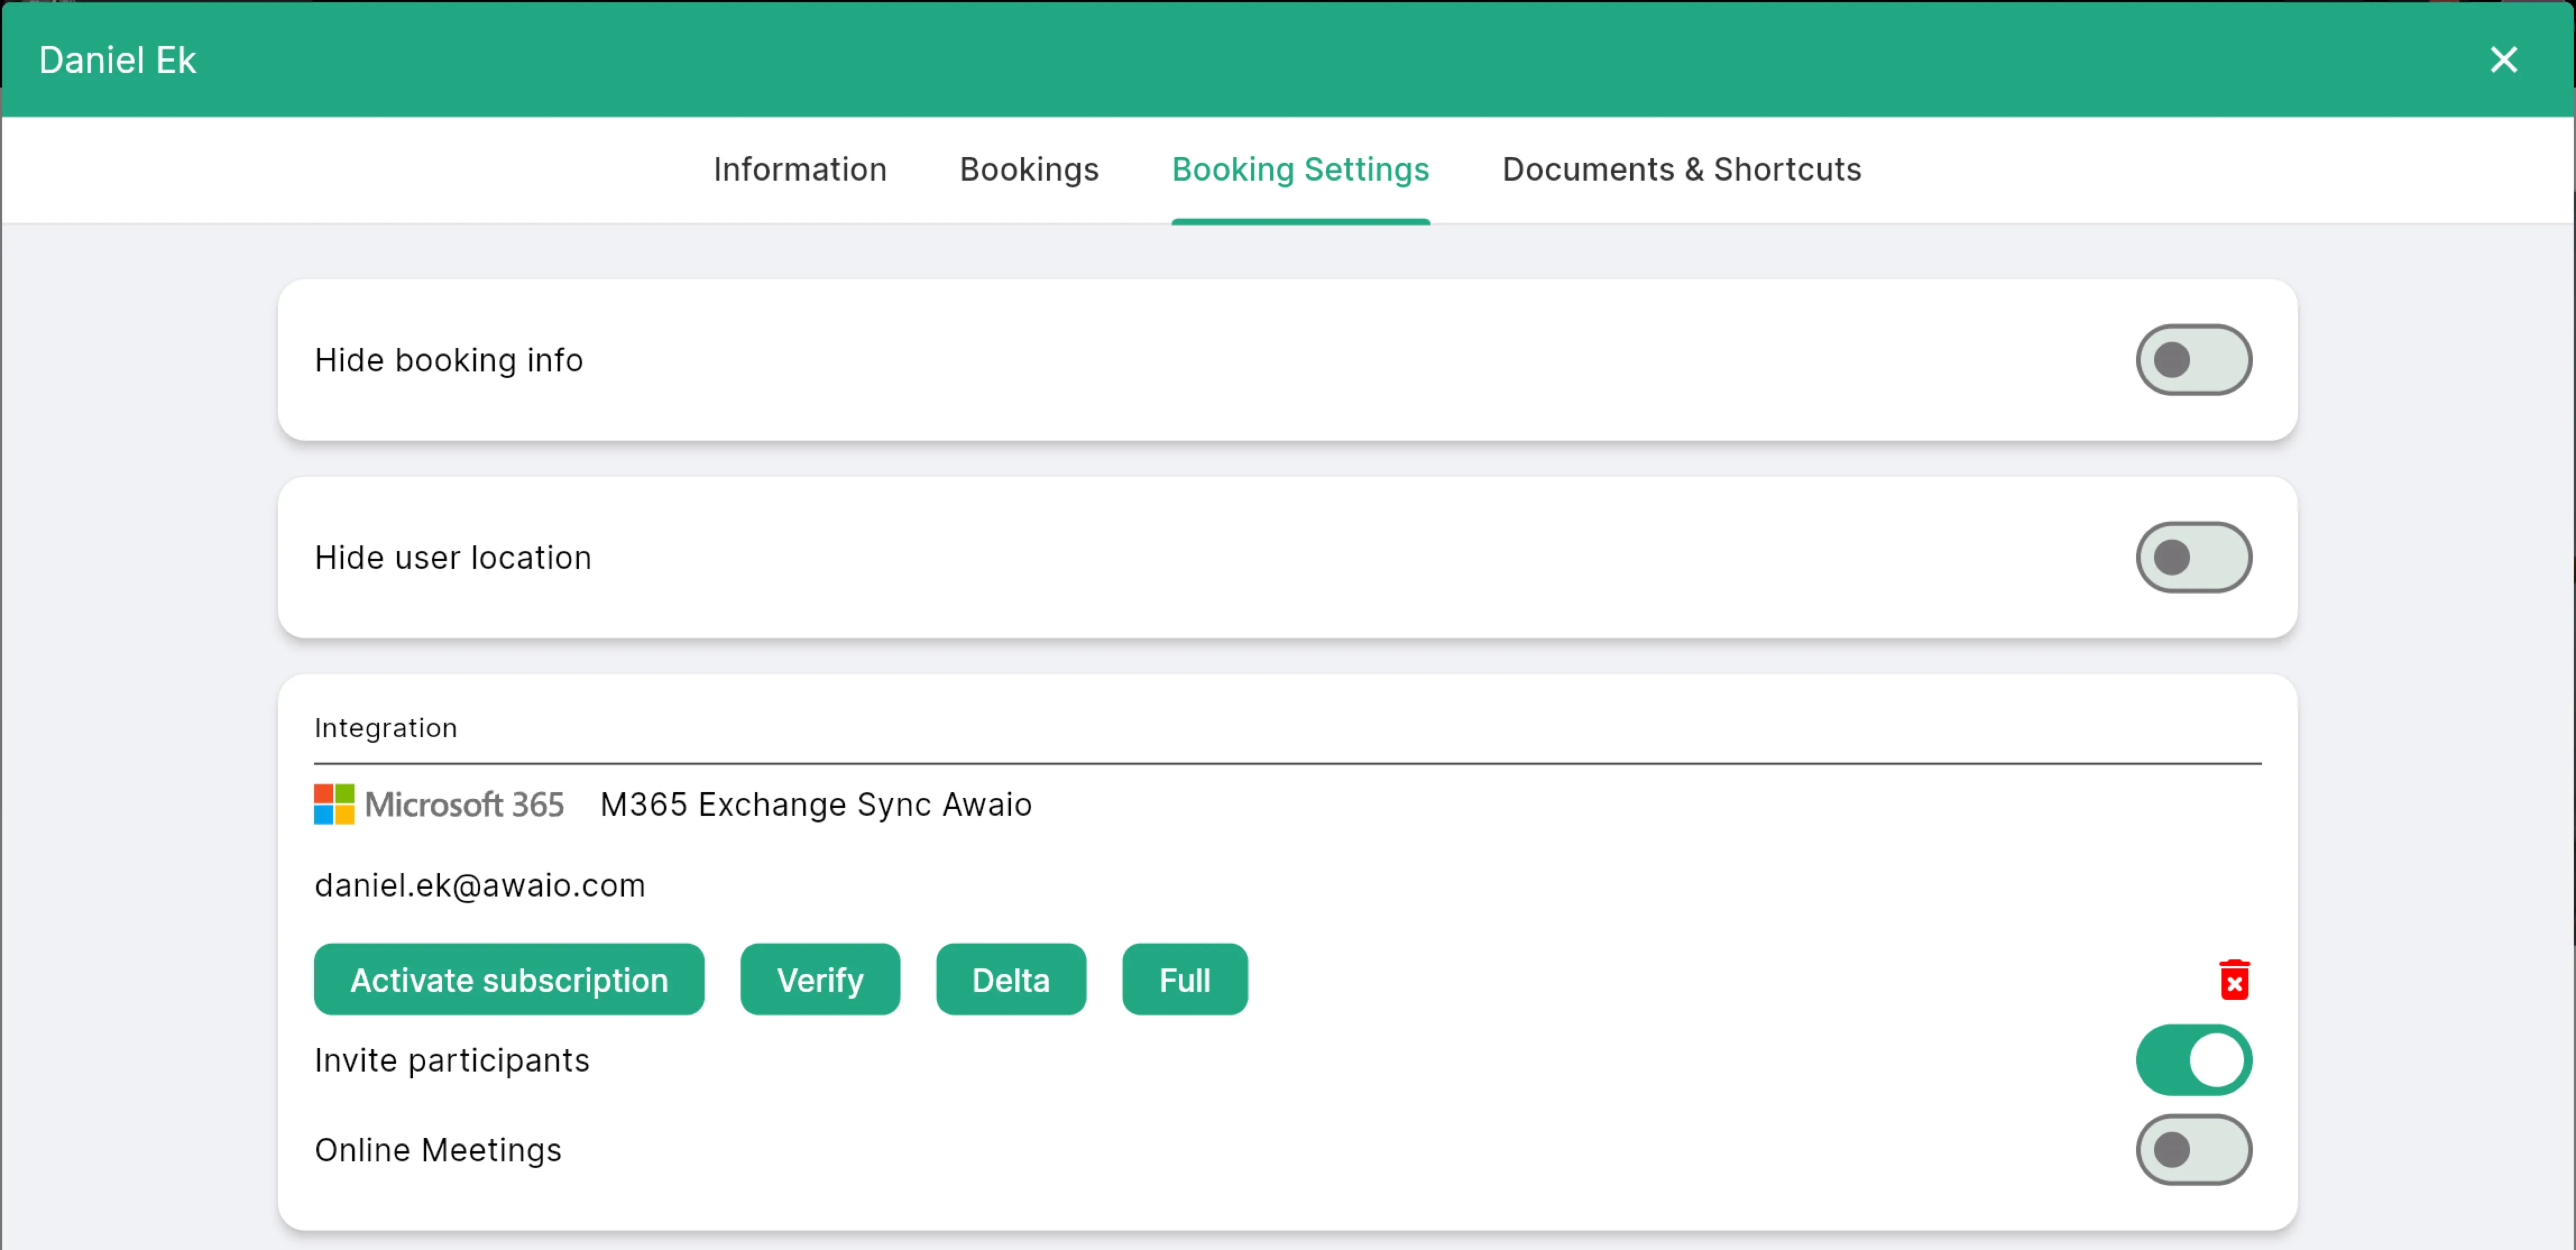
Once a room is linked, use the options on its Booking Settings tab to manage the sync:
- Activate subscription: turns on room sync immediately, instead of waiting for it to enable automatically after a couple of hours
- Verify: checks that the integration has the correct permissions on the Microsoft room calendar
- Delta / Full: forces a sync update for the room — Delta for an incremental sync, Full for a complete resync
- Online Meetings: has the Microsoft room calendar generate a Microsoft Teams meeting link for each booking
- Invite Participants: has the Microsoft room calendar send participants an email invitation
If you have further questions, feel free to contact us via our website chat (awaio.com) or email us at support@awaio.com.